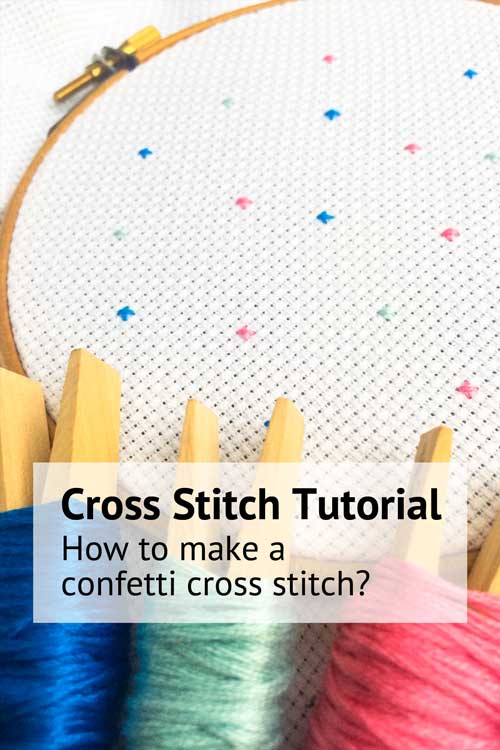
How to cross stitch with metallic embroidery floss
We love to make our embroidery projects pop, and metallic threads add lots of sparkle to your embroidery piece. But stitching with these special flosses is a bit more tricky than using regular cotton Mouline. If you are new to this type of floss, you might experience tangling threads with ends that split easily. Read on, in this blog you will learn how to cross stitch with metallic embroidery floss like a pro. We focus on the DMC lights effect metallic floss that we sell in our shop, but of course you can also apply these tips for stitching with other brands of metallic embroidery floss.

How to apply Thread Conditioner on metallic floss?

DMC Lights Effect Metallic Floss is made from polyester. It comes in skeins of 8 meter long with 6 strands which you can separate. As you will notice those individual strands are made up of a thin thread covered with a metallic shiny layer. Metallic threads tangle and snag easily.
Before stitching with your metallic floss, we strongly recommend you to thread your floss. Using bees wax, your floss will become smoother and it will glide easier through your fabric. Simply glide the floss through the bees wax holding the thread with one finger close to the wax and pulling gently with your other hand. Don’t pull to strong as this may damage your thread.
A little bit of bees wax will do the trick, after all you are not creating a candle :-).
You can find bees wax here in our shop
How to thread your needle with metallic floss?
Metallic floss tangles easily and the ends fray a lot. This can make embroidering with metallic threads a frustrating experience.
How you thread your needle can make a world of difference. Threading your needle with a loop and knot makes your life so much easier! Your ends will not fray as you burry them directly when you start, and your floss twists less preventing it to tangle. Below steps explain how to thread your needle like a pro when stitching with metallic floss.
Step 1

Cut a short piece of floss and separate the strands. Take 1 strand and fold it in half. Thread the folded end through the needle.
Step 2

Bring the ends through the folded loop. This will create a knot around the eye of the needle.

Top tips for stitching with DMC Light Effects Embroidery Floss

Tip 1: Stitch with short pieces of floss
Metallic floss tangles, and twists easily. So we strongly recommend you to use shorter pieces of embroidery floss then you normally use. Cut about 30 cm (~12″) of floss from your skein. You can easily do this by cutting all the loops on one site of the skein like shown on the picture.
Tip 2: Use a bigger needle
Use a needle that is one size bigger then you would normally use for stitching the same fabric. Metallic floss is a bit thicker, so a slightly bigger eye makes it easier to thread your needle.
For our sample we used a size 24 tapestry needle, stitching on Linen 32 count fabric.
Tip 3: Take care when seperating your strands
Avoid pulling your strands apart when seperating. Rather, hold the tip of the thread in your left hand, between your thumb and index, cupping the thread with your other fingers. Gently pull out one single strand upwards (so not to an opposite direction). Do not worry if the floss bundle at the bottom of your hand, it will not create a knot.
Tip 4: Untwist your yarn as you go
Once in a while let your floss untwist. Keep your project up and let your threaded embroidery needle hang. The thread will now untwist in the air and you are ready to continue.
Tip 5: Make it fit
When making your cross stitches on Aida fabric, you will use the holes in the fabric. Metallic floss is a bit thicker and takes more space in those holes. So when stitching, ensure that your floss does not go through the thread of an earlier made cross stitch.
Your end result will look a lot nicer when you move any threads out of the way, and give each cross stitch it own space in the hole.
Tip 6: Use one strand at the time
It is the easiest to stitch with metallic floss when you use only one strand at the time. We double the strand as shown in the above section. If you feel you need more strands to provide sufficient cover you first stitch with one strand, and stitch twice over each place.
Tip 7: Metallic Floss comes last
It is the best to make your metallic cross stitches as last stitches on your project. Metallic threads are more fragile and more likely to get snagged. So if you are still working on your fabric for a while, the metallic stitches might end up looking ugly by the time you’re done.
Tip 8: Leave a longer tail
Metallic floss is springy so they are more likely to slip away if you do not secure them well. We recommend to secure both the start and end of your thread by burying it under at least 5 stitches.

Tip 9: Start with half stitches
First stitch all the half stitches of your project. So you only make the first legs. Stitch the second legs when once you completed all the first legs of your cross stitch project. Like this, it is easier to undo any mistakes. And once you finish with the first legs, you do not need to count anymore :-).
Tip 10: Practice
Take it relax! Cross stitching with metallic floss can be frustrating, especially when you want to finish your project quickly. It just works a lot better when you take a sip from your favourite drink, eat some chocolate and take it one piece at the time!
How to combine metallic floss with regular DMC mouline floss?
Are you aiming to create a more subtle sparkle in your embroidery project?
You can easily combine metallic floss with regular Mouline floss. The numbers of the metallic floss all have an E in front of the matching cotton embroidery floss. So a sparkling metallic E168 corresponds beautifully with the regular silver DMC 168 embroidery floss.
Seperate the strands of your floss and combine a single strand of metallic floss with a strand of regular cotton floss and you will get a more subtle sparkle. You can also consider using DMC Etoile floss to get a twinkling effect.
How to take care of your finished metallic floss embroidery work?
Washing recommendations for metallic floss are a bit different then the regular cotton floss. Which makes sense, as after all you are stitching with polyester.
Wash your metallic floss embroidery piece in lukewarm water with maximum 30° C or 86 °F and use a mild detergent. Do not use bleach. After washing the piece, wrap it a towel to absorb excess water, then dry it flat. For dry-cleanable pieces, any dry cleaning solvent except trichloroethylene may be used.
Shop Metallic Floss