How to read a cross stitch pattern?
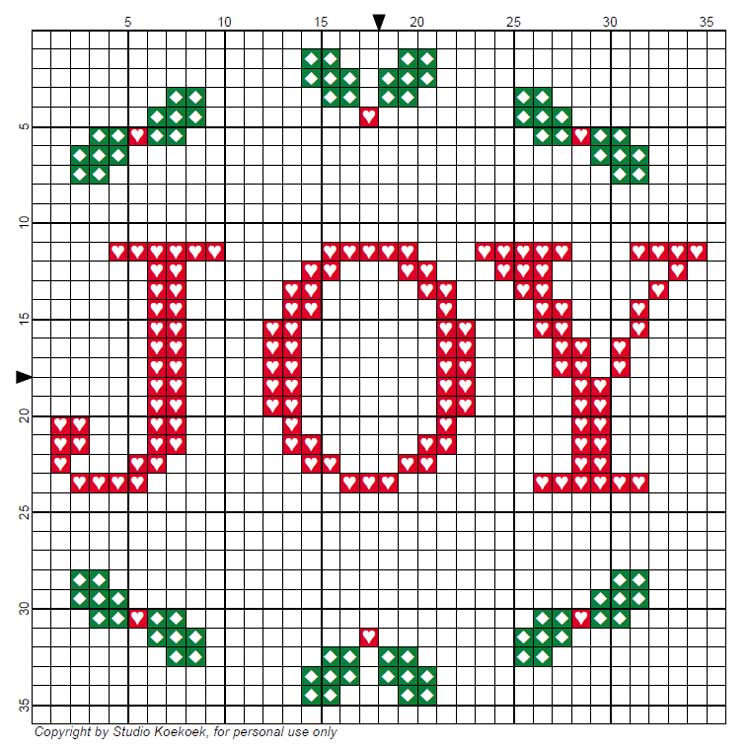
With counted cross stitch, the pattern is not printed directly onto the fabric, but provided as a digital PDF file or printed paper. A cross stitch pattern might look a bit intimidating at first but once you know how to read a cross stitch chart it is not that difficult. Each cross stitch pattern includes a grid with squares filled with symbols and a legend. Each symbol respresents a color of embroidery floss you have to use for the corresponding square on your fabric. So you read on the pattern grid which colors you need to stitch on your blank cross stitch fabric. Blank squares in the grid mean that you do not need to make a stitch there. You can just leave the fabric blank.
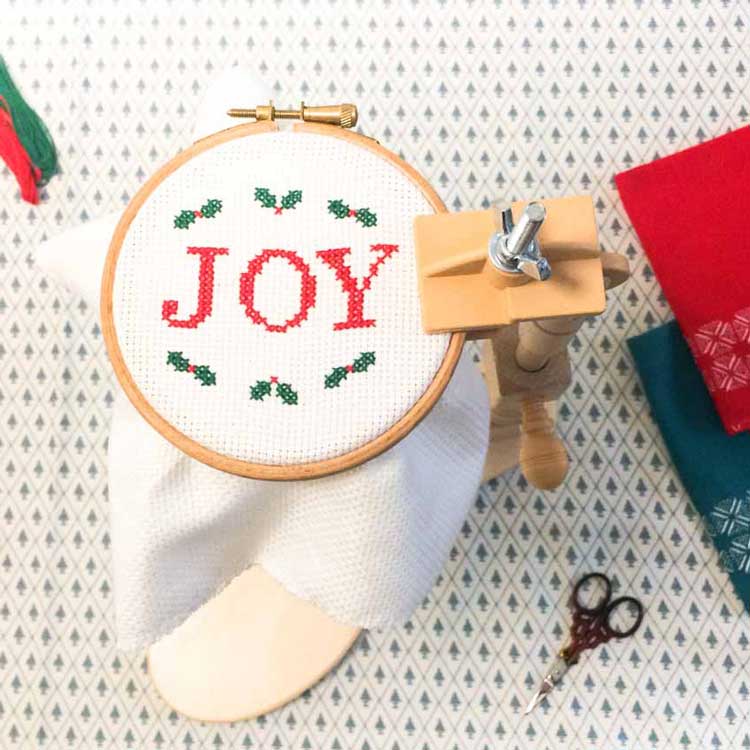
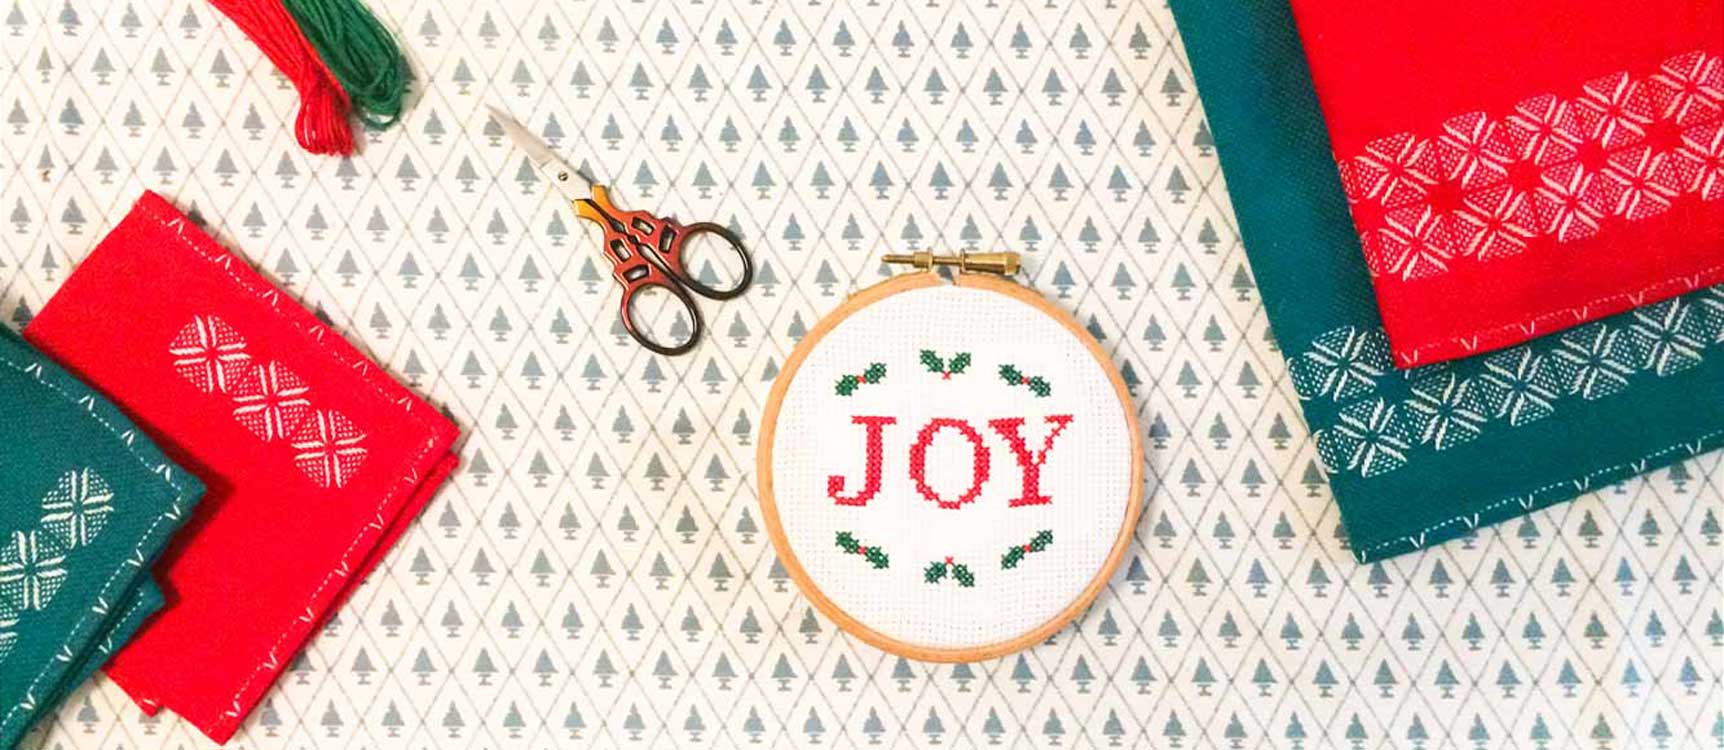
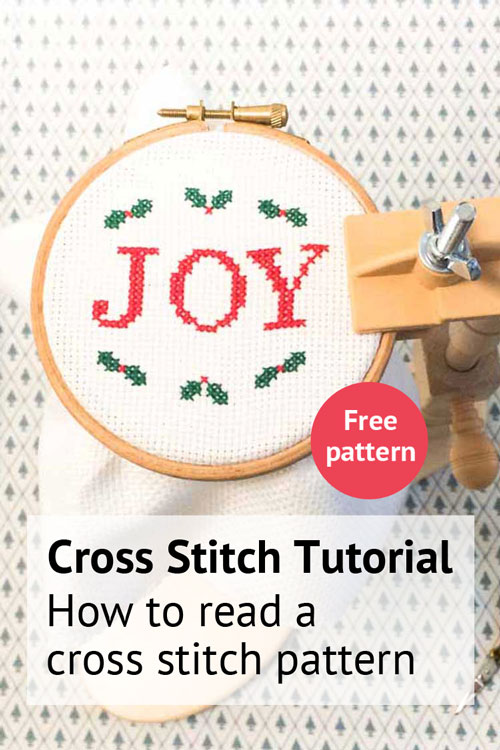
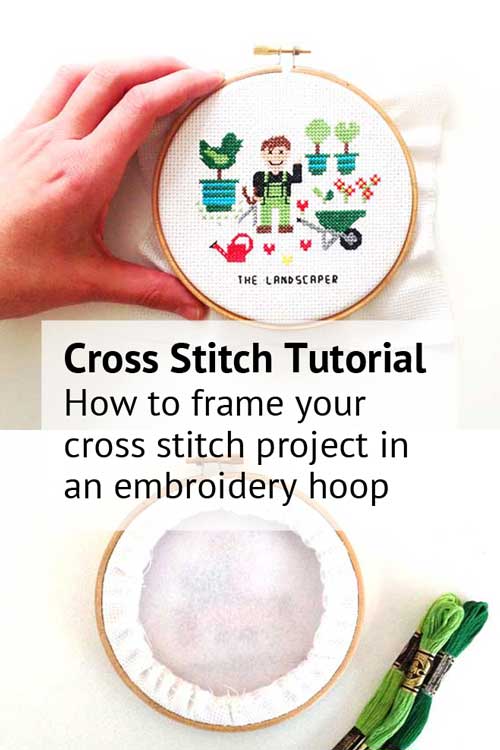
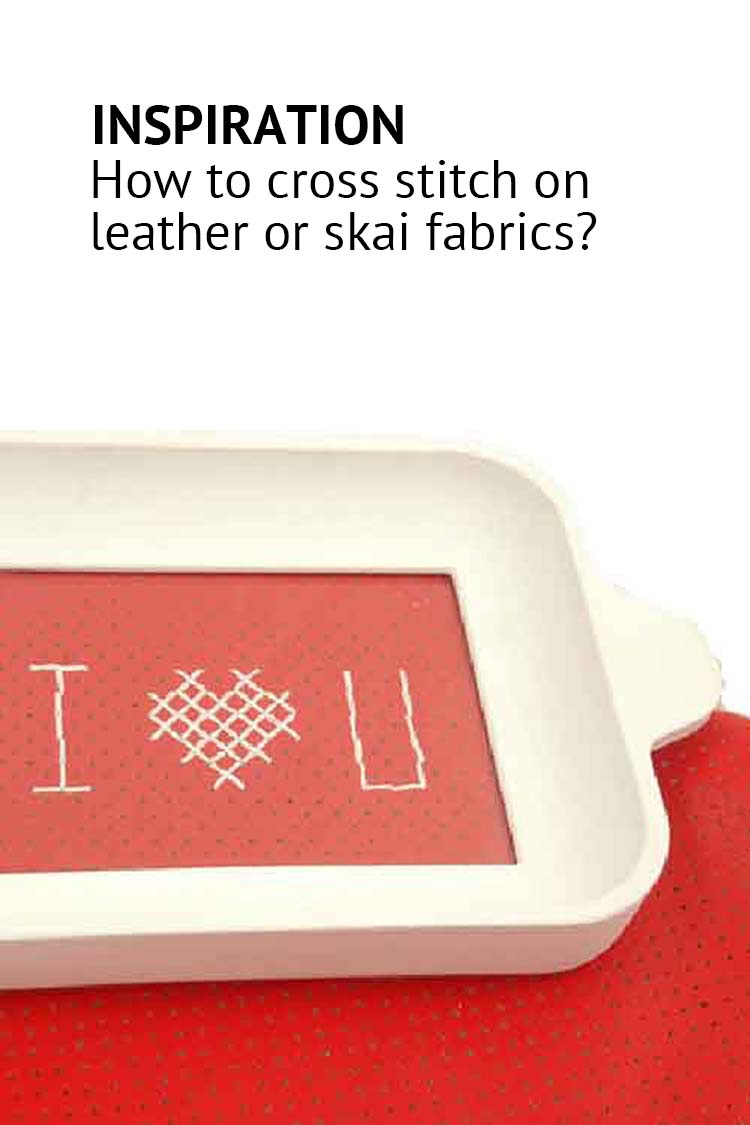
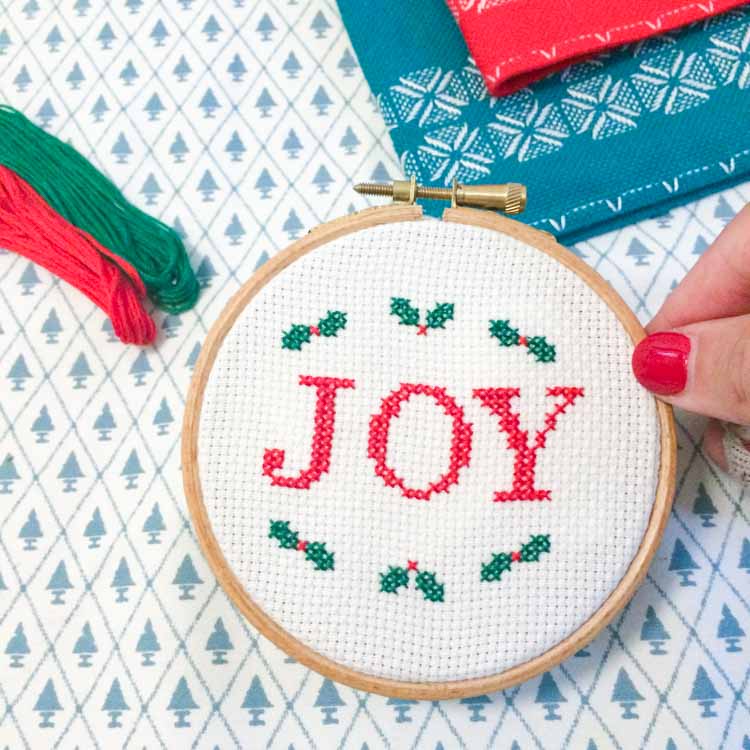
Completed cross stitch project in our embroidery hoop seat standard
How to read a cross stitch legend
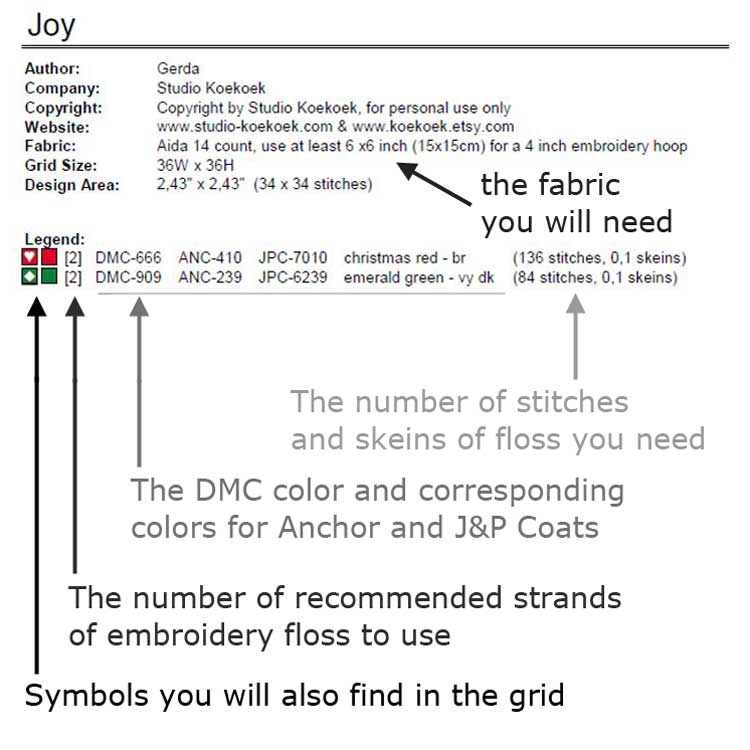
You will also find a legend on the cross stitch pattern. This key tells you what color floss you need to use when stitching that symbol. The key is a list of symbols, each with a floss number following it.
In the legends of our cross stitch patterns, we always include DMC floss colors, as well as the corresponding color code for Anchor and J&P Coats. The legend also tells you how many strands to use, indicated with the number between brackets directly next to the symbol, e.g. [2].
For our example we need DMC 666 and DMC 909 embroidery floss.
Example cross stitch legend
How to read a Cross Stitch Grid – Step by Step
Each square on the cross stitch pattern chart represents a single cross stitch, and correlates with one square on your Aida cross stich fabric. Fractionals are half filled squares or squares filled with two different colors.
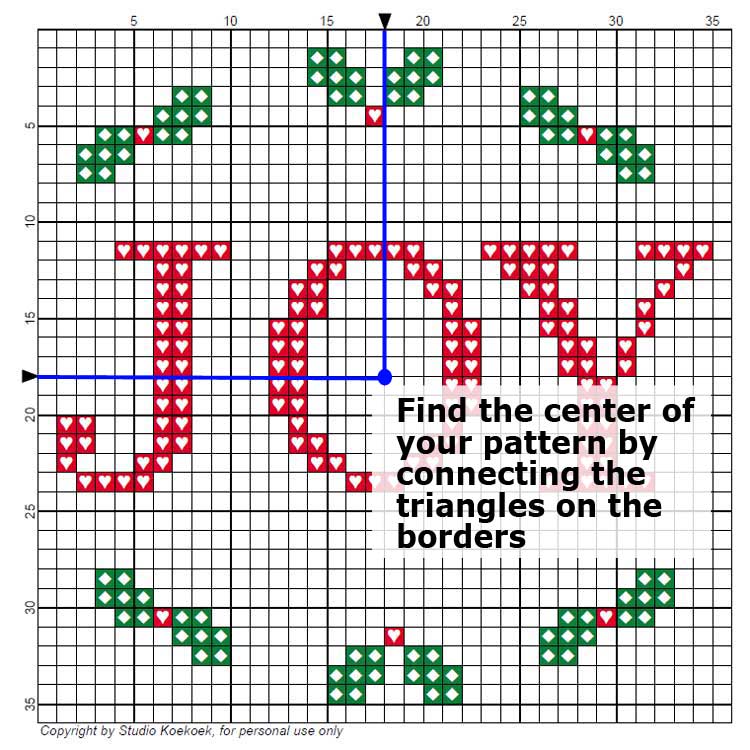
1. Start in the center of your fabric with the center of your cross stitch grid. You can find the center of your cross stitch fabric when you fold your fabric twice double. In the pattern we mark the center with two triangles
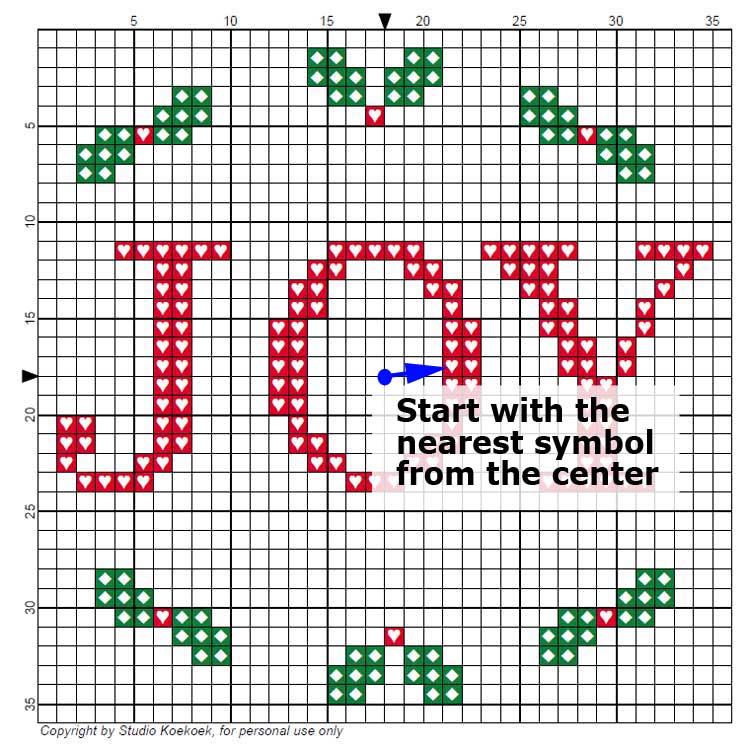
2. Note the symbol at your starting point. In the provided example, the nearest symbol is a ‘♥’ or heart symbol. As the exact center is blank, we will start 3 blocks right of the center.
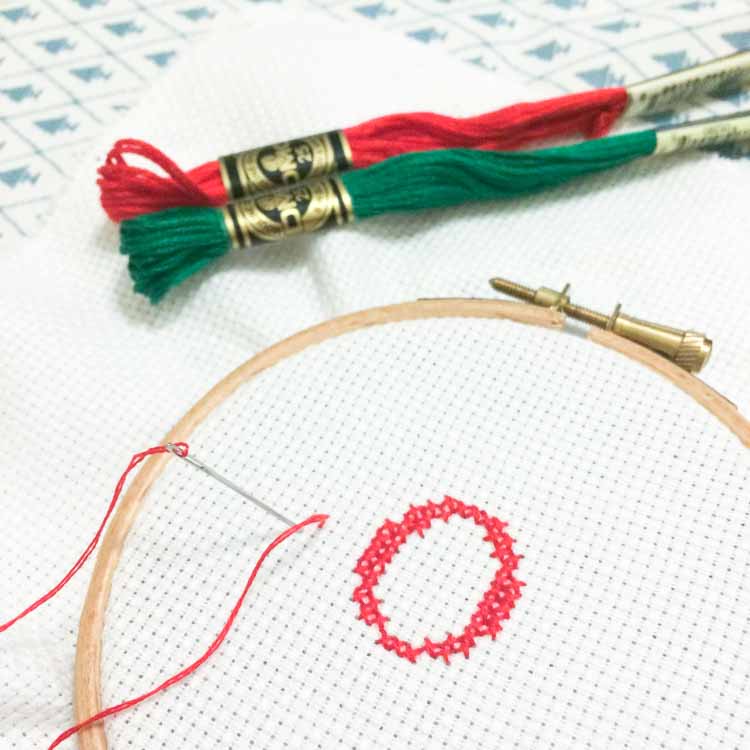
3. Search the symbol in the pattern key, and see which color it represents. In the provided example this is DMC666 (Christmas Red) , and the [2] number next to the color symbol indicates that we need to use two strands [2]. Thread a needle with the color and make your first stitch.
4. Look at your cross stitch grid for occurrences of the same symbol nearby (say within 4-6 stitches) and stitch those on your fabric.If you have to skip over stitches in different colors, you’ll need to count on the grid and then on the fabric how far to skip. Grids usually have every 10th line or 5th line of the grid darker to make counting easier.
5. Now go to the next symbol on your pattern and repeat step 2-4 until you have completed all the symbols on your chart.
How to keep track of where you are on a cross stitch pattern
There are lots of tricks for keeping track of where you are on the cross stitch chart. We love to work with a printed pattern and we mark all the completed stitches with a highlighter on the paper. Marking completed stitches makes it easy to compare the progress on your cross stitch with your cross stitch chart. And when you use a highlighter rather than a pen, you can still see what symbols you already stiched.
When you want to reuse your cross stitch chart, you can put the pattern page in a transparant plastic cover. Mark the plastic instead of the chart. Use a water-soluble marker rather than permanent. This keeps your chart pristine, and if you accidently mark something you didn’t intend, you can erase it with a damp cloth.
When you work on a large cross stitch project it also helps to make a grid on your fabric with a washable pencil. Use a ruler and make stripes on your fabric for every 10 stitches by 10 stitches. Or make your life easier with our magic aida. This fabric already has a grid, which you can easily erase with water after you finish cross stitching.
