How to wash your cross stitch project | Taking care of your completed cross stitch work
In this blog we share our tips for taking care of your completed embroidery work. We explain how to wash your cross stitch project once your are finished stitching and how to iron your piece. You can also learn a few important precuations to prevent you will ruin your embroidery project when washing it.
It may be tempting to frame the piece directly, but after spending so much time working on your embroidery hoop art, we recommend a quick wash first.
When you wash your cross stitch project, marks made by your embroidery hoop will dissapear. Even stubborn creases will go. And that results in a neather looking framed piece. Even when you decide to frame it in your embroidery hoop again.
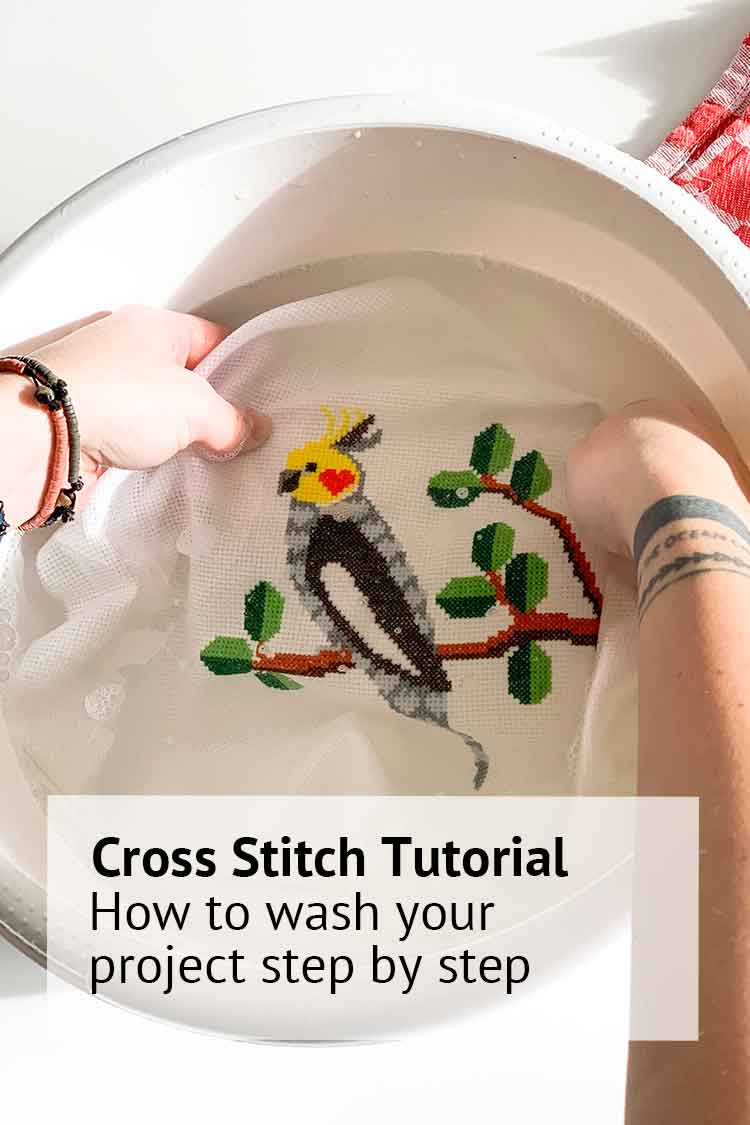
What materials do you need to wash your cross stitched fabric?
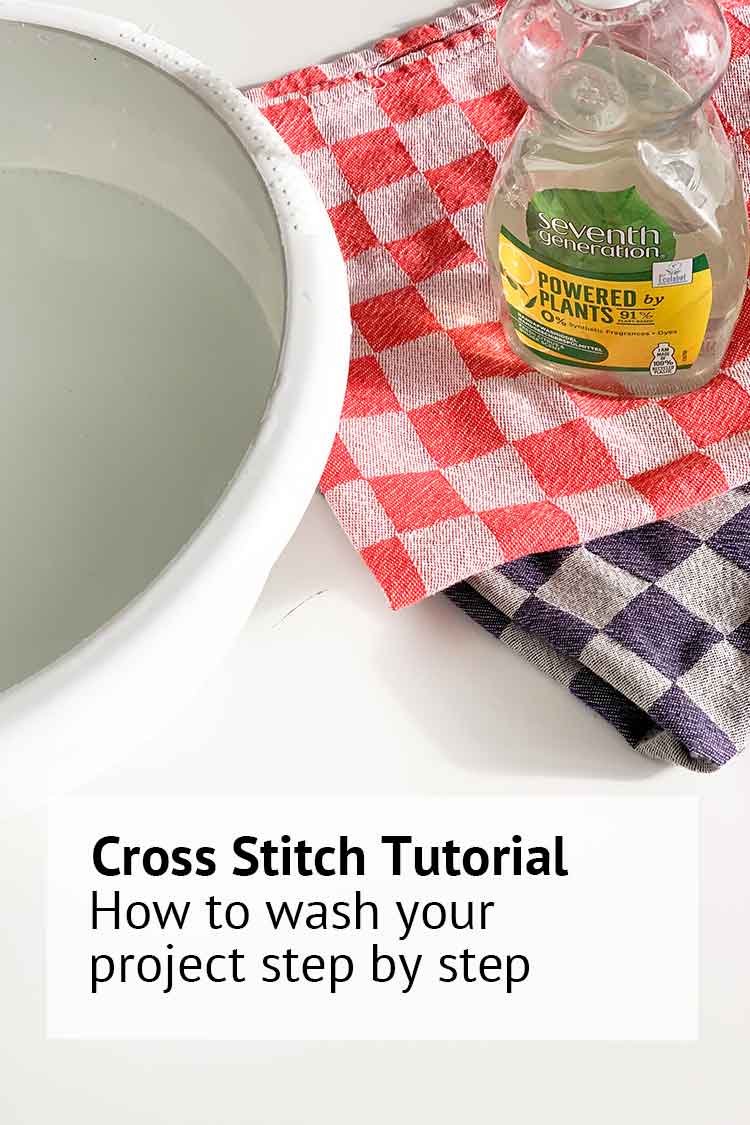
Gleefully, you do not need a lot of special tools to wash your cross stitch project. You will probably already have all the following at home:
- Mild soap or dish washing soap. Ensure it’s a mild soap. In doubt, use dish washing soap. Aggressive soaps may darm your floss or fabric.
- A bucket to soak your fabric in some water.
- A soft tooth brush to use in case of stains.
- A set of clean kitchen towels to remove excess water from your washed fabric.
- Steam iron if you do not own a steam iron you can also use a wet kitchen towel.
- Ironing board to make your ironing efforts easier.
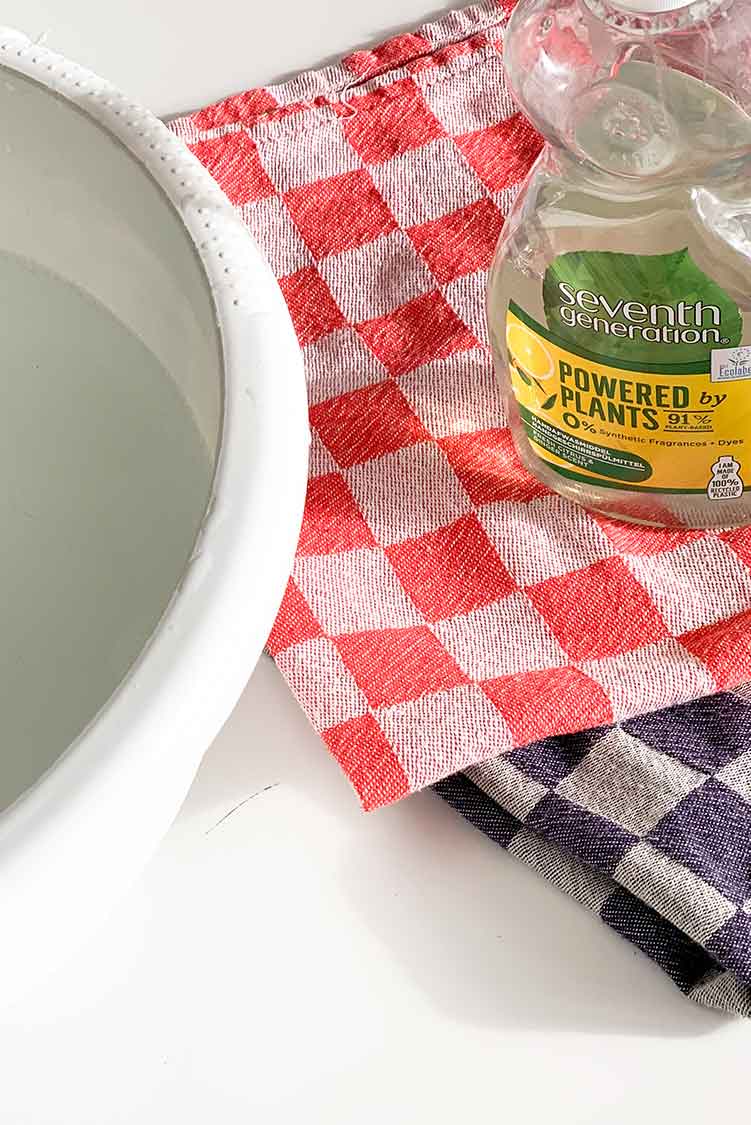
Precaution check for color fastness
- For large cross stitch piece you can use a wet piece of white cloth. For smaller areas you can use a wet cotton swab. Gently rub the cloth or swab over the different colors of your piece.
- If there is any color transfer to the white cloth or swab, don’t wash your piece at all!
- Washing will result in discoloration and fading.
How to wash your cross stitched fabric
Before you start rinsing your cross stitch work, check its status. Especially when you wash it after use.
- Are all the threads secured behind a few threads? You want to prevent that stitches come loose once you wash your piece. Secure any loose ends behind a few threads.
- Are there any stains? Do you know what they are?
1. Rinse your completed cross stitch piece
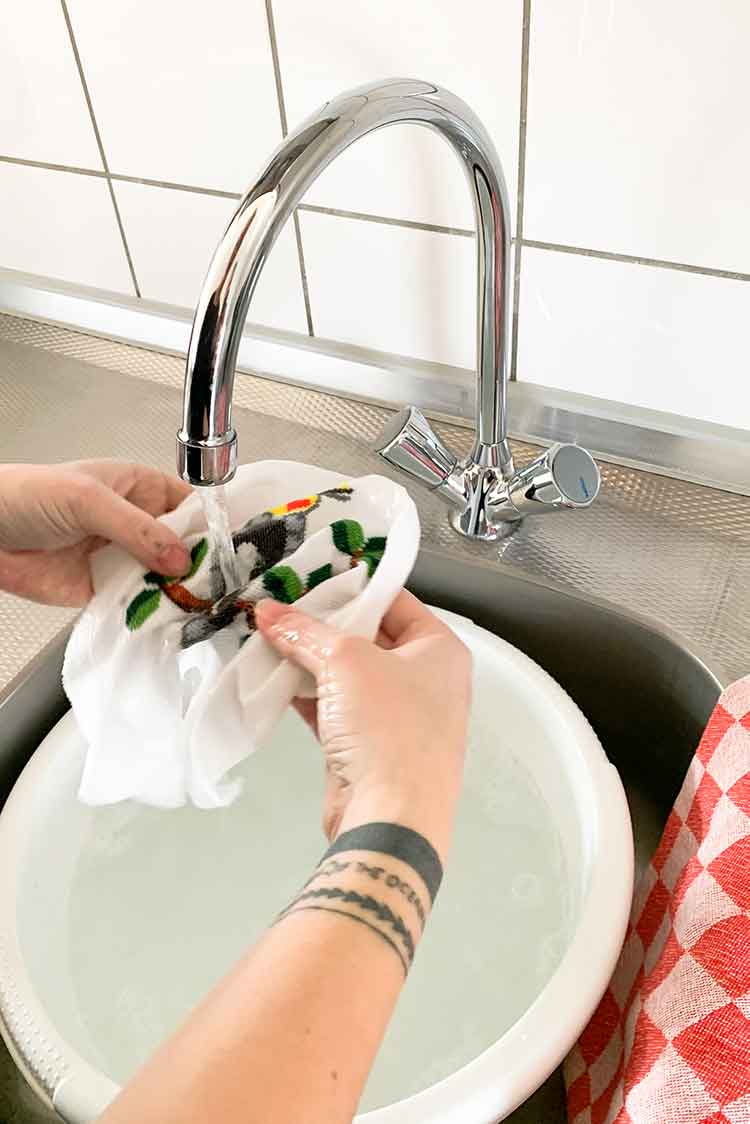
Open your cold water tap and keep the water running. Rinse your cross stitched fabric in the running water.
2. Soak your completed cross stitch piece
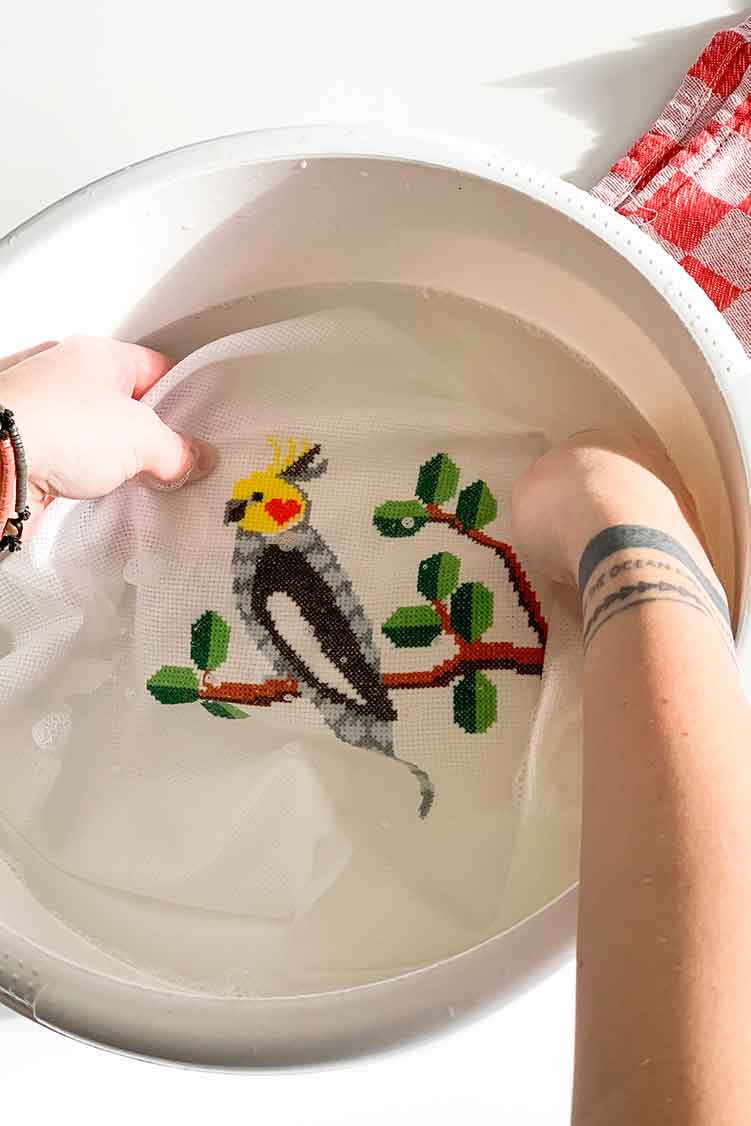
Fill a bucket or container with lukewarm water. Ensure your water is not hot. It should be ‘room temperature’. Add a few drops of mild soap.
Add the fabric to your soapy water and let it soak for 15-60 minutes. If you notice a stain, you can try rubbing gently with a soft toothbrush. Do not scrub or wring as it might damage your embroidery.
3. Rinse clean
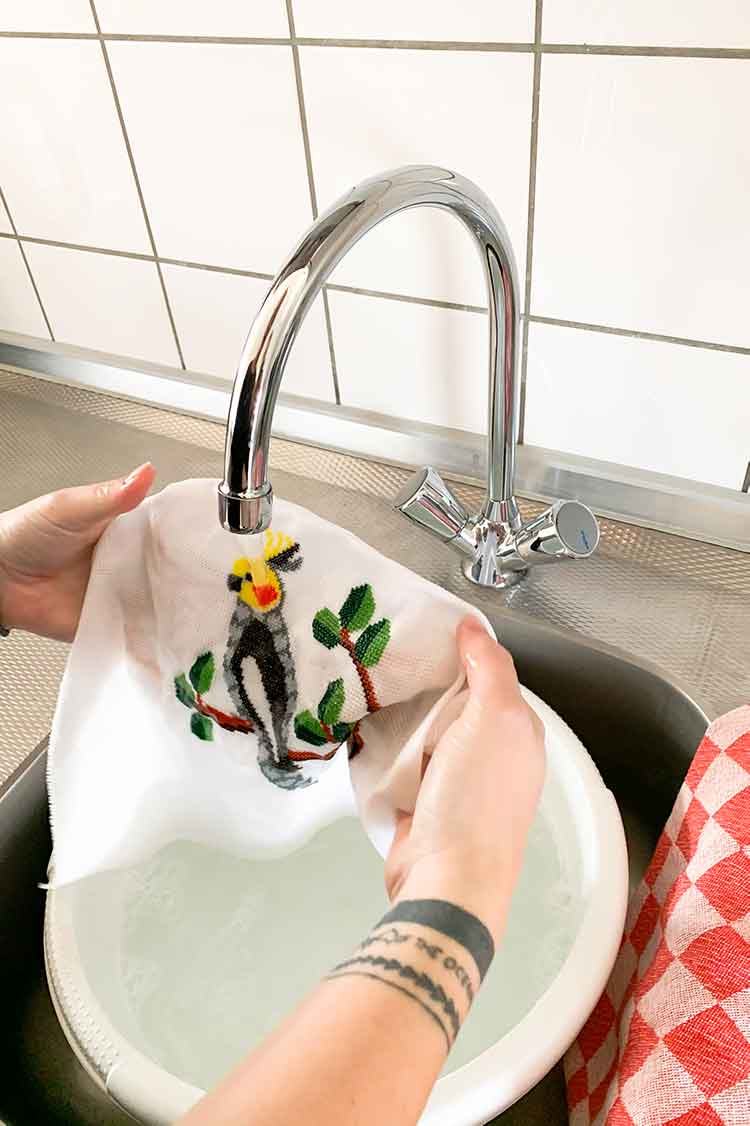
Take your piece out from the bucket and rinse with cold water until it is free of soap.
4. Remove the excess water
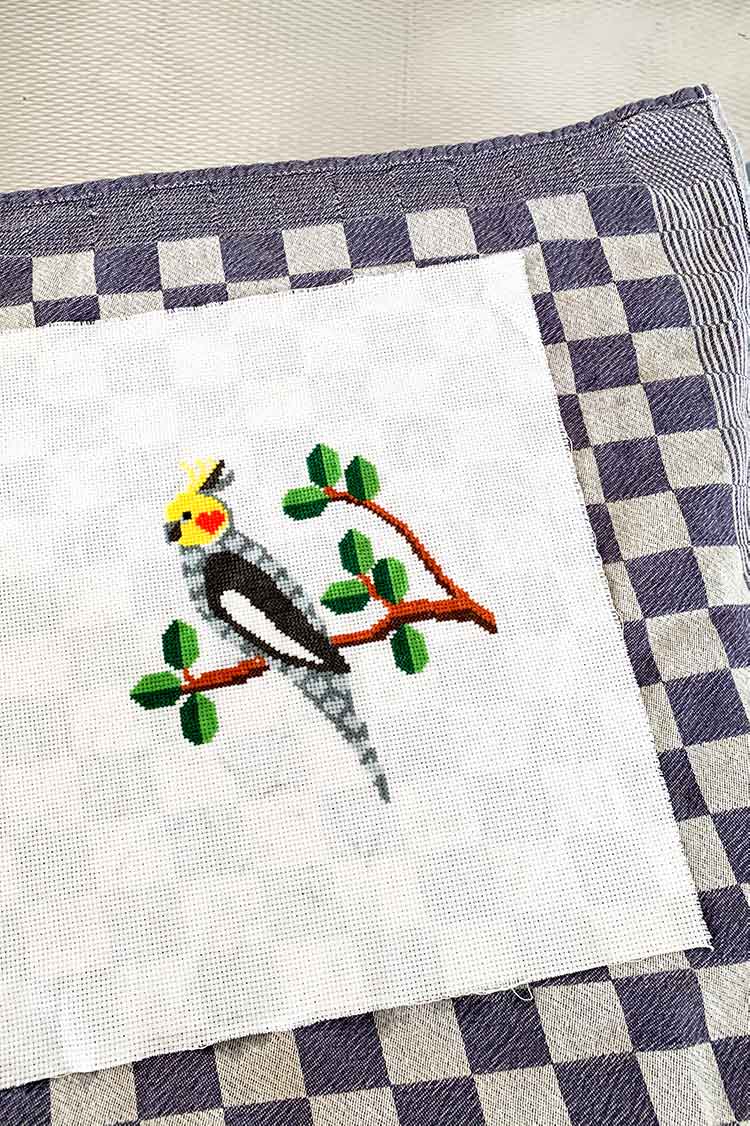
Do not wring your fabric. If you wring your fabric you might create new wrinkles and damage your work.
Instead, lay your fabric on a towel.
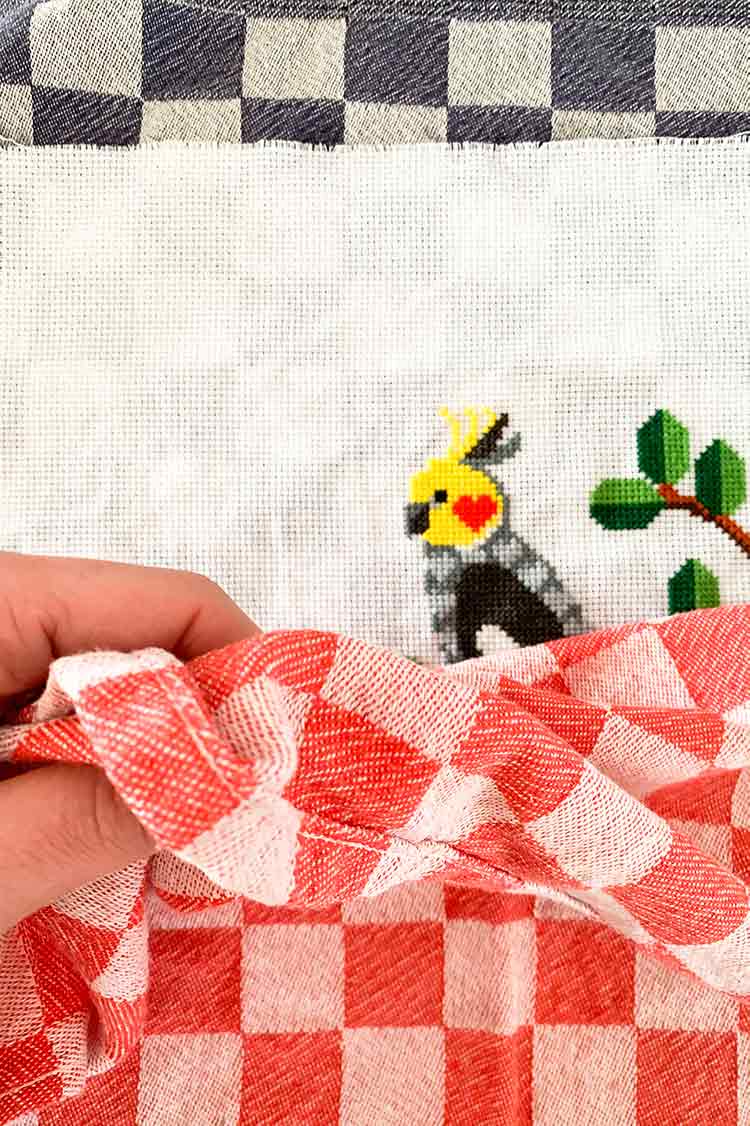
Cover it with another towel. Press the towel down with your hand.
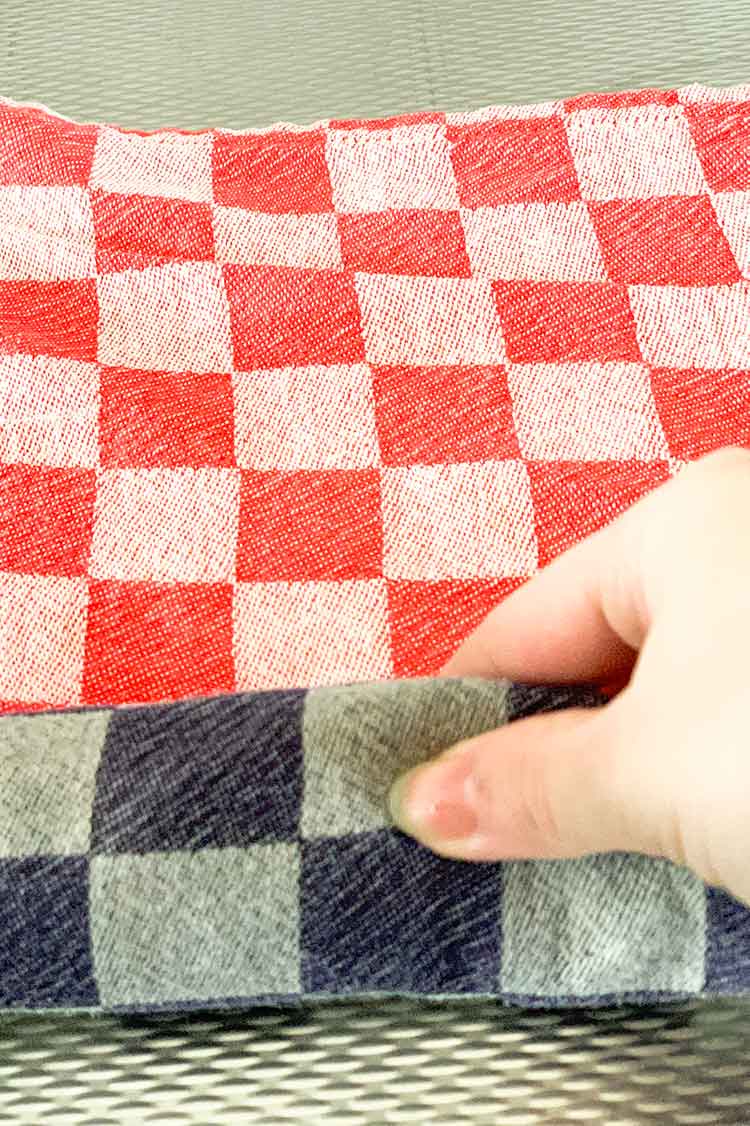
Pressed in time? Don’t squeeze!
Your work will be happier when you roll it between two towels and softly press it.
How to iron your cross stitched fabric
It’s easiest to iron your piece when it is still damp.
Place your cross stitched piece face-down on your ironing board.
Use the steam function of your iron, and ensure your iron is clean before you preceed. If you do not have a steam function on your iron you can lay a clean wet kitchen towel on top of cross stitched piece.
With a warm iron, press the work from the back. Make sure to keep the iron moving at all times so you don’t damage the fabric.
Always iron from the backside of your embroidered work. You may damage or flatten your stitches when ironing from the front.
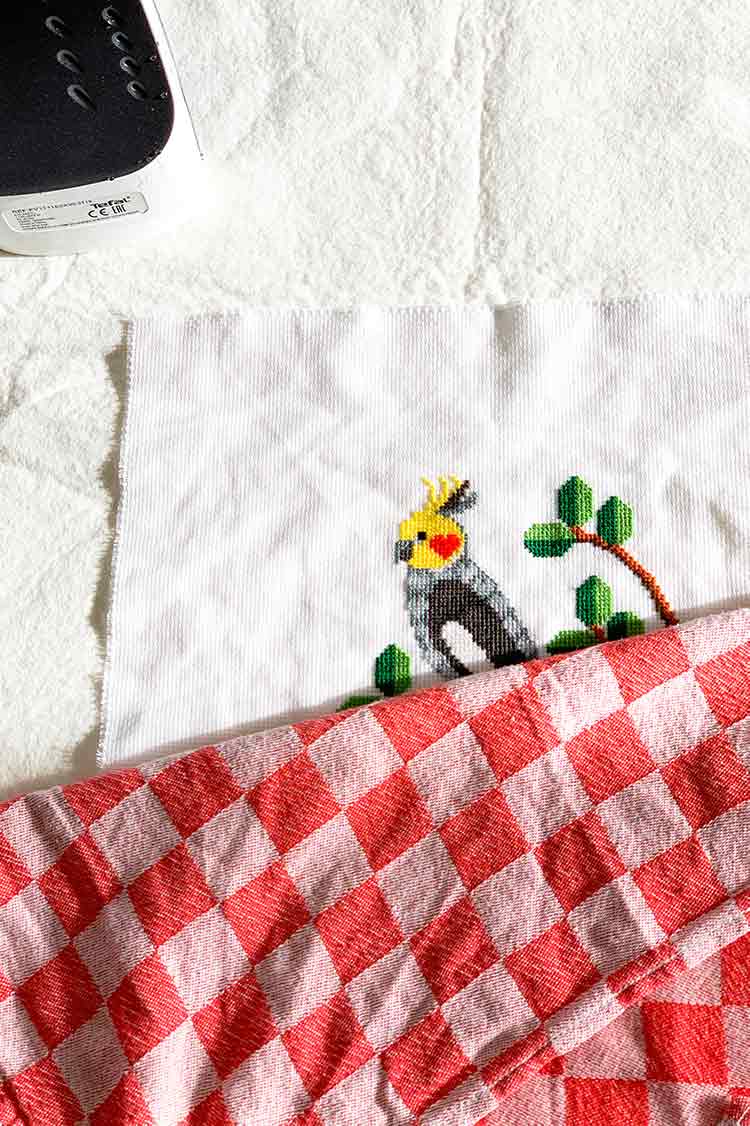
Thanks to Femke ten Caat for test stitching the Cockatiel design. You can find the DIY kit for the bird here in our shop.
And thanks to Mariska from Stoffen Werkjes for her kind assistance in making the pics for this blog.
Frequently asked questions about washing your cross stitch work
How can I clean a vintage embroidery piece?
You may inherit a beautiful embroidered piece or score one in a vintage market. To clean your piece we recommend the following steps:
- If the piece has great monetary or sentimental value, consider consulting with a professional textile conservator. Your local art museum should be able to recommend one.
- Use your vacuum cleaner to remove excess dust. Cover the end of your vacuum hose with a piece of nylon stocking or light mesh. Use your vacuum cleaner at low power (if you can regulate). Start on the front of the piece, vacuum while keeping the hose end a little bit above your fabric. Do not touch the embroidery stitches. Repeat the process on the backside of your project.
- If the piece is still dirty, you can try hand washing it. Follow the tips in our blog
Can I wash an embroidery piece with beads?
Yes. If you checked that your floss and fabric are color fast you can go ahead to gently hand wash your piece as described on our blog.
Beads are fragile pieces so you should not wringle your fabric or iron it. You can flat dry your piece.
Before washing your piece, Ensure all beads are securly attached to your fabric. When needed, add ad few stitches to make them more secure.
How you can prevent your colors will run when washing your embroidery piece?
The best way to prevent that your colors will run is to stitch with color fast materials. DMC floss is washable and colors will stay nice over time. But sometimes you may want to stitch with a speciality yarn that is hand-dyed and/or not color fast. Follow below tips to test if you can wash your piece.
- Try adding a little piece of the floss and/or fabric to water and see what happens. If the colors run easily we recommend not to use any water to clean your projetc. You can ask your local dry cleaner if they can clean your piece.
- You can also try using special color catchers in your water. We have no experience using those but some of our customers mentioned it helps them to wash embroidered pieces with silk. In the USA you can find “Shout Color Catcher”.
Can you remove pencil lines of your cross stitch fabric?
That depends on the pencil you used when marking your fabric ;-). We sell washable chalk pencils in our shop. You can simply remove lines made with those pencils when using water. Alternatively you can use calcium tablets that seamstresses use.
Using a pencil is handy to grid your cross stitch fabric when working on larger counted cross stitch fabrics. With a grid on your fabric it is easier to count where you are on your pattern.
