How to finish the edge of a latch hook project | How to make a latch hook pillow
In this blog you can learn step by step how to make a pillow from your latch hook project. We share a list of supplies needed for latch hooking, and specific tips and tricks for making a latch hook cushion from your finished project. You may also like to read our earlier blog with step by step instructions for latch hooking.
Which materials do you need to make a latch hook cushion cover?
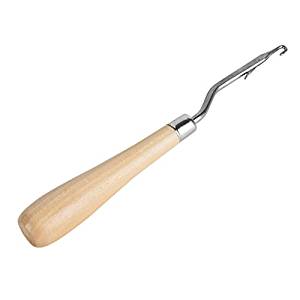
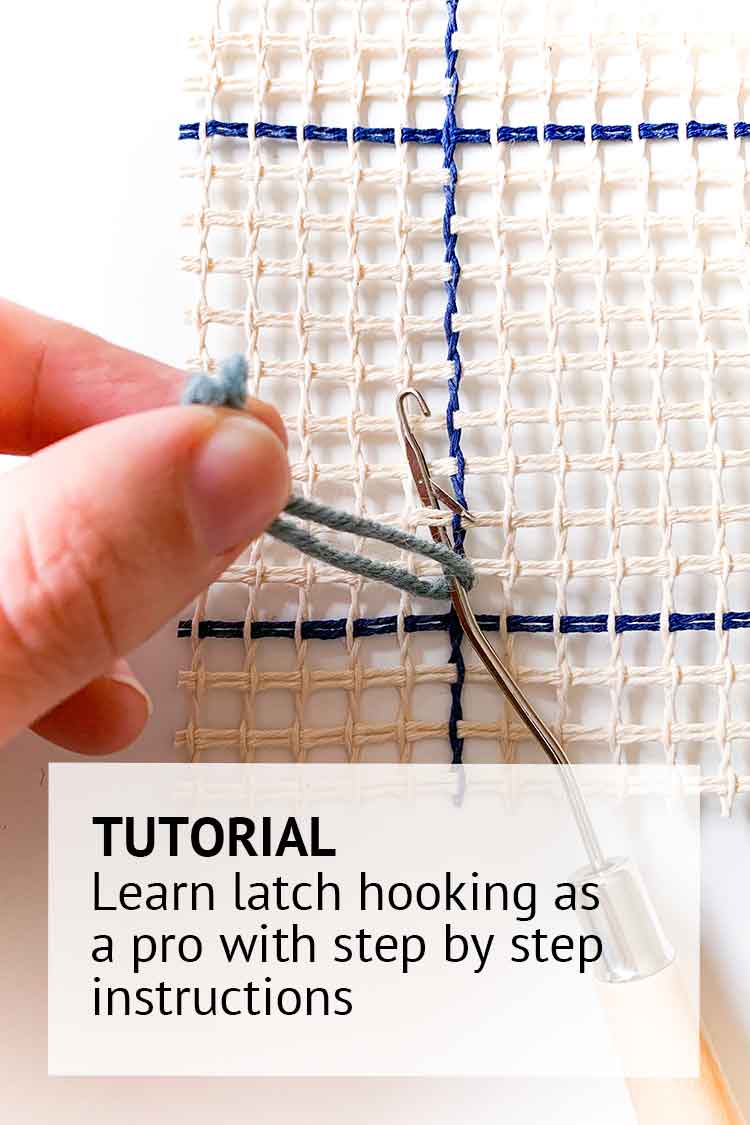
1. A latch hook
In our tutorial “how to latch hook for beginners” you can learn how to make your project.
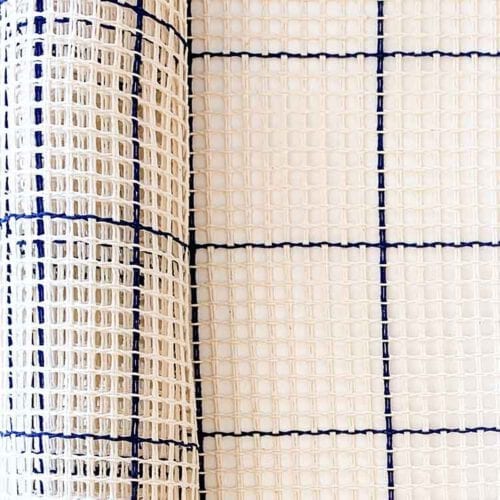
2. Rug canvas
For this project we’ll use our interlock canvas. With 50 x 100 cm, you’ll have enough to make 2 cushion cover fronts.
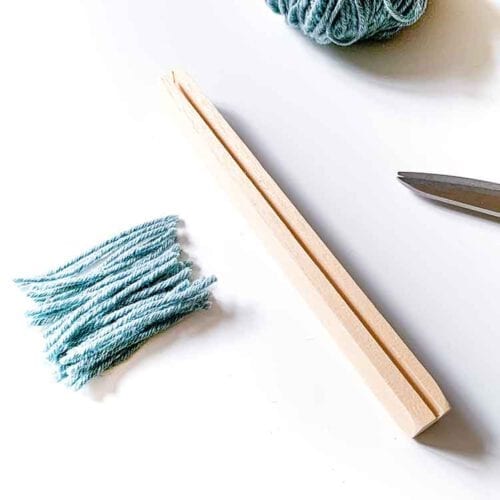
3. A yarn cutting tool
With our yarn cutting tool you can easily cut your wool to regular smyrna lenghts.
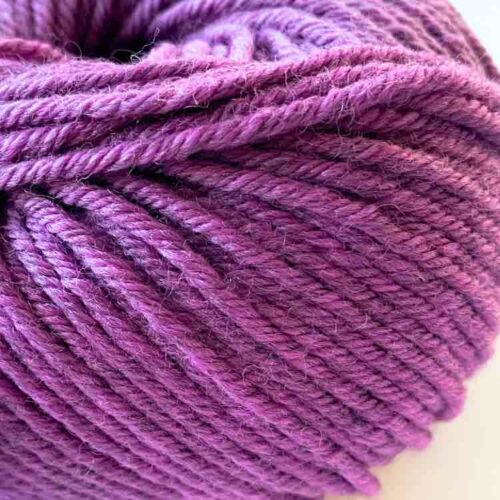
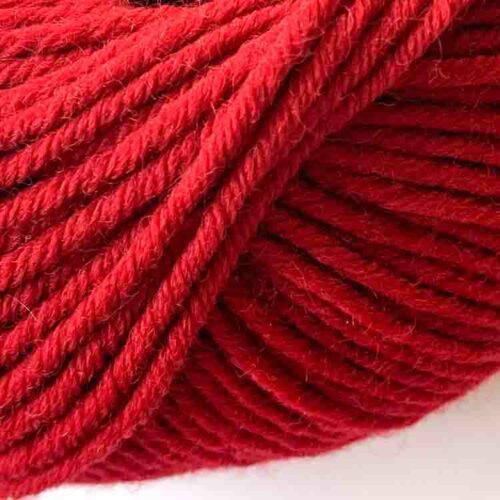
4. Gordita ecological wool
With this beautiful ecological wool you’ll make a very soft latch hook cushion or rug!
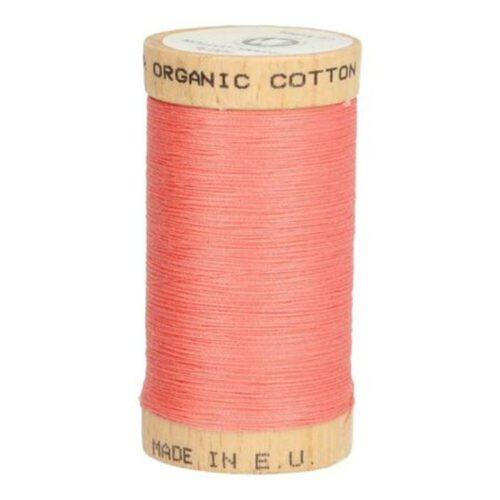
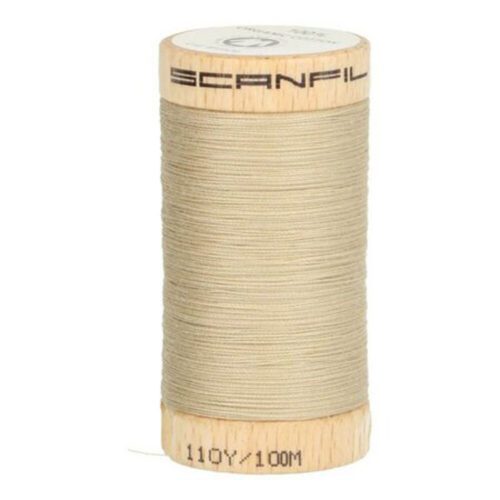
5. Sewing thread or yarn
You will use sewing thread to attach the cushion back. For finishing the edge of your project you can use sewing thread or leftovers from your project.
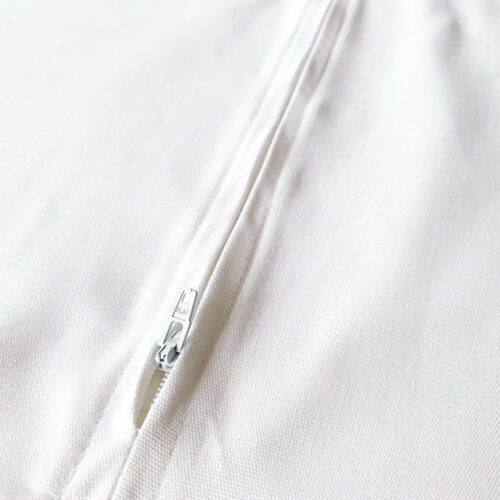
6. Cushion back
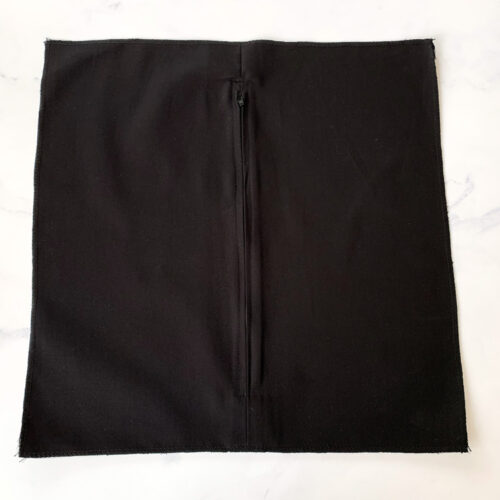
A cushion back already comes with finished edges and a zipper. This makes the project supereasy!
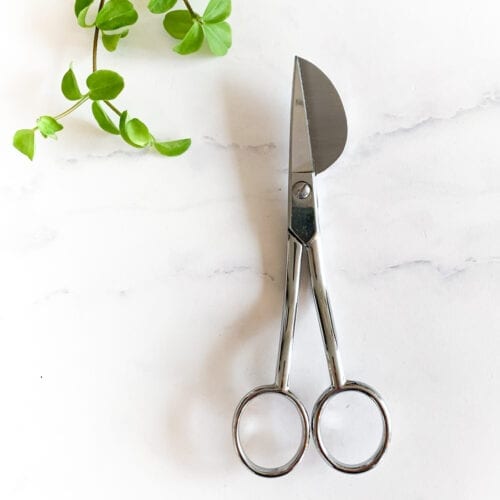
7. Application scissors
Application scissors are very helpful for cutting your latch hook yarn at equal height.
8. Needles
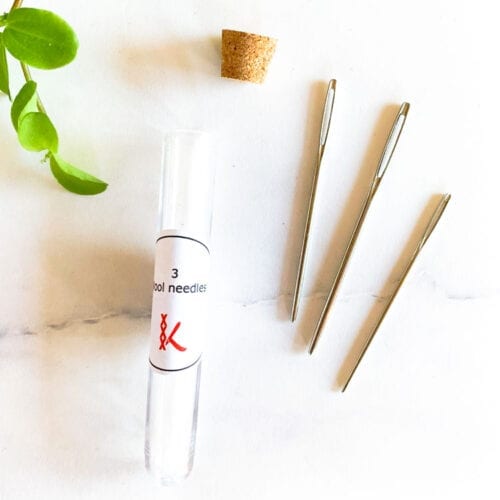
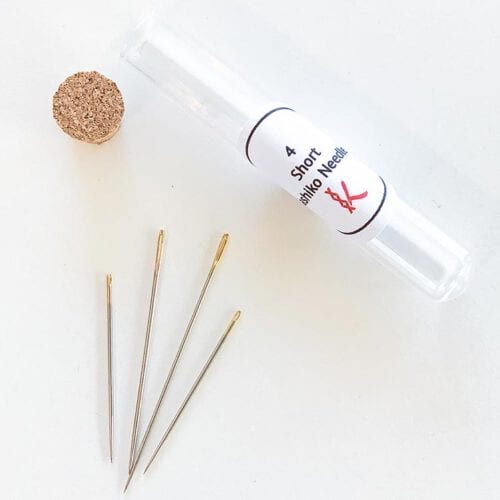
You may like to use a blunt tapestry needle and a sharp embroidery needle to finish your project. We like to use our Tapestry & Sashiko needles.
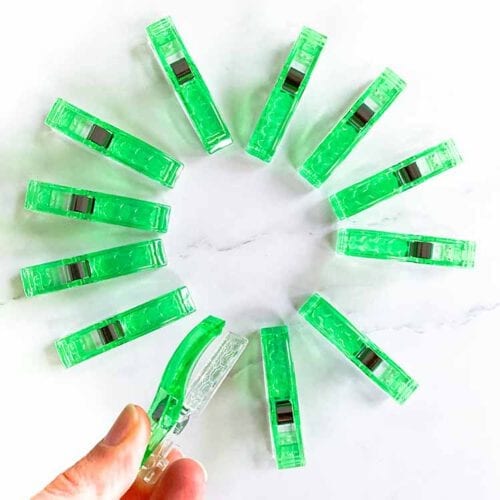
9. Clamps
Handy to hold your canvas in place when you’re sewing it to the cushion back.
10. Cushion insert
When using our cushion backsides. use a cushion insert of 40 x 40 cm.
Clean up your latch hooking project
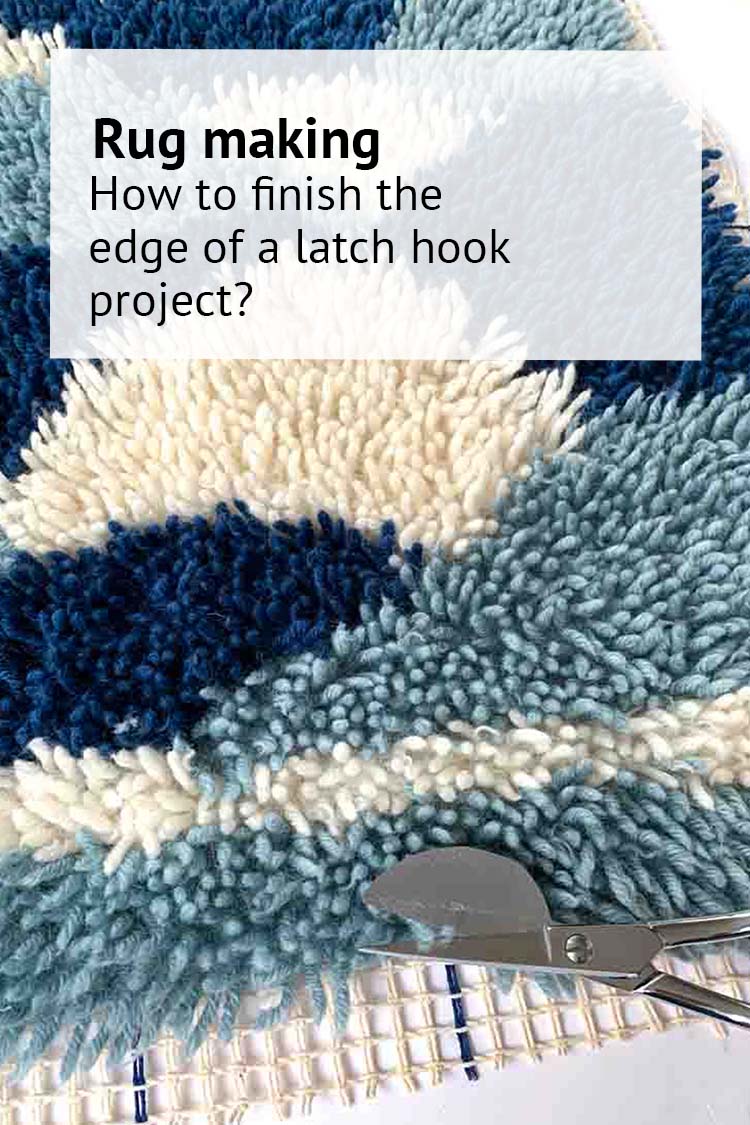
Before we finish the edges we will clean up any unevenness in the latch hook project. You can use any scissors you like, but with a pair of application scissors it’s easier. The Pelican shaped plate of the scissors help to spot uneven lenghts of threads.
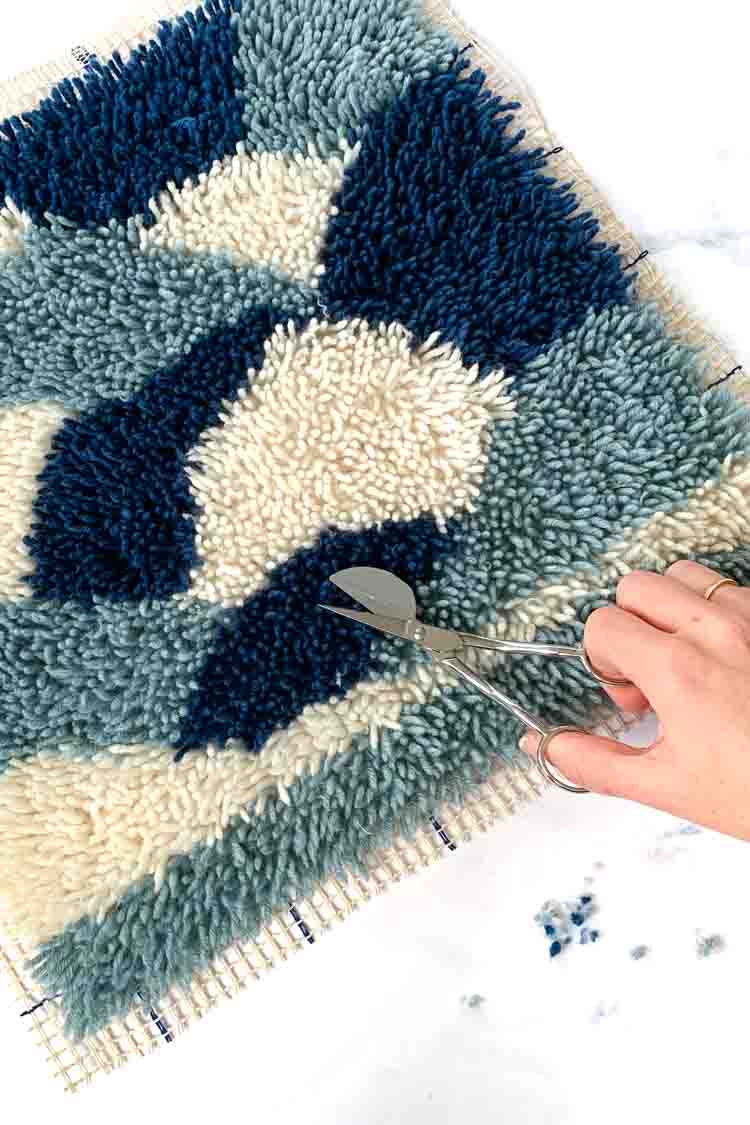
Lay your work flat on the table. Use your hands to push the threads upwards. With the scissors search for threads that are significantly longer than the majority.
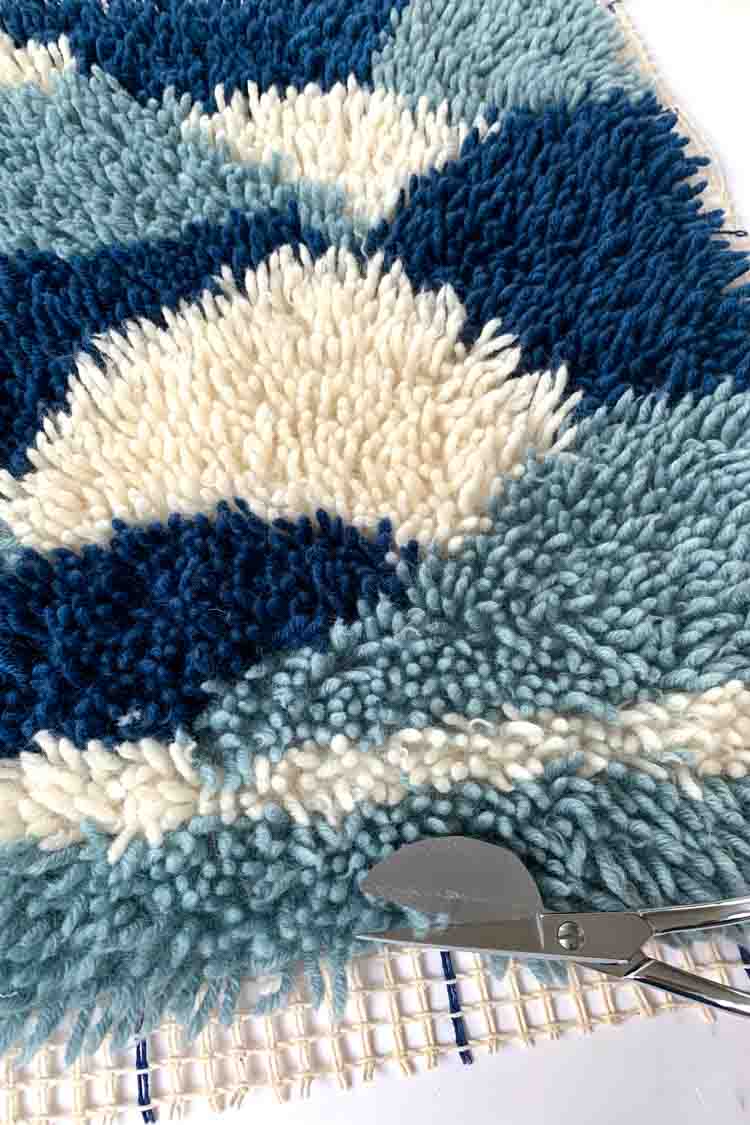
Cut the excessive length from the threads. Focus on threads that are really standing out from the crowd. Don’t try to reach perfect evenness in your project. There will always be a few threads that are a few milimeters longer than others, but nobody will notice this.
How to finish the edges of your latch hook project
We always recommend to make your latch hook project on a canvas that’s a few rows and collumns bigger than your anticipated project. You will leave this border empty. We will now share how you’ll finish these edges.
Step 1
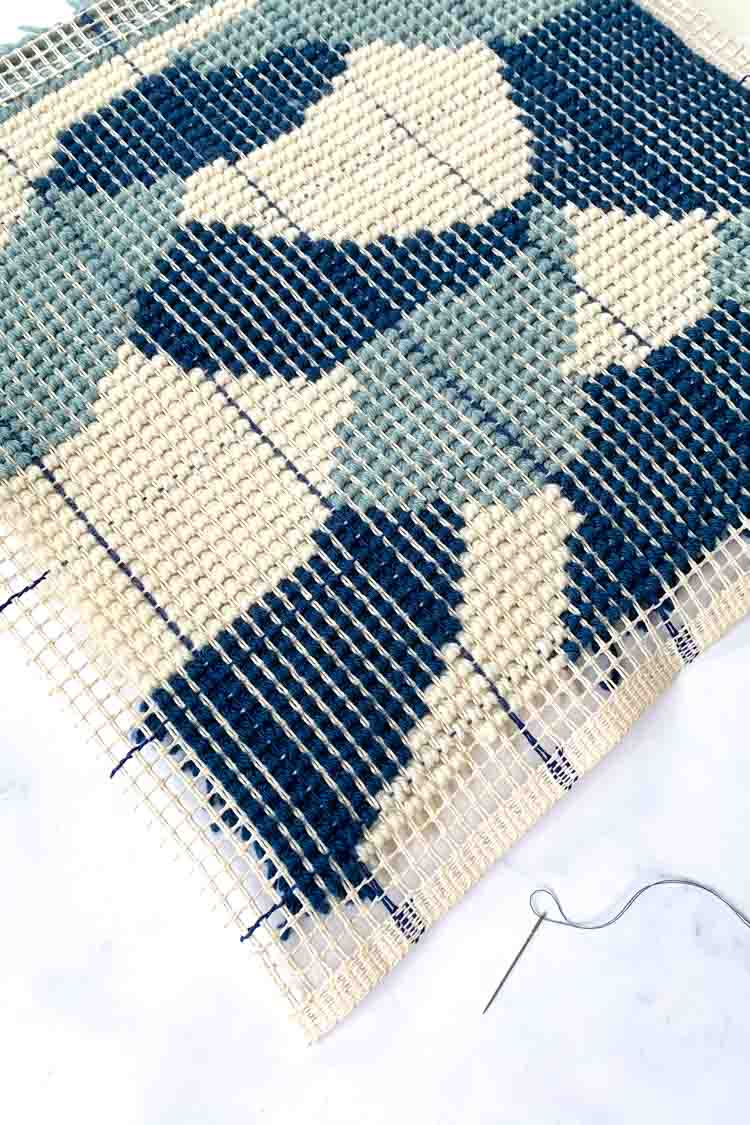
Thread a needle with some sewing thread.
Step 2
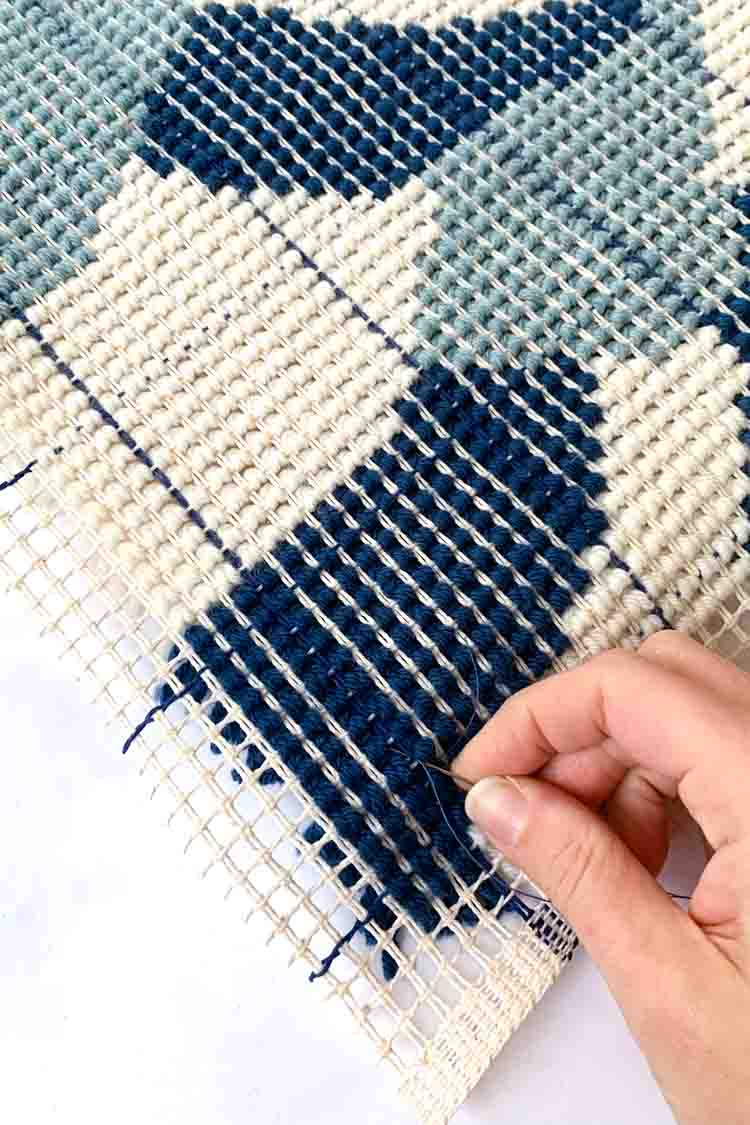
Secure the thread to one of the corners of your canvas. As shown, do this in a row where you made some knots.
Step 3
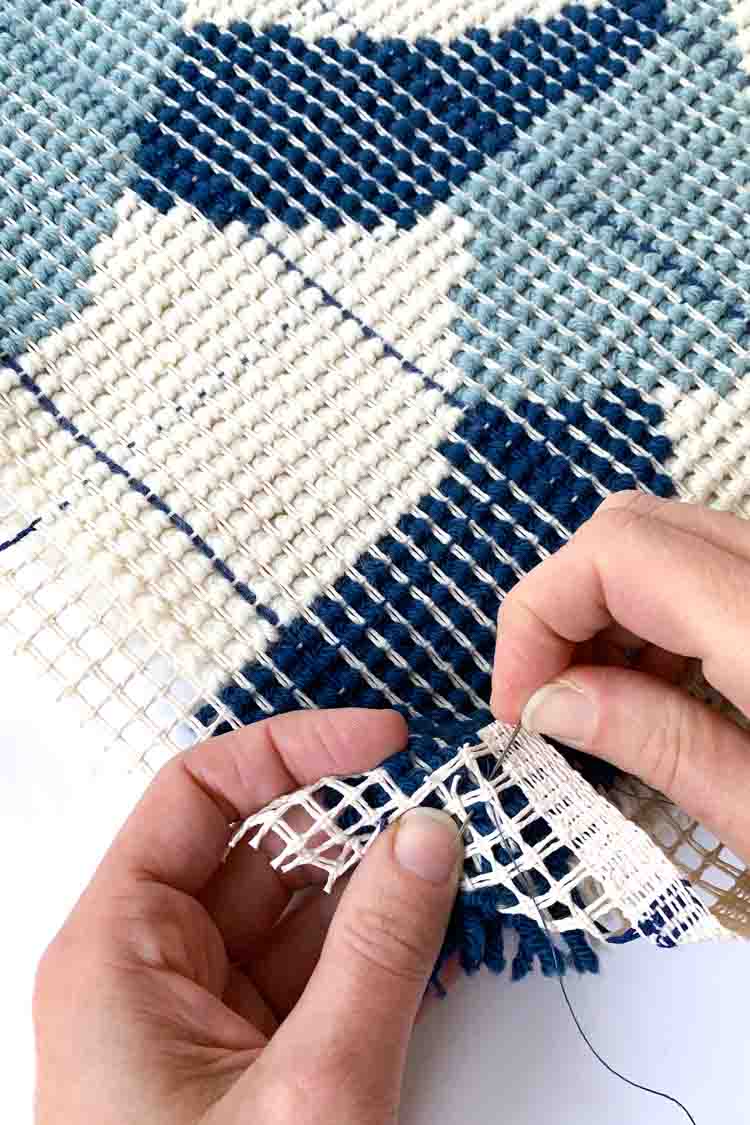
Fold the empty corner of your canvas in a triangle to the middle of your canvas. Make a stitch through the canvas to keep it in place.
Step 4
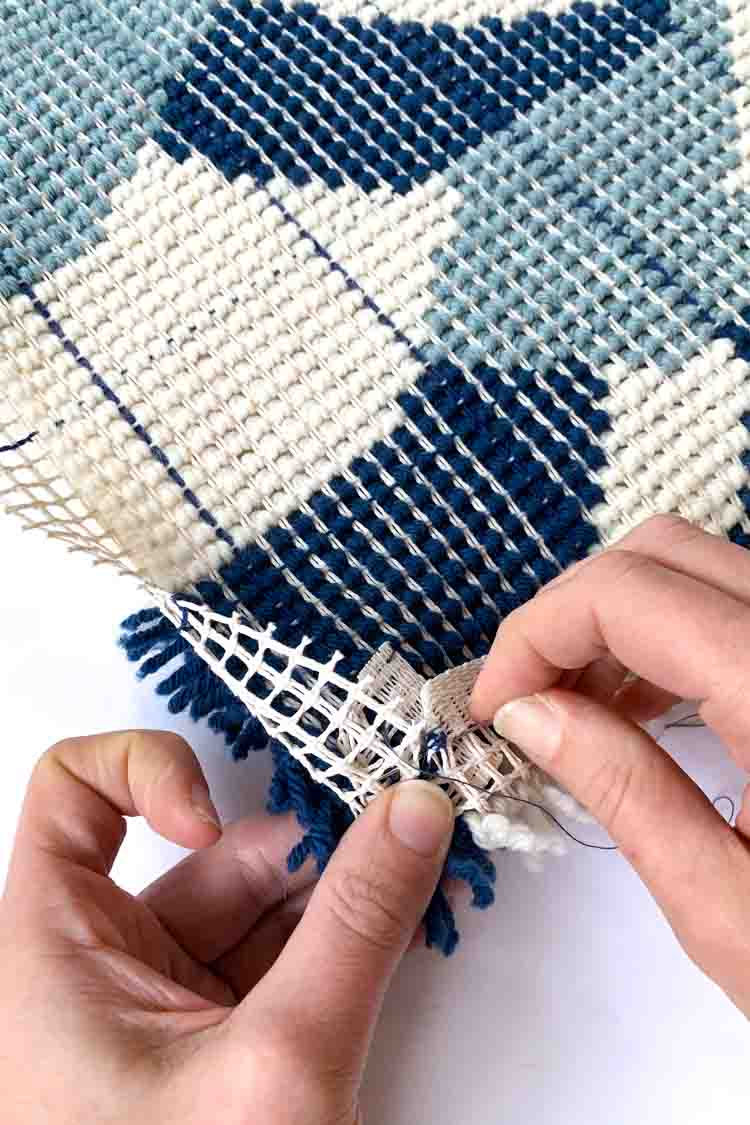
Fold the corner edge of your canvas such that your line up two triangle shapes in the corner. Stitch the layers to eachother.
Step 5
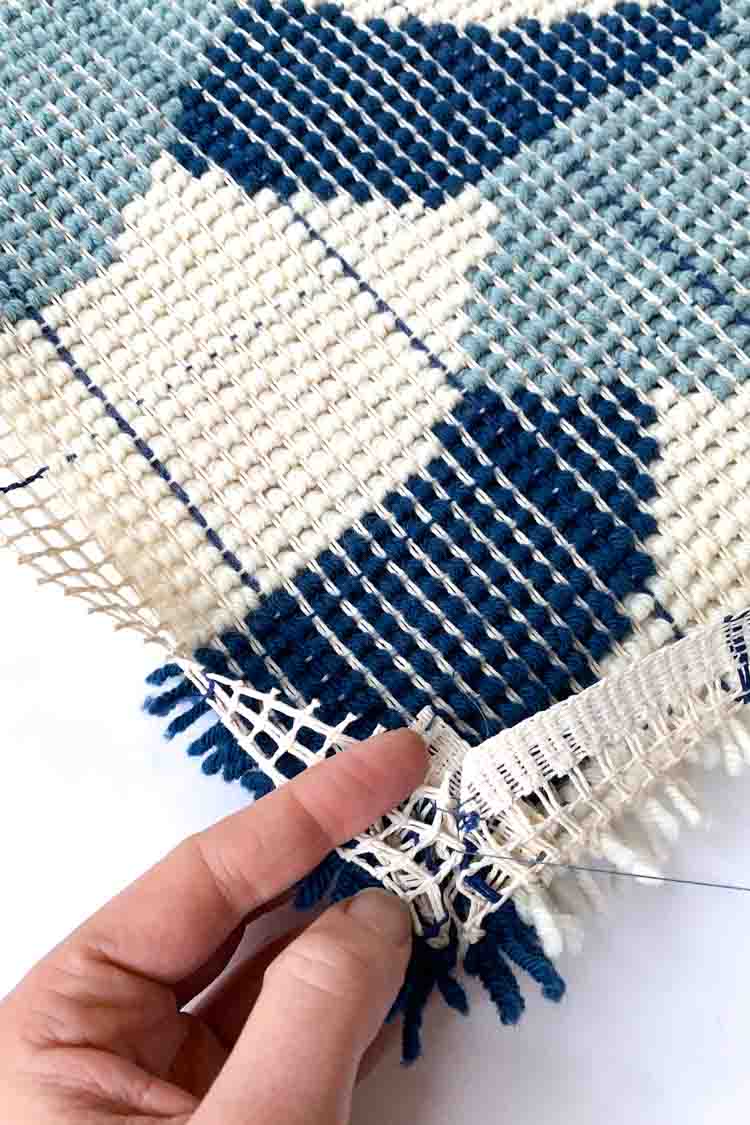
Fold the corner edge of your canvas such that your line up two triangle shapes in the corner. Stitch the layers to eachother.
Step 6
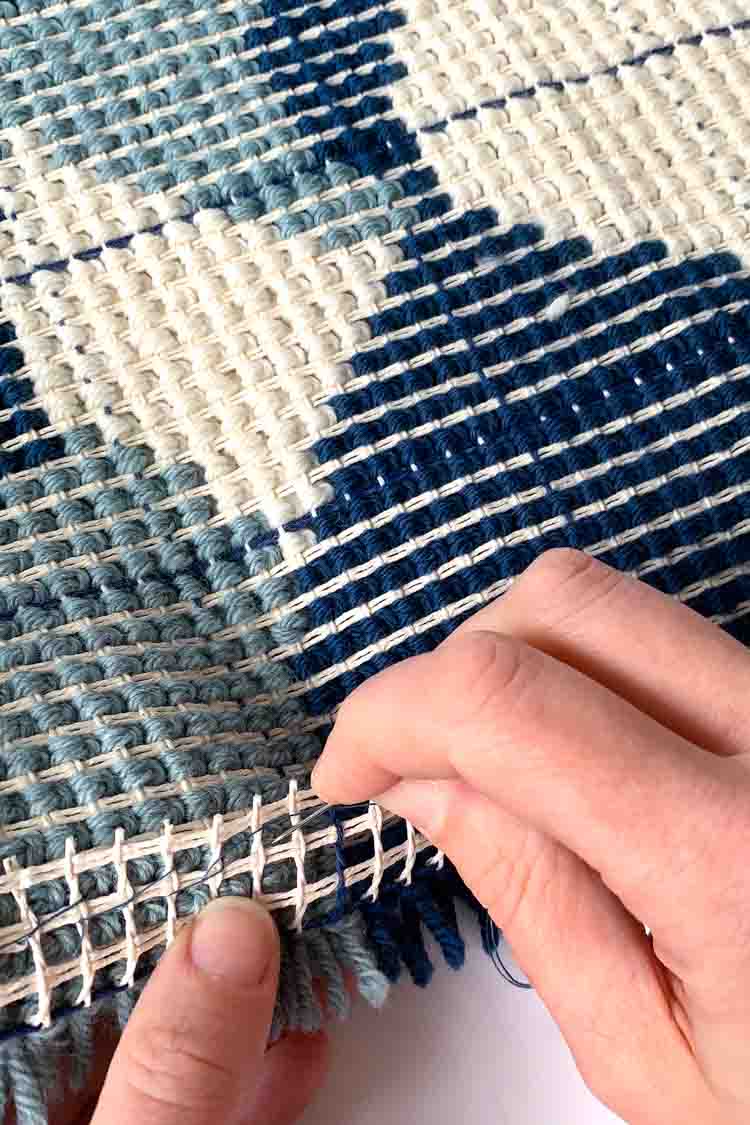
Finish the 4 corners of your work. Then fold the canvas on the sides and attach the empty rows of your canvas to the inside of canvas with a few stitches.
Step 7
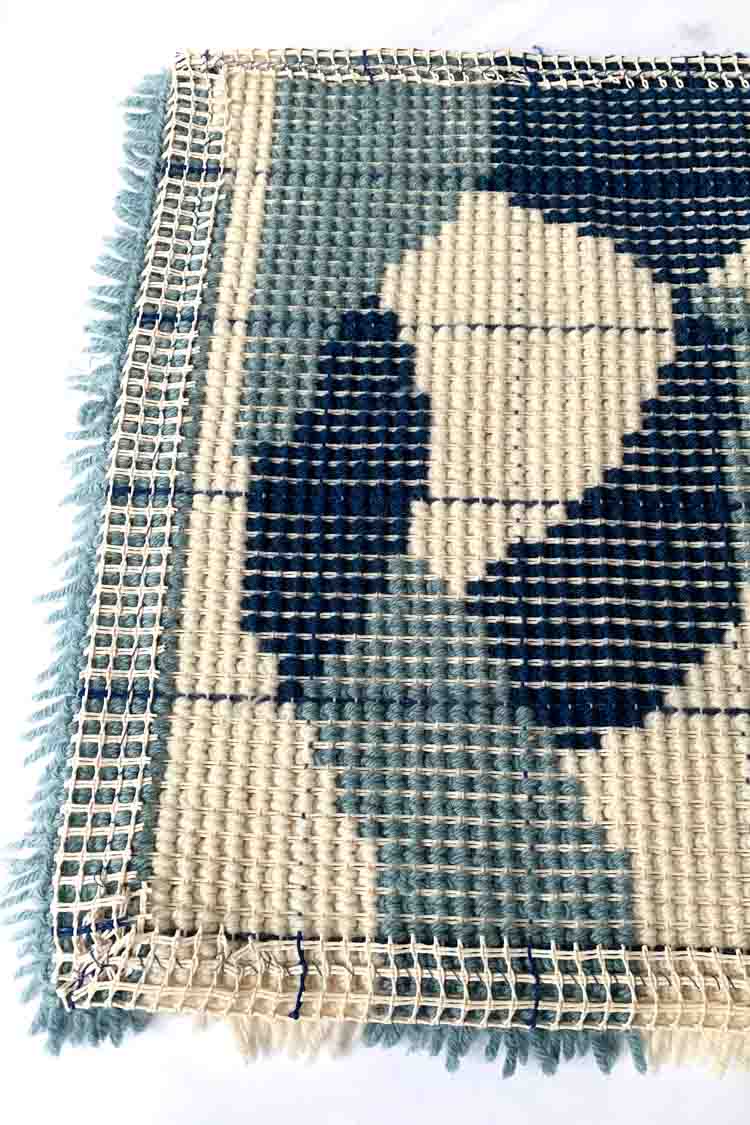
Continue until you have folded and attached each side of your work.
How to turn your latch hook project into a pillow
You can quickly turn your finished latch hook project into a cushion with our cushion backs.
Step 1
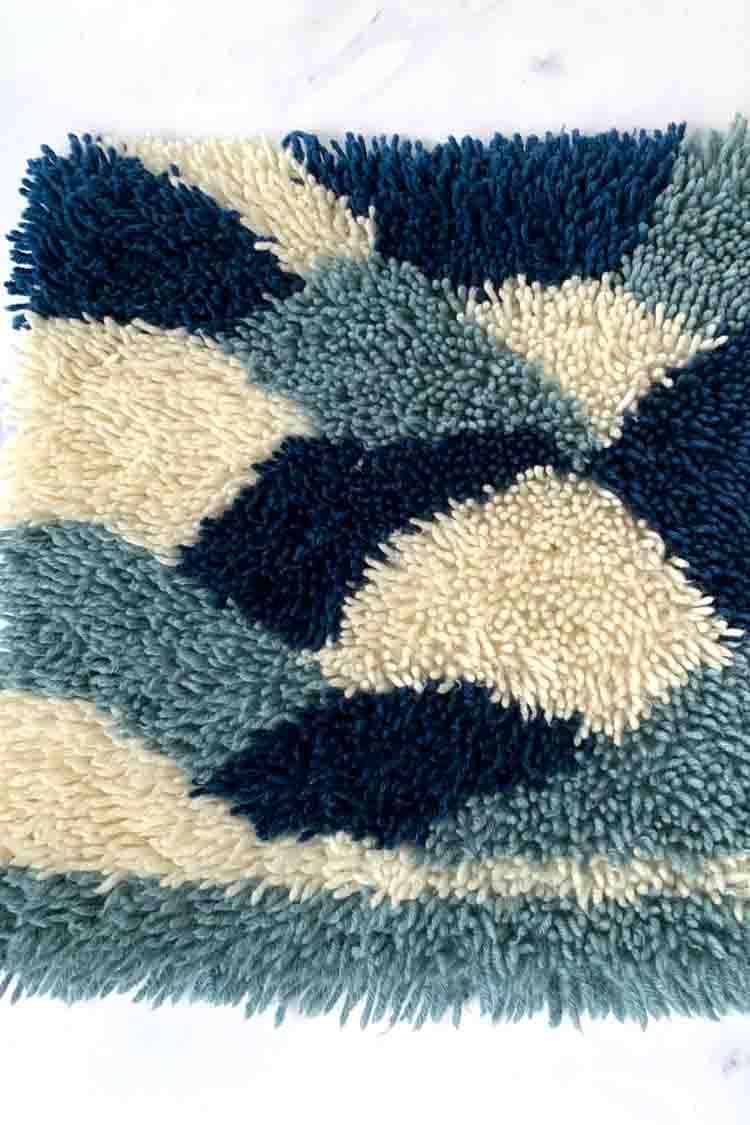
Lay your latch hook project flat on the table with the good side facing up.
Step 2
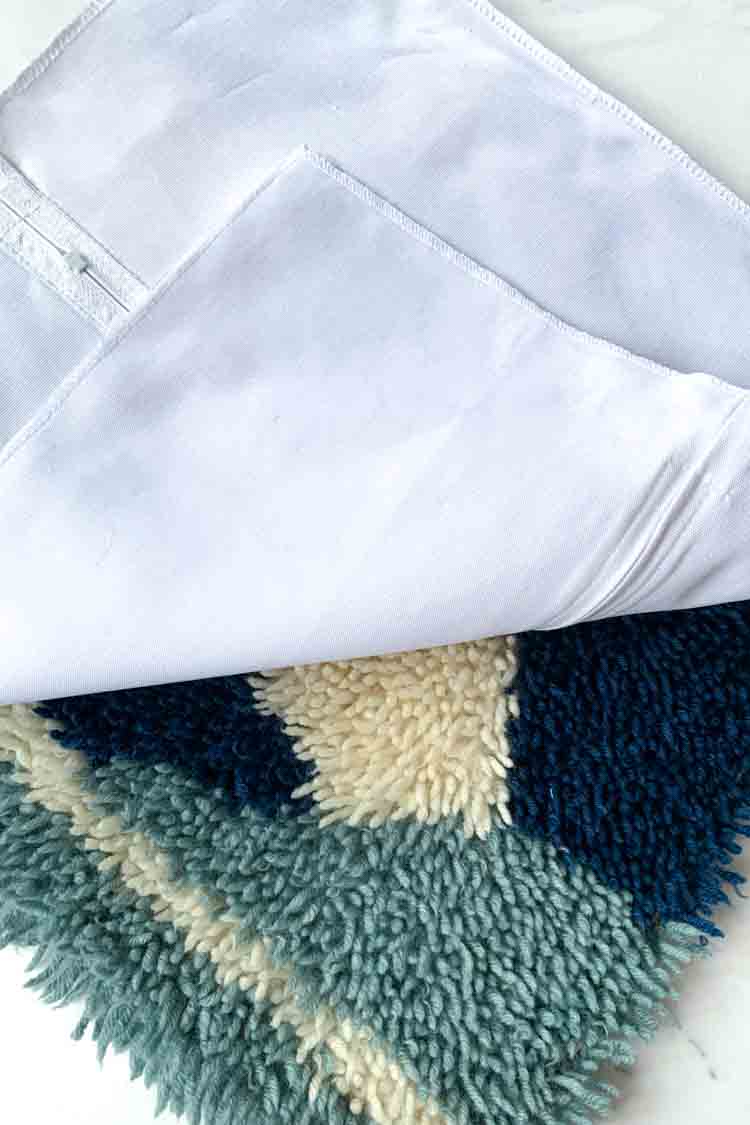
Now lay your cushion back with the good side facing down on top of your latch hook project. Ensure you open approx. 10 cm (4″) of the zipper in the middle of your cushion back. This makes it easier to turn your cushion when you finished sewing the borders.
Step 3
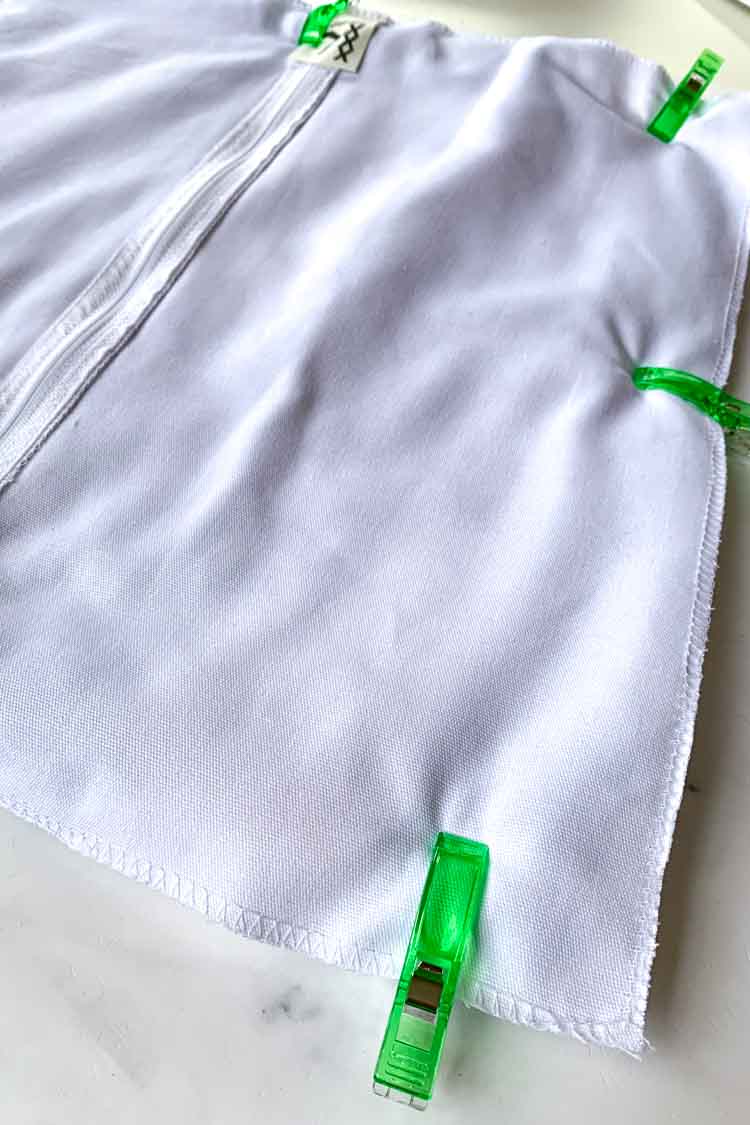
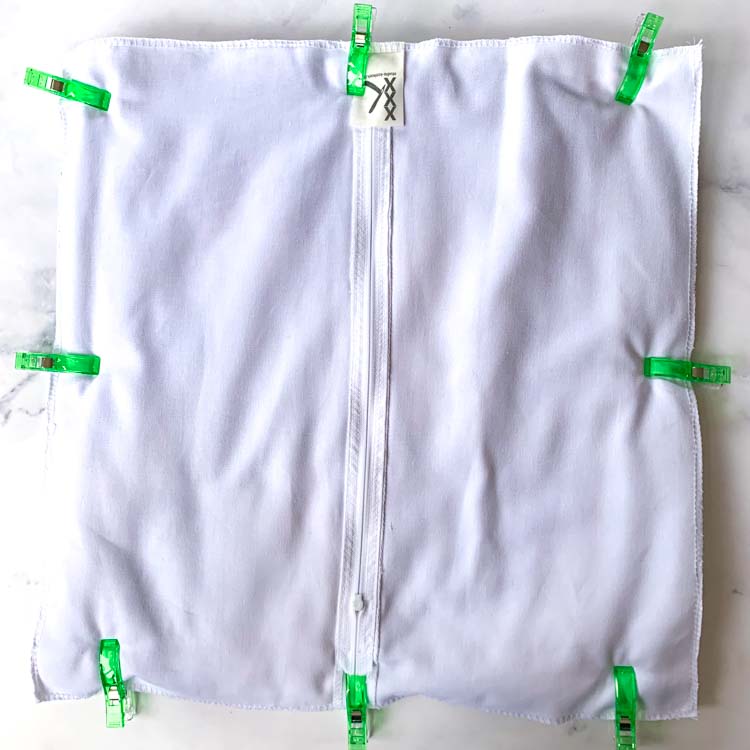
Use jumbo clips to attach the cushion back to your latch hook project.
Step 4
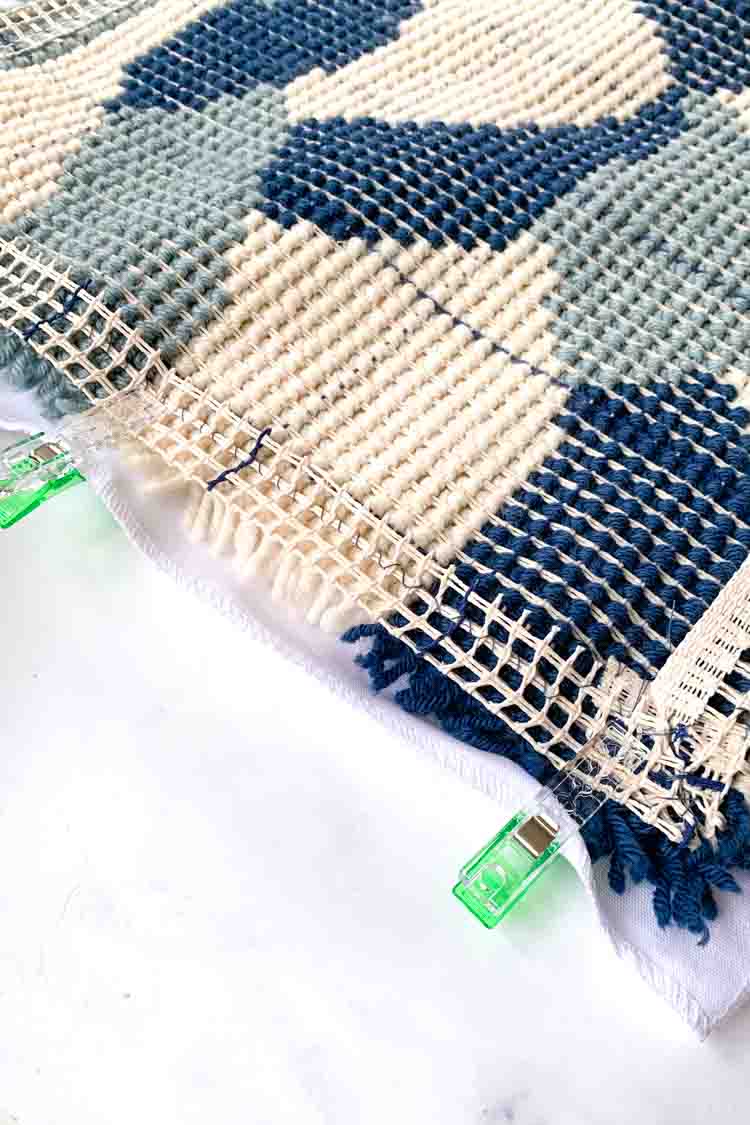
Turn the project up side down. So the back side of your latch hook project is facing up.
Step 5
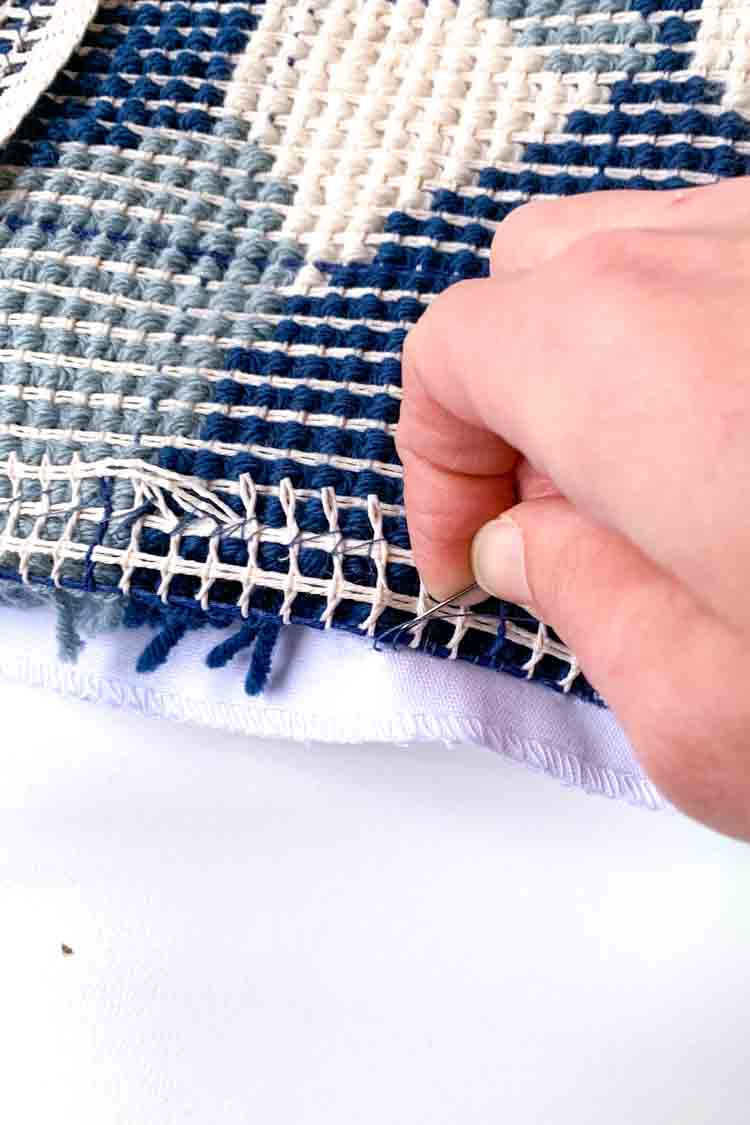
Stitch the outside edge of your canvas to the cushion back.
Step 6
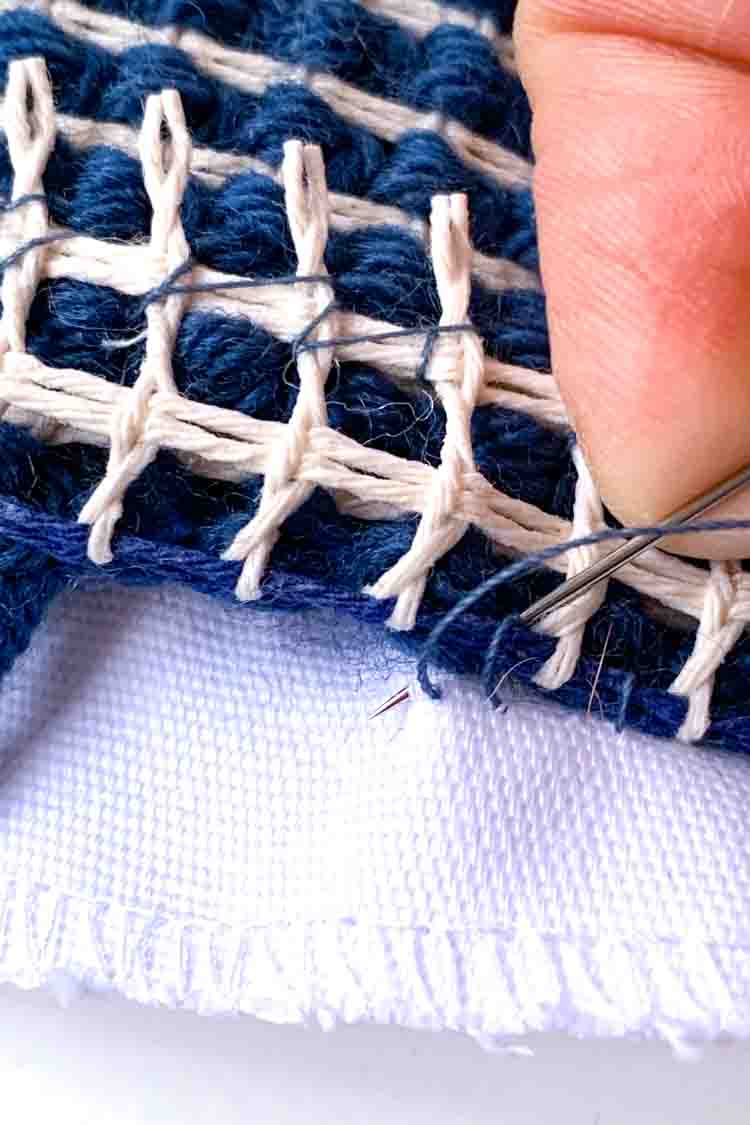
Go all around your canvas. Ensure you push any loose latch hook threads to the inside of your cushion.
Step 7
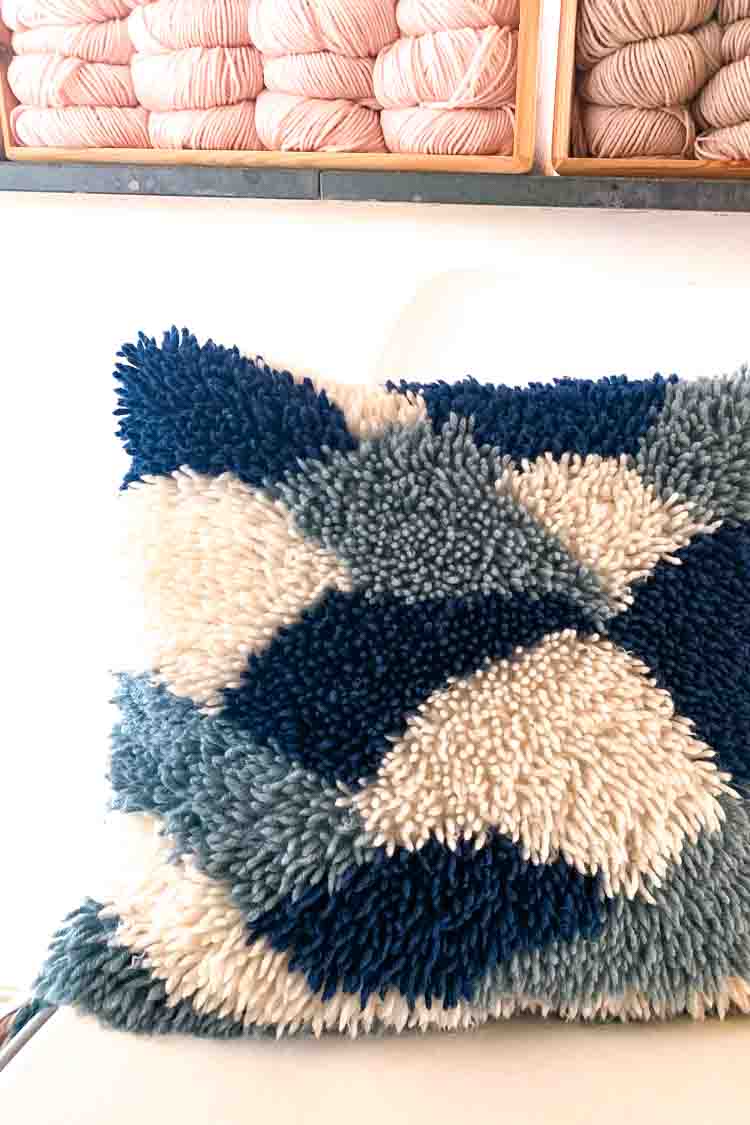
Once you have stitched all the borders of your canvas to the cushion back, turn the cushion cover inside out, and put a cushion insert into the cover.
Step 8
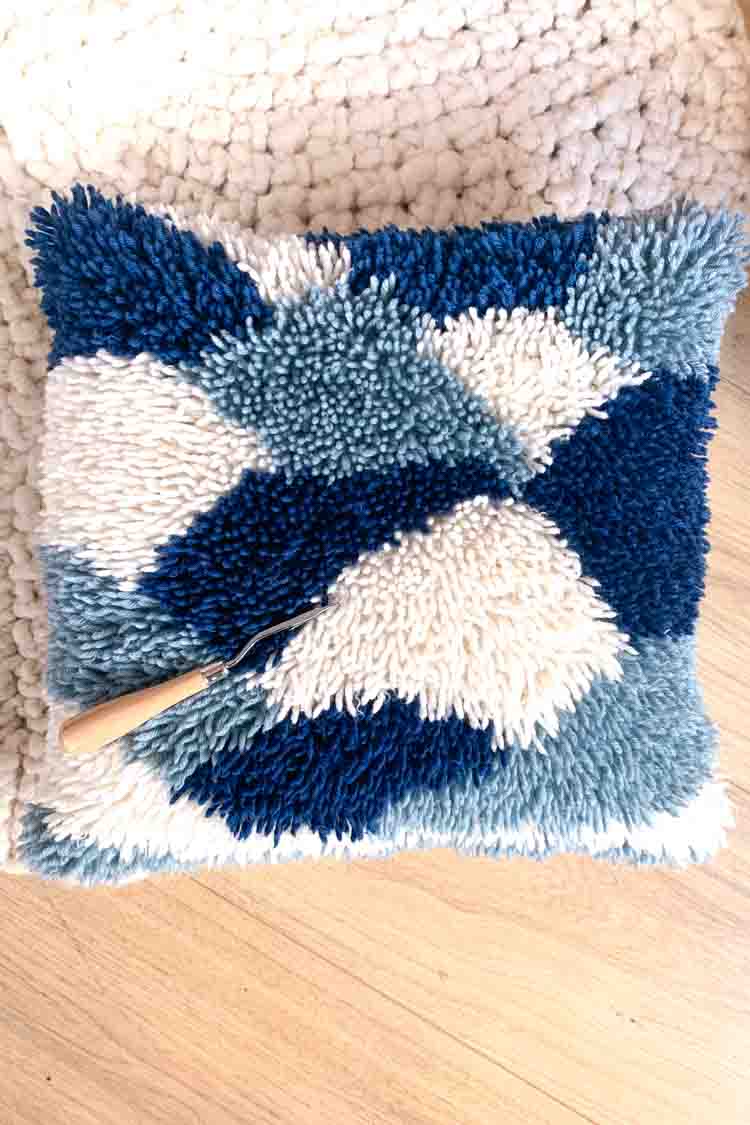
Voilà! Your project is finished!

When subscribing you allow us to send e-mails to you. You can unsubscribe at any moment you like. Read our privacy policy here
