How to needle felt a star with a cookie cutter
In this blog you can learn step by step how to needle felt a star with wool roving and a cookie cutter. We share a list of supplies needed for needle felting, and specific tips and tricks for felting a star shape. Needle felting an ornament is a fun afternoon activity. Needle felting is suitable for age 9 and up.
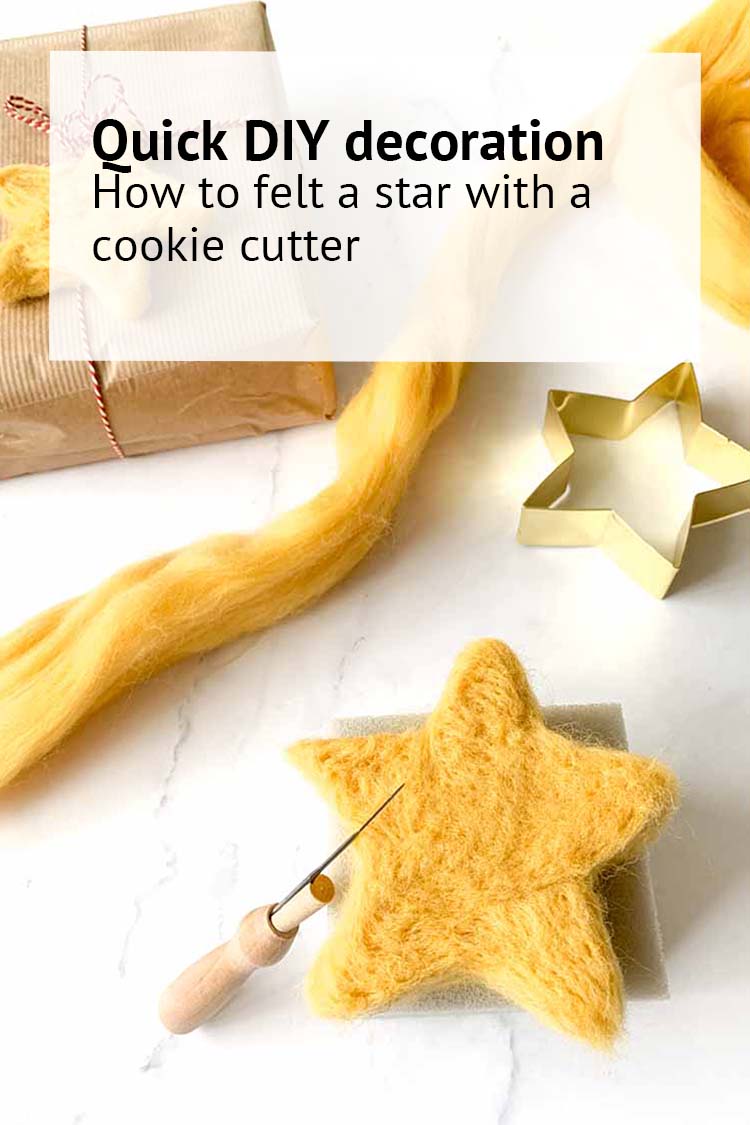
Which materials do you need to needle felt a star?
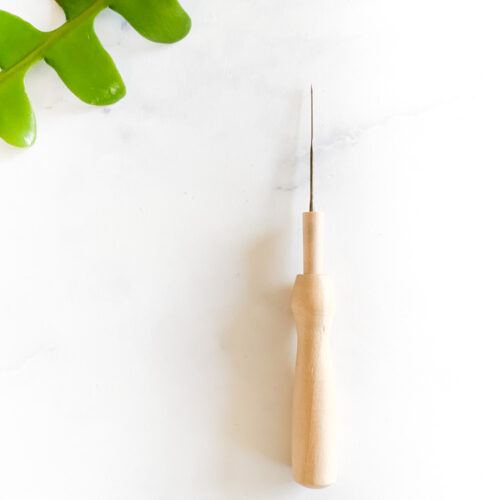
1. Felting needle with holder
Our felting needle comes with a wooden holder. Some extra felting needles may be handy. Just in case you break one.
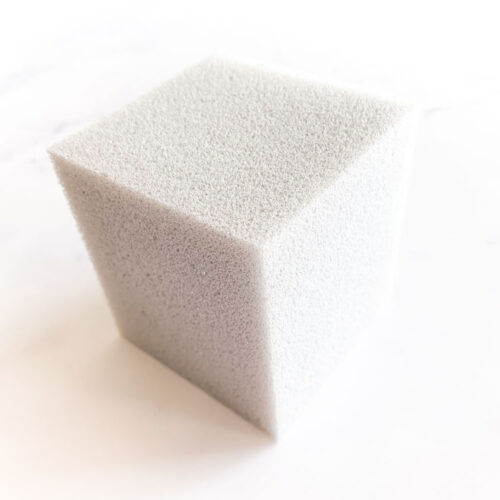
3. Foam block
You’ll need a foam block to work with your wool roving
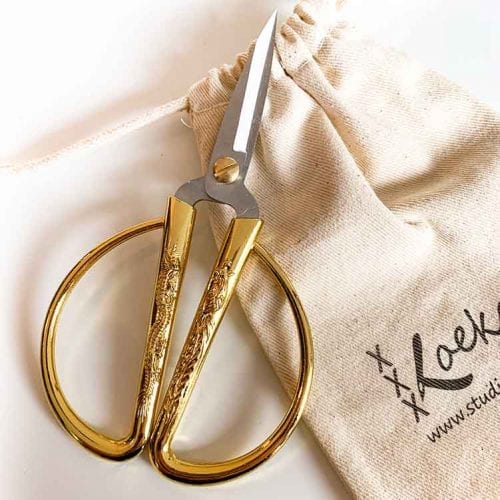
4. Scissors
A pair of embroidery scissors is always handy for cutting your roving.
5. Cookie cutter
For this project we’re using a star shaped cookie cutter. But you could also use other shapes to make something else.
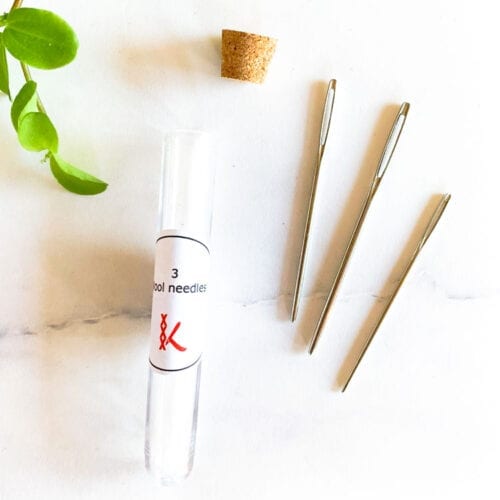
6. Wool needle
If you like to add some cord or thread to your finished piece a wool needle will come handy.
7. Decorative cord or thread
To turn your ornament into a hanger you’ll need approx 20 cm of yarn. An old piece of ribbon may also work.
How to needle felt a star step by step
Lay your cookie shaper on top of the felting foam. Cut small pieces from the wool roving.
Step 1
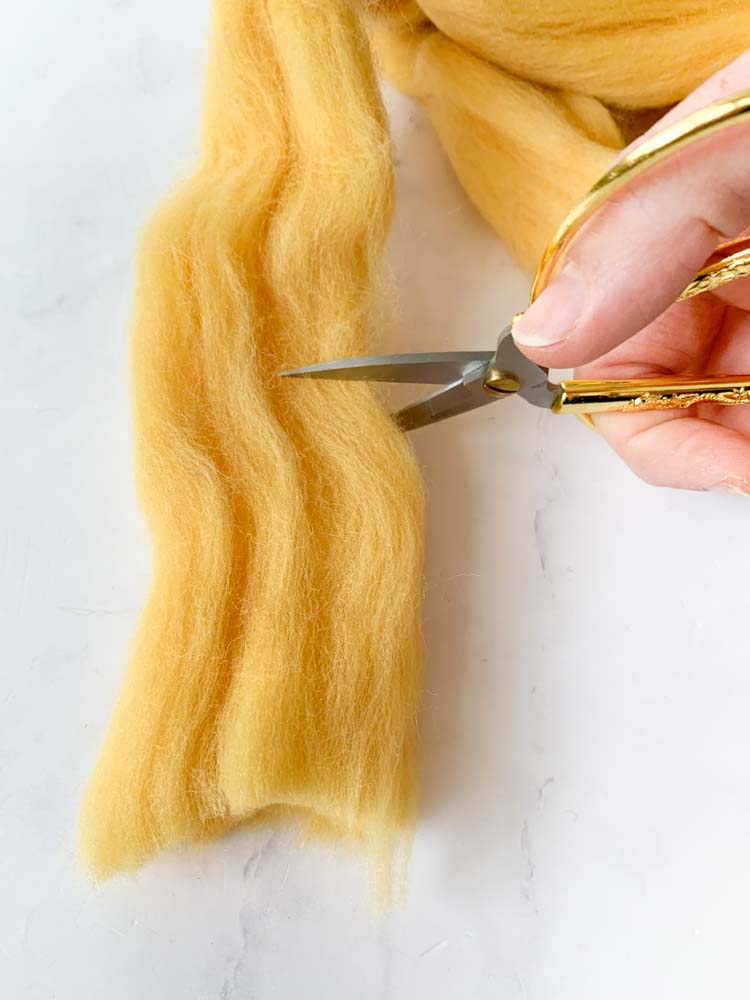
Cut a small piece of wool roving and roll it tight.
Step 2
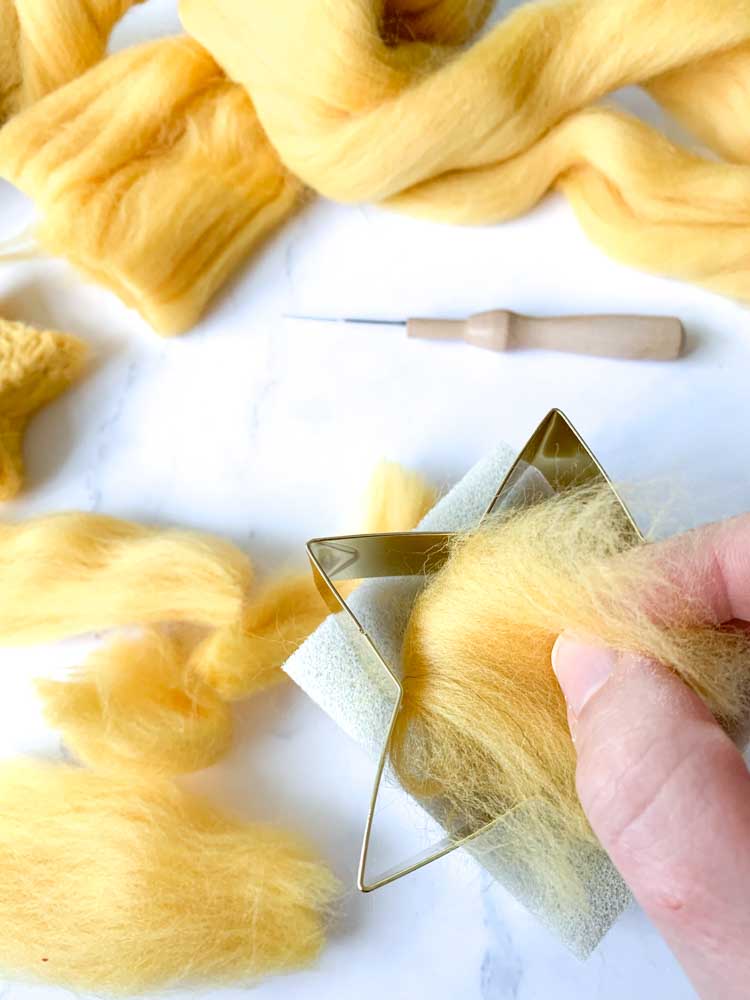
Lay your cookie cutter on top of the foam block. Fill your cookie cutter with the wool roving. Start filling the corners.
Step 3
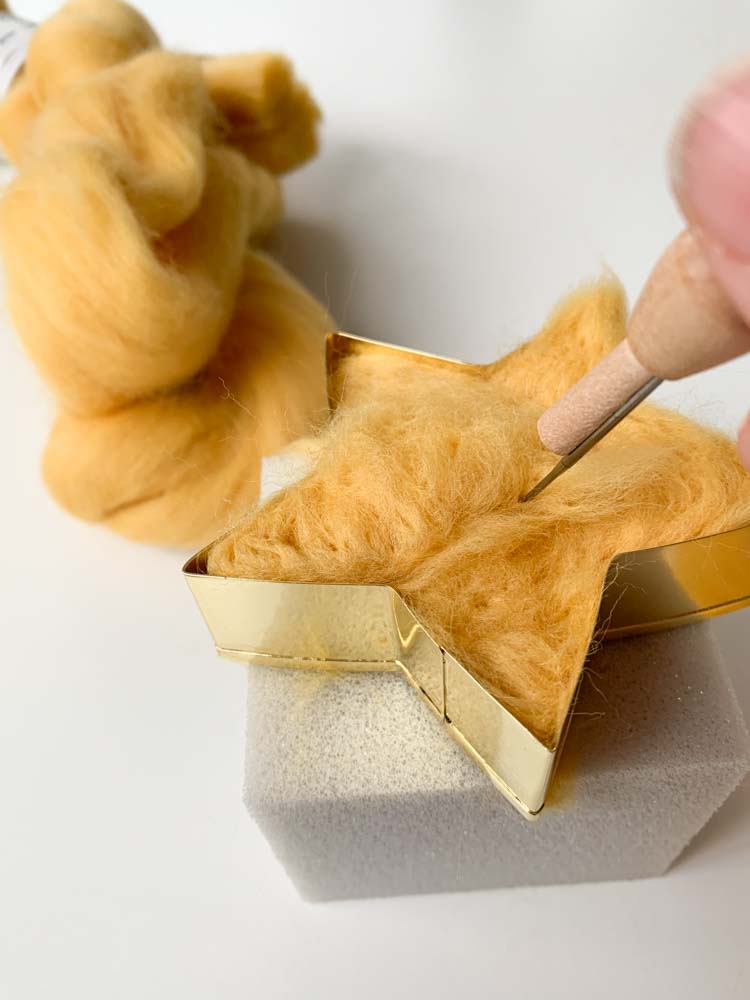
Now start poking with your felting needle. We like to start on the edges and work our way to the centre.
Step 4
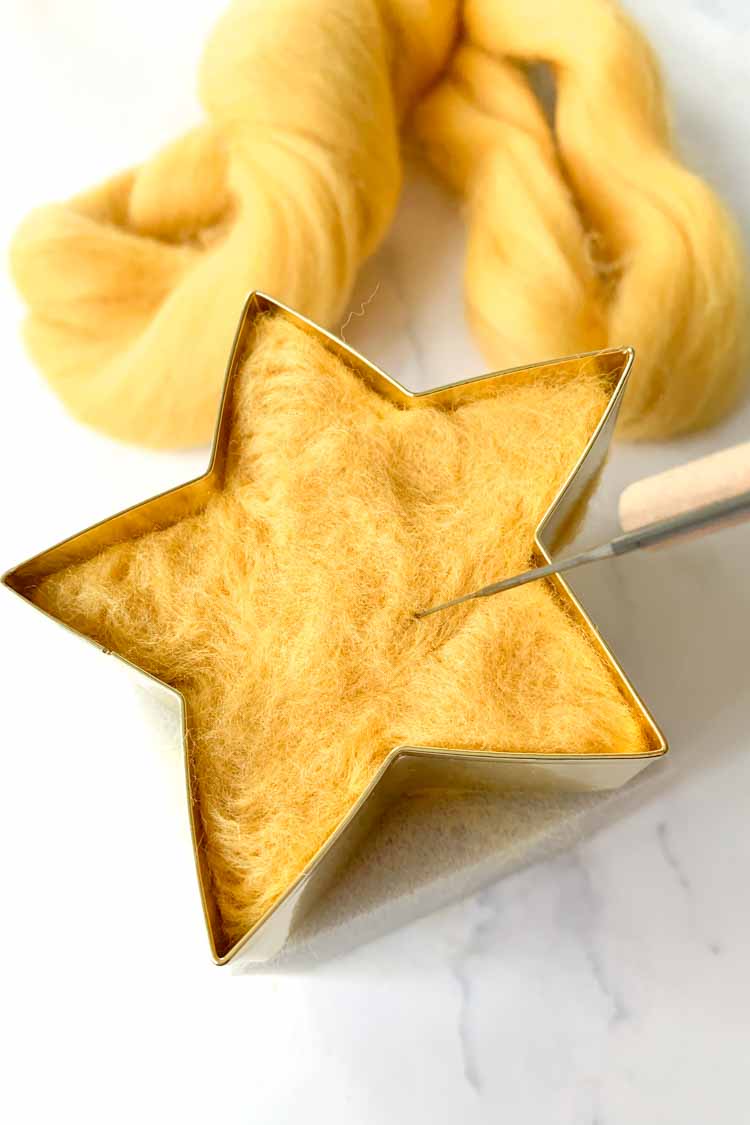
Poke, poke, poke! This takes some time. But the more times you poke, the smoother your endresult will look. Don’t forget to turn your piece upside down and poke from the other side as well.
How to attach a hanging thread to your finished felting ornament
Once you finish felting you can leave it as is. Or you can turn your felted ornament into a hanger by attaching a thread. How fun would it be to add your finished project as decoration to a gift?
Step 1
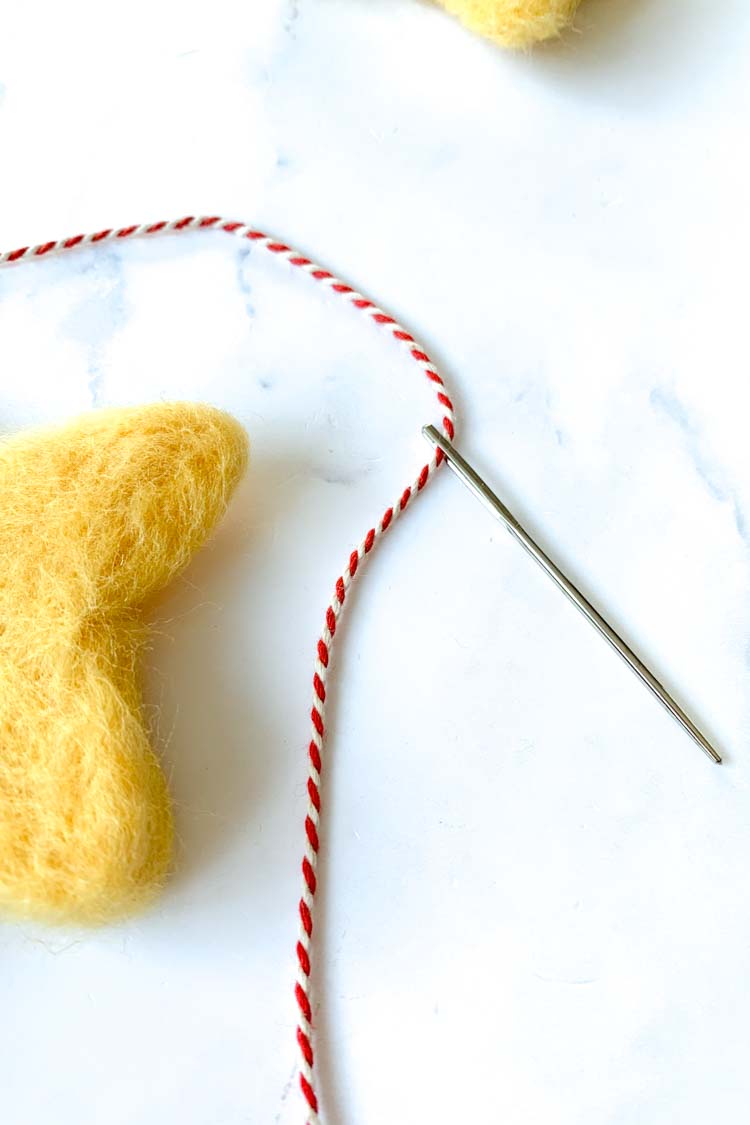
Cut approx 20 cm of decorative cord, and thread your wool needle with it.
Step 2
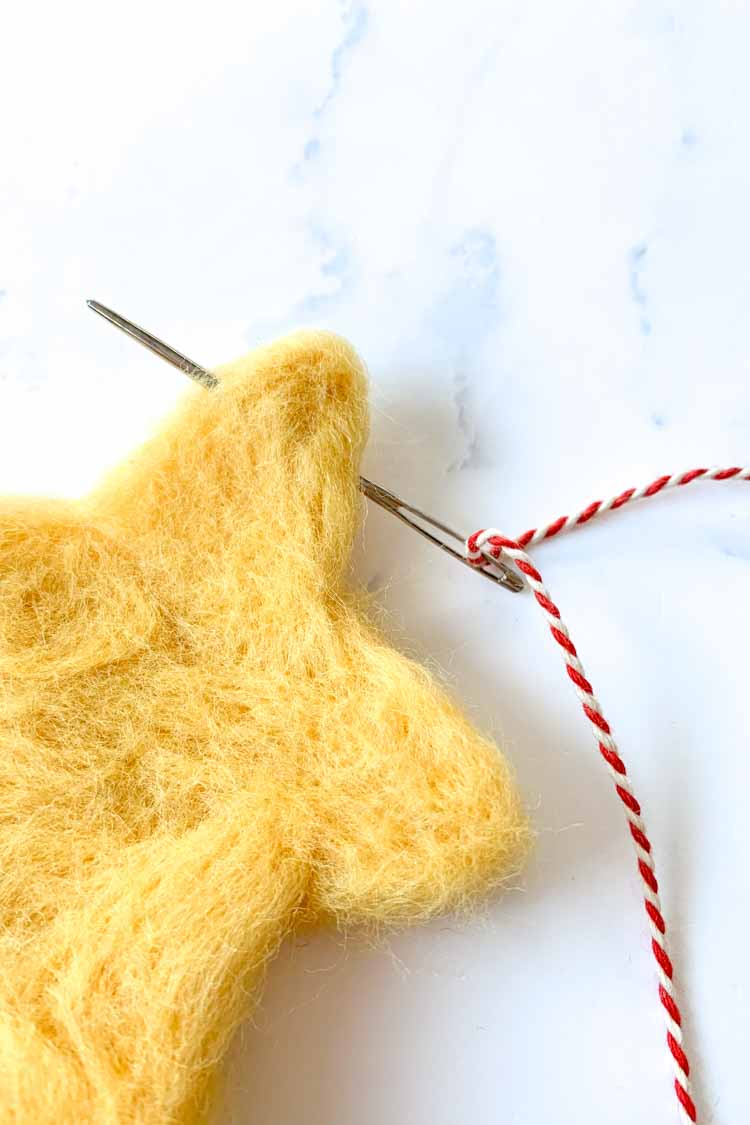
Push your threaded needle through the top triangle of your star.
Step 3
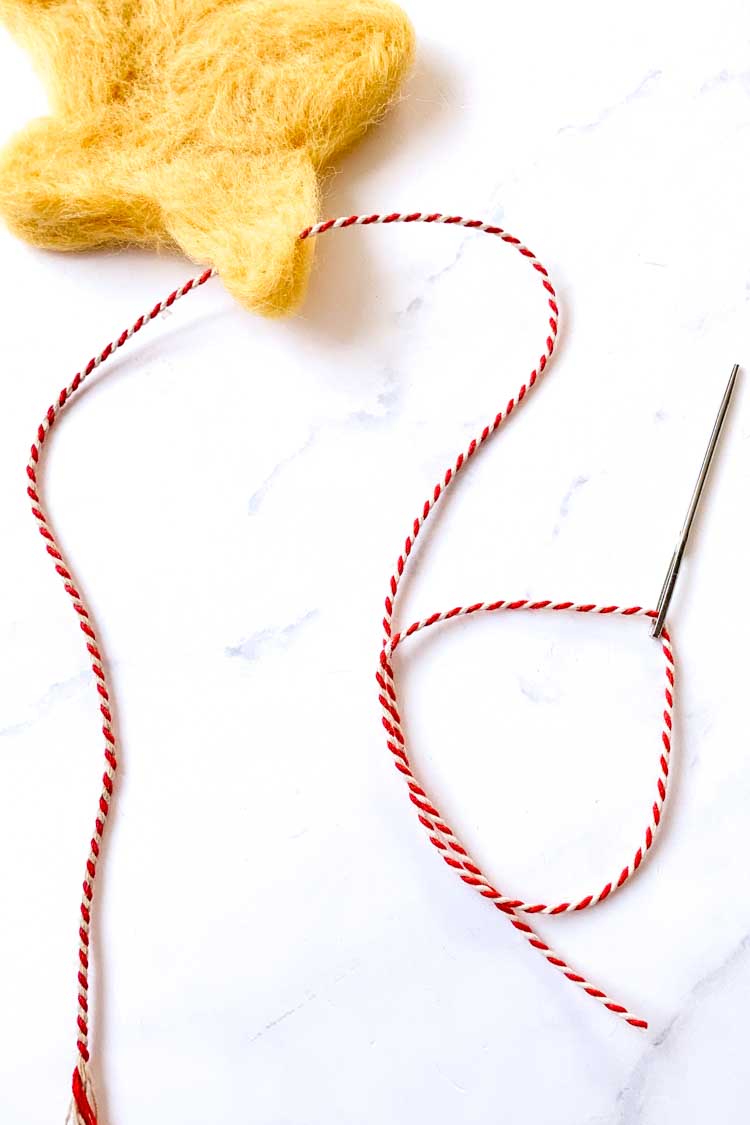
You’ll enter your needle on one side of the top triangle, and exit on the other side.
Step 4
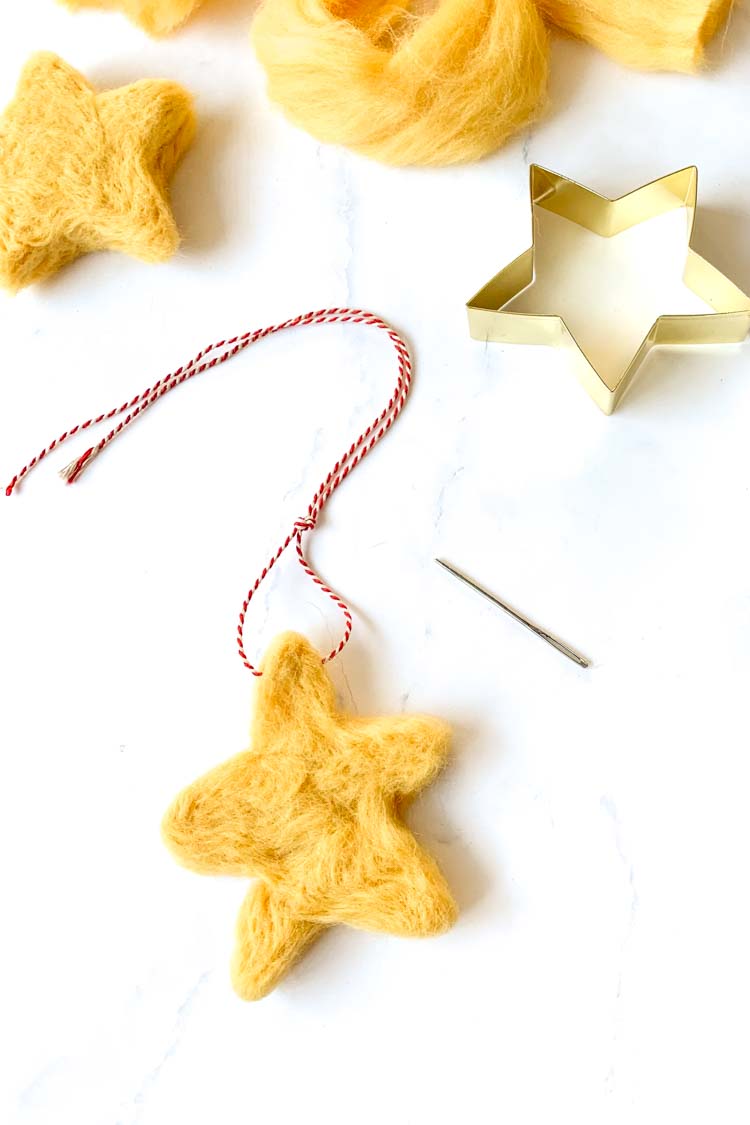
Make a knot in the thread ends.
Step 5
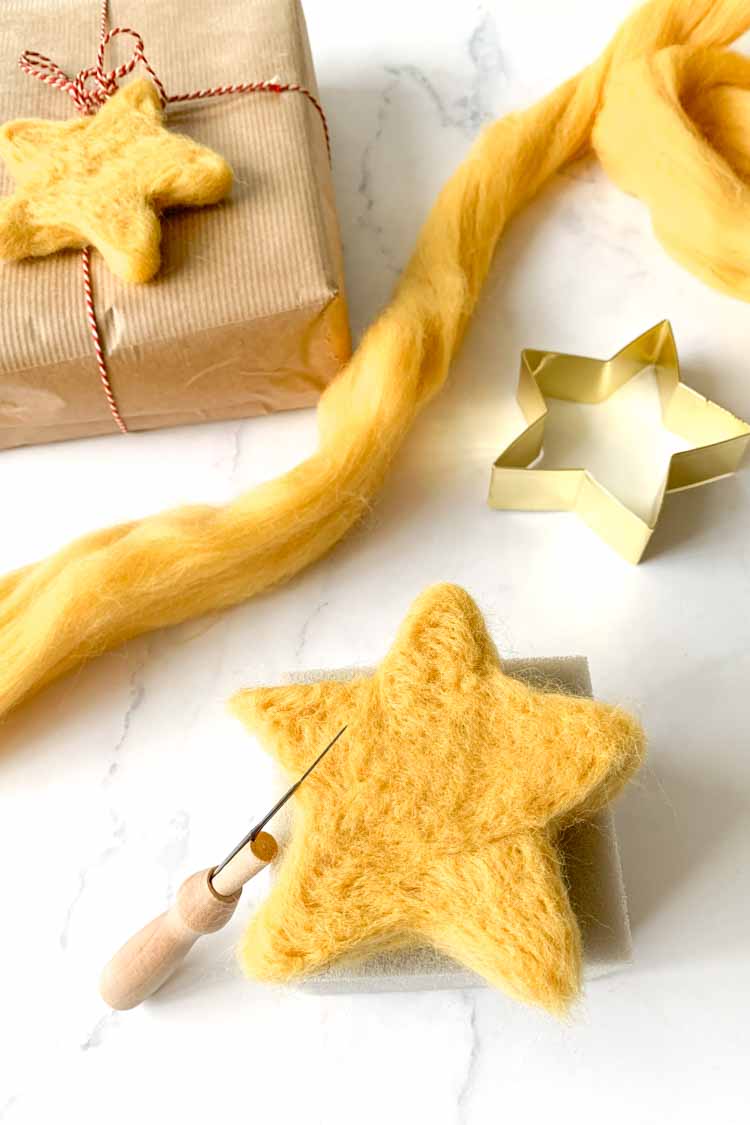
Voilá your project is finished! Ready to attach it to a gift or to hang it!
Tips to needle felt as a pro
Roll your wool roving tightly before you start felting
To get a neat result, please make sure to roll your wool roving tightly. A tight roll makes it easier to attach another part to it. It also makes it easier to create a beautiful looking piece.
Poke, poke, and poke until it’s firm!
Needle felting is a slow technique. So take your time and keep poking. If you see loose hanging ‘hairs’, or if your piece is loose, you’ll need to poke a bit more!
Move your needle straight up and down
Aim to move your needle up and down, instead of moving your needle at an angle. This will help prevent breaking off the tip of your needle.
Safety first!
Never look away from your felting project when needle felting! Felting needlse are sharp with lots of little hooks. If you push those into your skin you can make a nasty injury.
Frequently asked questions.
How difficult is needle felting?
Needle felting is not difficult. You will start with basic shapes and then add complexity as you learn. By punching your needle into the wool roving your work will get firmer and smoother. You can start needle felting with children from approx. 9 years and older.
Can I use a regular needle to needle felt?
No, you’ll need a special felting needle to felt your wool. A felting needle has many barbs that will hook the fibers of your wool into each other. To work safely we recommend to use a felting needle with a needle holder.
How do I get a smooth finish on needle felting?
To get a smooth finish it is important that you roll your roving tightly before you start felting. Then continue to poke until it gets smoother and smoother. The more your poke the smoother your surface will be.
What is the easiest thing to needle felt for a beginner
Simple shapes are the easiest for beginner needle felting enthusiasts. Using a cookie cutter also helps to get a nice shape. A heart shaped or star shaped cookie cutter is perfect for beginners. You can learn step by step at our blog how to use a cookie cutter to make your first needle felting project.
What base surface do you use for needle felting
We prefer to use a foam block when needle felting. A foam block helps best to prevent your needles from breaking or bending when you punch. Alternatively you can also try to use a thick felt pad or smooth large brush.
