How to make a Wooden Punch Needle Canvas instructions
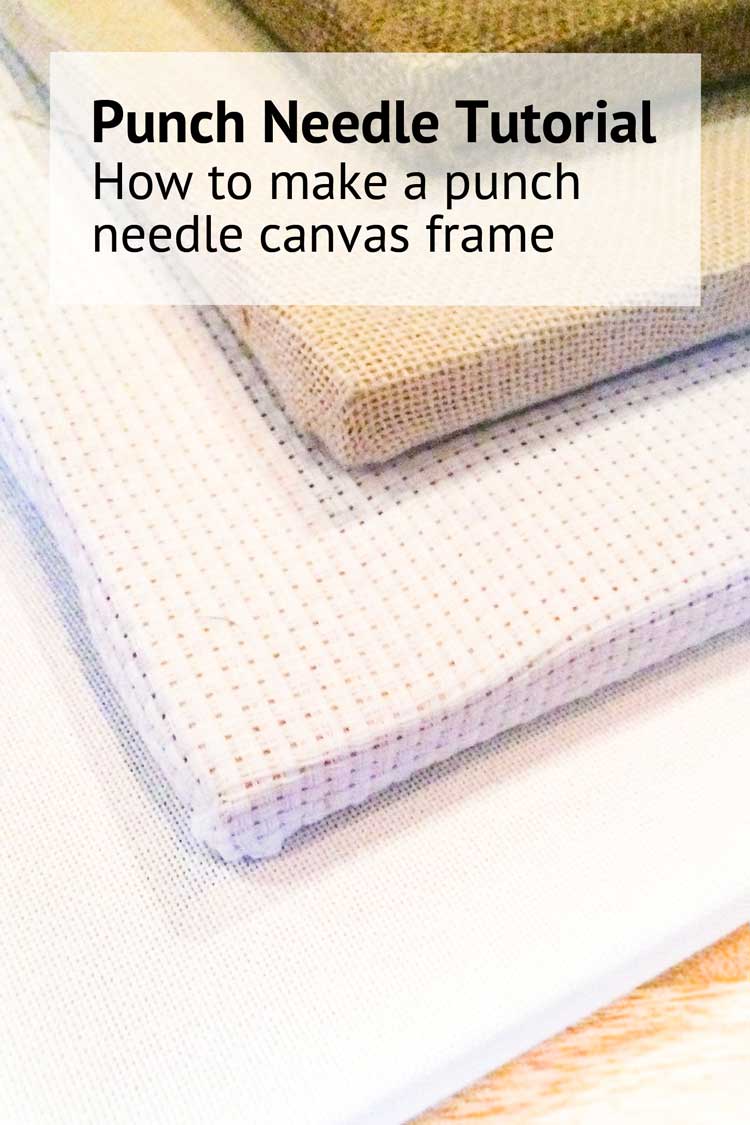
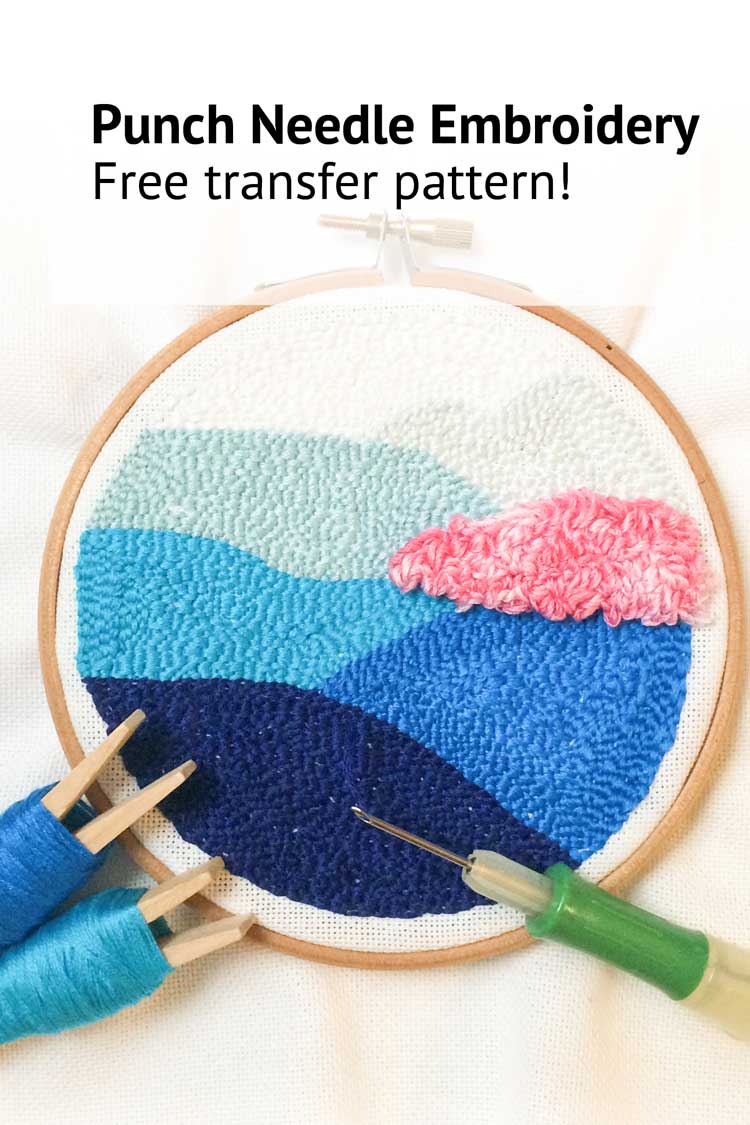
Your punch needle experience will be a lot better when your fabric is nicely stretched. In our Punch needle tutorial for beginners we explained how you can prepare a hoop for punch needle embroidery. But a hoop only works for pieces up to 20 cm. If you want to make a cushion cover, rug or other big piece a stretched punch needle canvas is the most cost effective solution. In this blog we explain how to make a punch needle canvas step by step.
If you want to start the easy way, consider buying our xl punch needle kit. These kits include a pre-stretched canvas.
What materials do I need to make a punch needle canvas frame?
1. Canvas Stretcher Bars
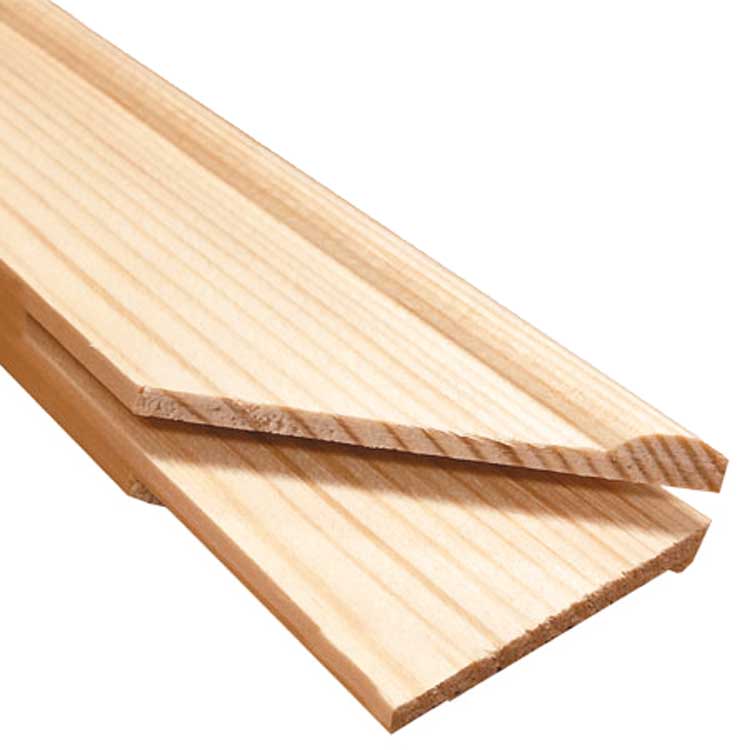
You will need a set of 4 canvas stretcher bars. These wooden bars have special inserts so you can easily assemble withouth need for screws. We sell a set of 4 stretcher bars which will make a frame of 50 x 50 cm (20″ x 20″).
2. Stapler with matching staples
A automatic stapler is the easiest way to attach the fabric to your stretcher bars. We use the Rapid brand stapler and are very happy with it. Each stapler has different staples. Ensure you buy the matching ones :-). The manual of your stapler tool will typically tell you which staples you need. A lenght between 6 and 10 mm will work for these stretcher bars.
3. Punch Needle Fabric
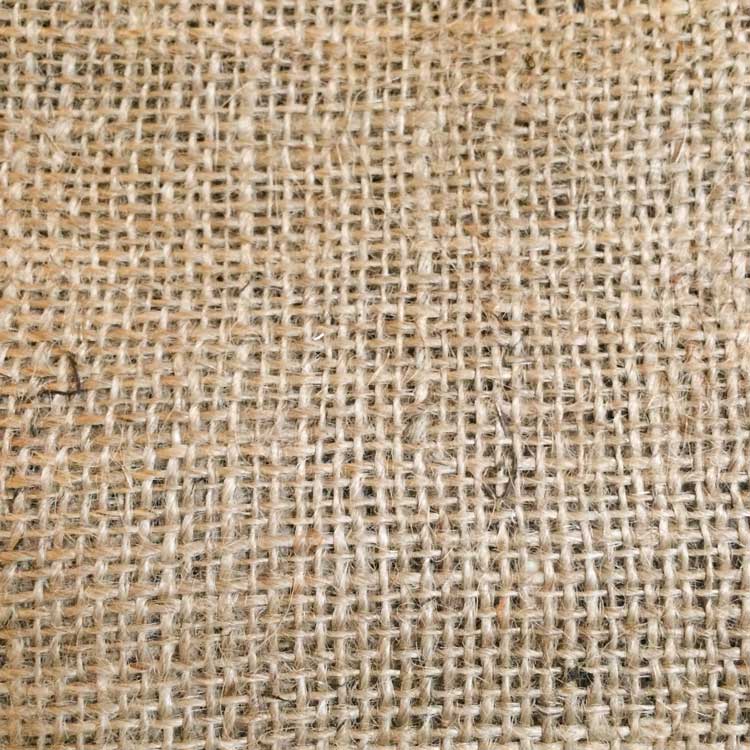
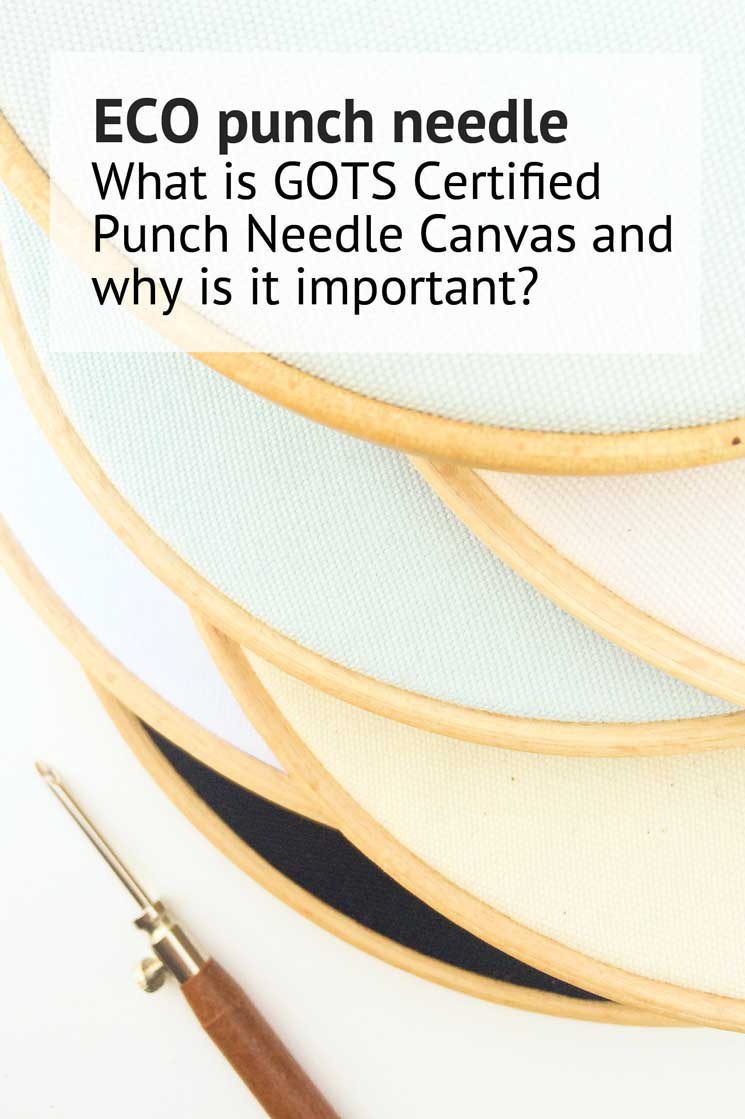
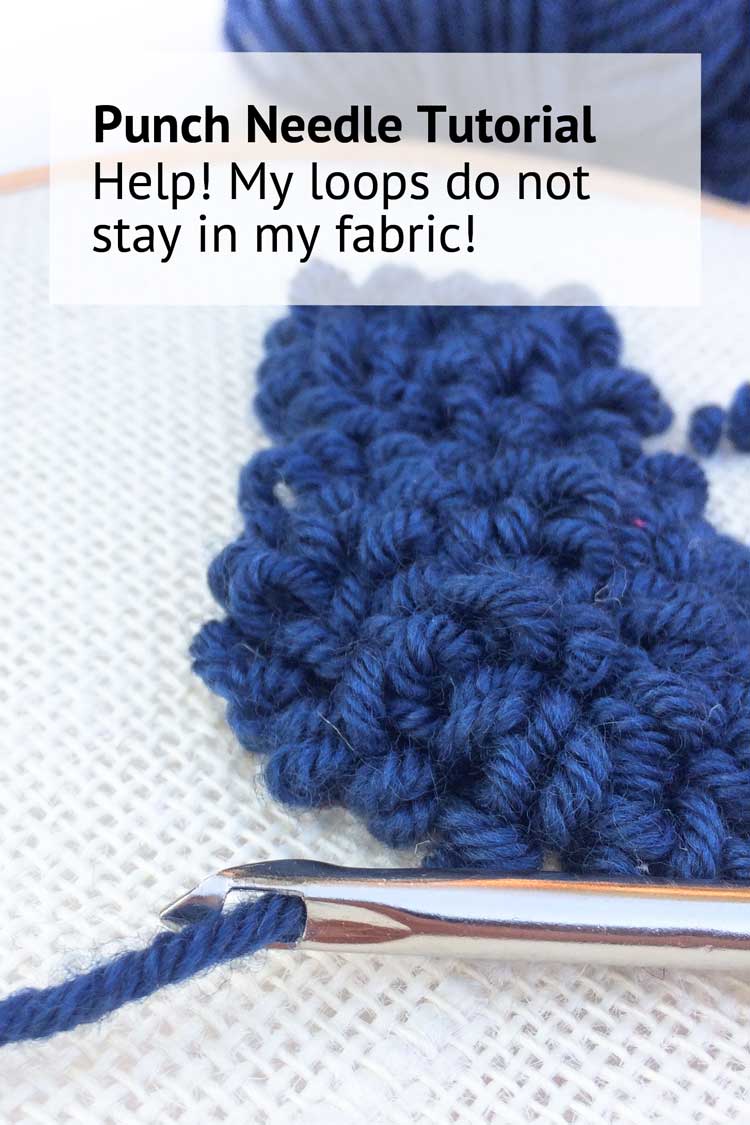
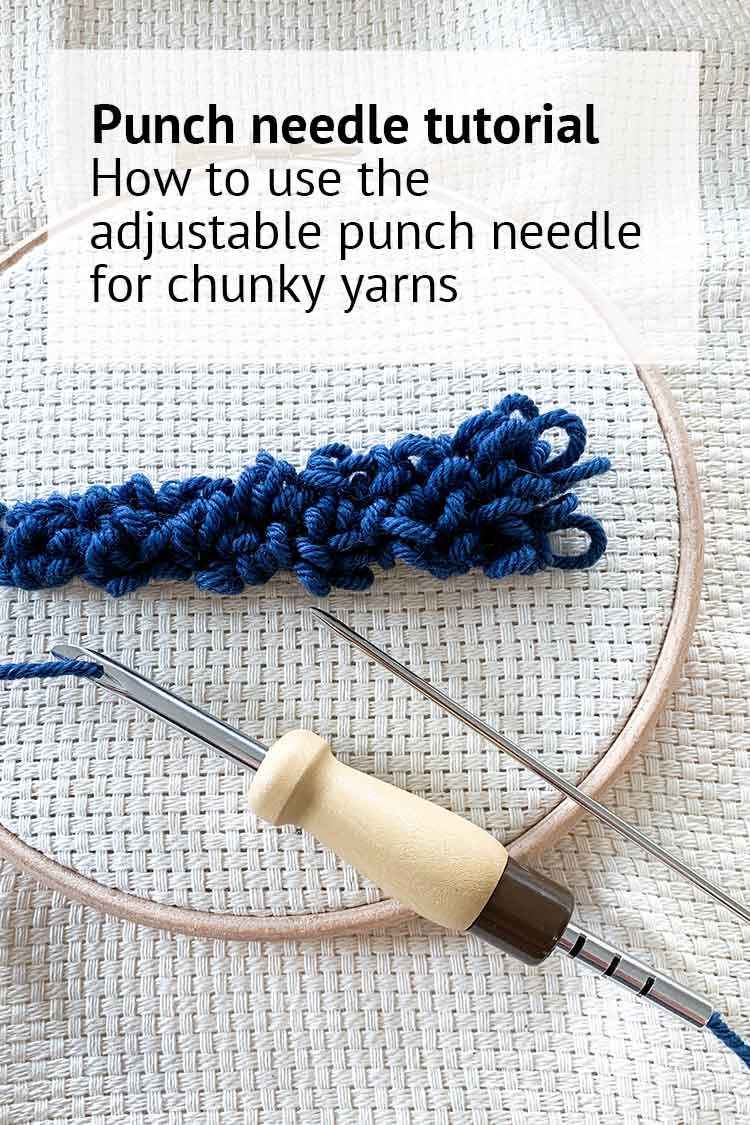
Depending on the punch needle you are using, there are different options available. If your fabric is too tight for your punch needle it will be hard to punch through the fabric. And if your fabric is too open woven, your threads will come out easily. We have done extensive testing, so feel free to ask us for help in choosing the right fabric for your needle.
Shop punch needle fabrics for the wooden adjustable punch needle here in our shop
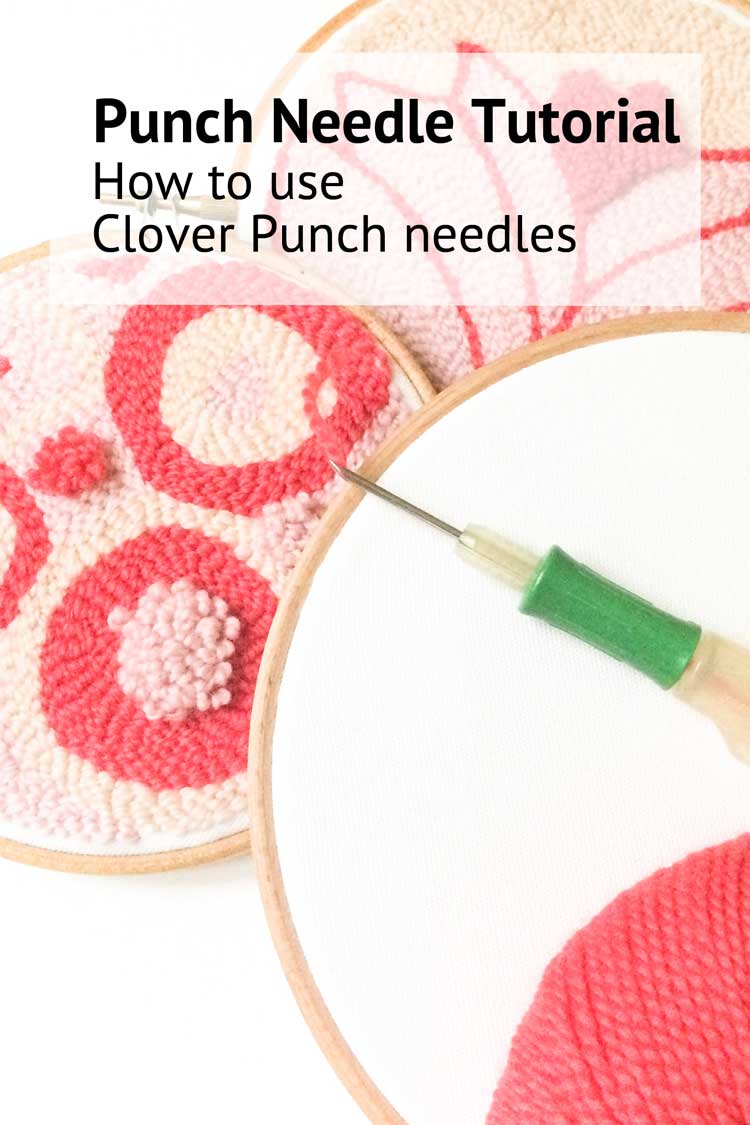
Shop punch needle fabrics for the clover punch needles here in our shop
How to make the canvas frame step by step
When you have all your materials, you can start to assemble your punch needle canvas.
Step 1

Cut your fabric to about 65 x 65 cm (~26 x 26 ") and lay it down on your table. Assemble your canvas stretcher bars. Push the corners of your bars into eachother ensuring each corner has 90 degree. Your wooden bars will have one side that is flat, and one side with a ridge.
Step 2

Lay the empty wooden canvas bar frame on top of your fabric, ensuring the ridge is facing up. Start on one side. Fold the fabric to the top side of your canvas bar. Hold it in place with one hand and staple it to the wood with your other hand. Now staple the opposide side. Pull the fabric very tight with one hand and then staple it down to the wood. Finish stapling all 4 sides. Ensure that you pull your fabric tight before stapling.
Step 3
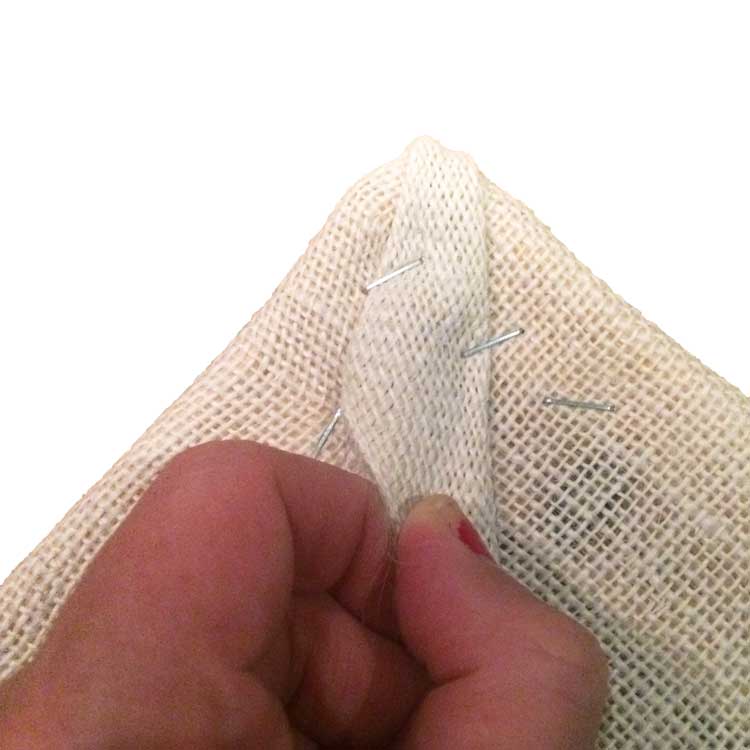
Now finish the corners. Fold the fabric in the corner carefully over eachother, then staple it to the wood. Use a few staples for each corner. Check if your canvas is nicely stretched on your wooden bars. Add extra staples if needed.

Front side of a stretched punch needle canvas with raw jute fabric

Back side of a stretched punch needle canvas with raw jute fabric

