How to make a Lonely Cross Stitch or Confetti Stitch
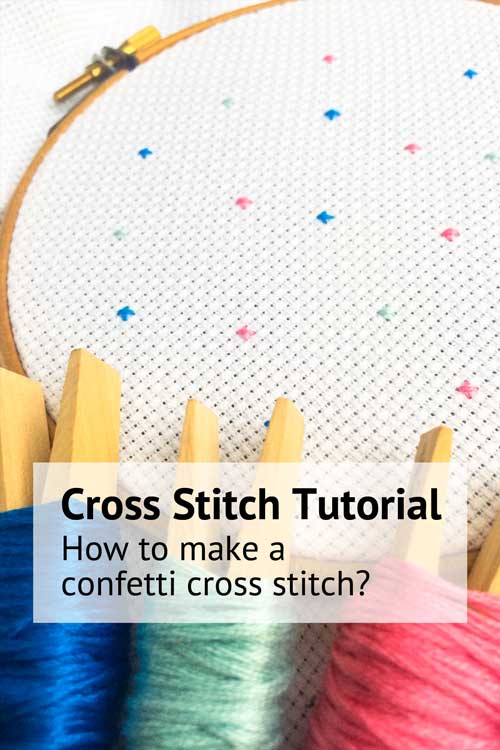
Sometimes you find a single cross stitch in the middle or the edge of your cross stitch pattern. A lonely cross stitch surrounded by a lot of blank cross stitch fabric. This is called a confetti cross stitch, such a cheerful name for a lonely fellow ;-). Without cross stitches nearby where you can bury your thread, it requires a slightly different approach to start and finish. In this blog we will explain you step-by-step how to make this stitch.
It can be tempting to connect your confetti stitch with the thread from a cross stitch that is more than 4 blocks away. We’ve been there, done it the quick way, and now strongly recommend you not to do this. When your loops on the backside become too long, they become visible through the holes in the front side of your fabric. Especially when you stitch with glow in the dark floss, or with a very contrasting color to your fabric, you will see it clearly from the front.
So it’s better to take it a bit more relax, to take another sip from your favourite drink, and do it the neat way directly.
Are you new to cross stitching? You may like to read our introduction to cross stitching first.
How to start when you make a confetti cross stitch
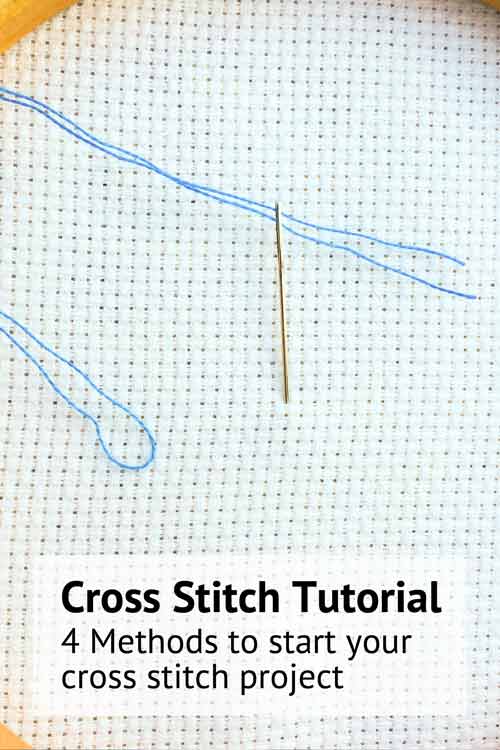
Start your confetti cross stitch with a Loop Start.
Use the Loop Start to secure these individual stitches. This only works when using an even number of strands. Gleefully, most of our cross stitch paterns are designed to be stitched with 2 strands or 4 strands.
Step 1
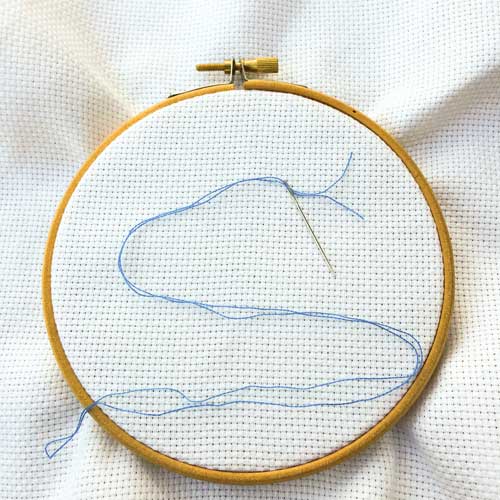
Take half the number of strands your pattern indicates (so if your pattern indicates you need to use 2 strands you will take 1 strands, when you need 4 strands you will take 2, etc. ). Fold the floss in half, evenly. Align the two ends, then thread both ends through the eye of your needle.
Step 2
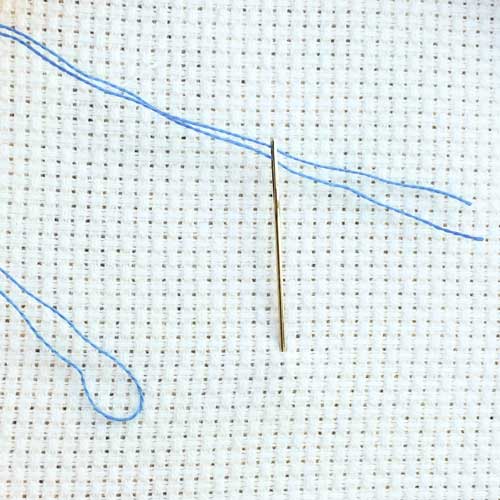
Pull the two ends through the eye about 7 cm (a few inches). The folded end is the long end.
Step 3
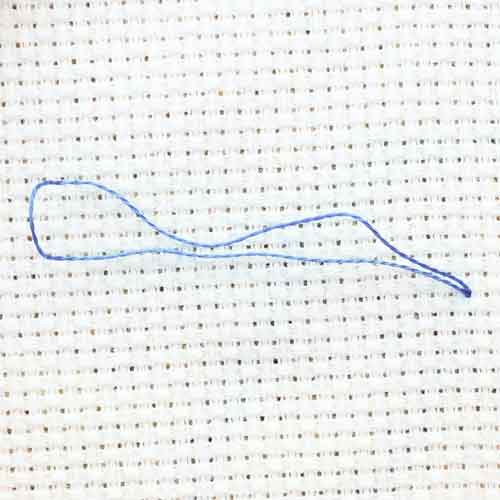
From the backside of your project, bring your needle to the front to make the first leg of your cross stitch. Leave 10 cm (~4 inch) of the folded floss end hanging in the back.
Step 4

Bring your needle to the backside of your fabric, completing your first leg. Don’t pull it taut yet.
Step 5
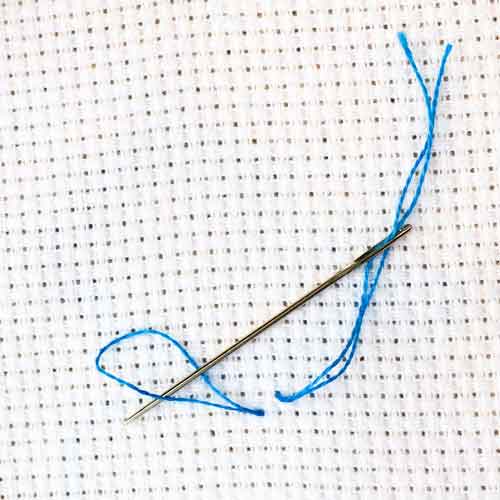
On the backside of your project, run your needle through the hanging loop.Pull floss taut. On the front, this completes the first leg of your cross stitch.
Step 6
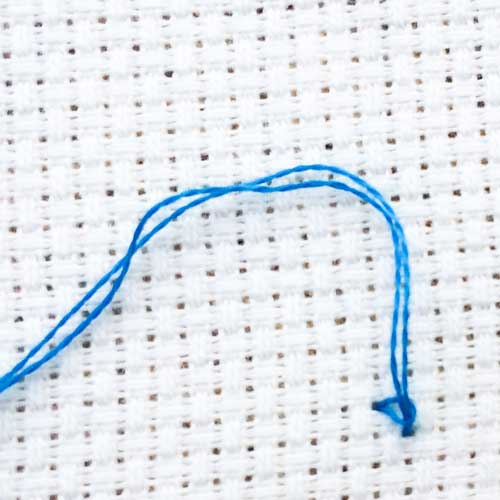
Pull the needle so that the loop on the backside is flat on the fabric (like on the picture). Bring your needle to the front of your fabric and stitch the second leg of your cross stitch.
How to finish your confetti cross stitch
With a confetti cross stitch there are no cross stitches nearby where you can bury your threads. So you need to Bury the ends under your single confetti cross stitch. Following below steps will give you a secure finish.
Step 1.
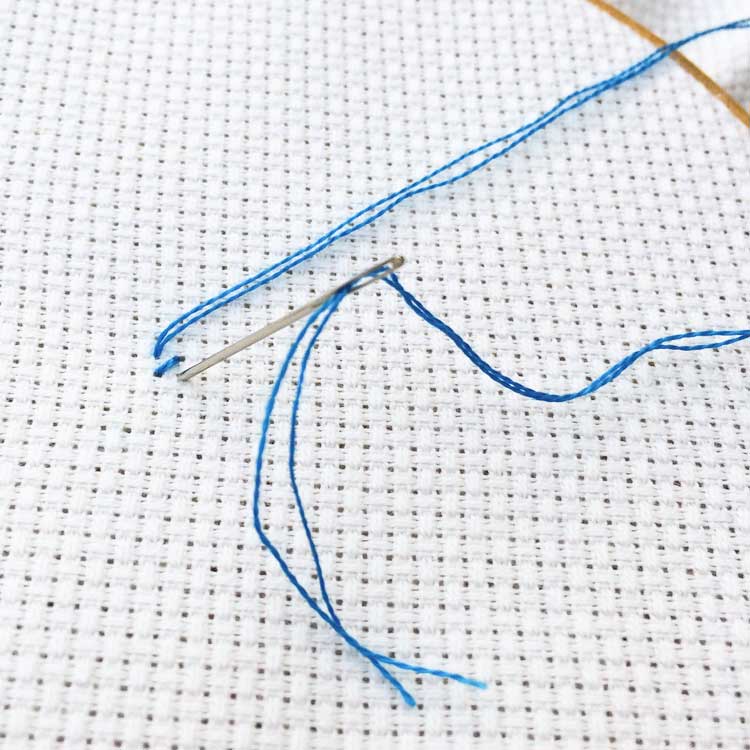
Make the second leg of your cross stitch on the frontside of your fabric.
Step 2
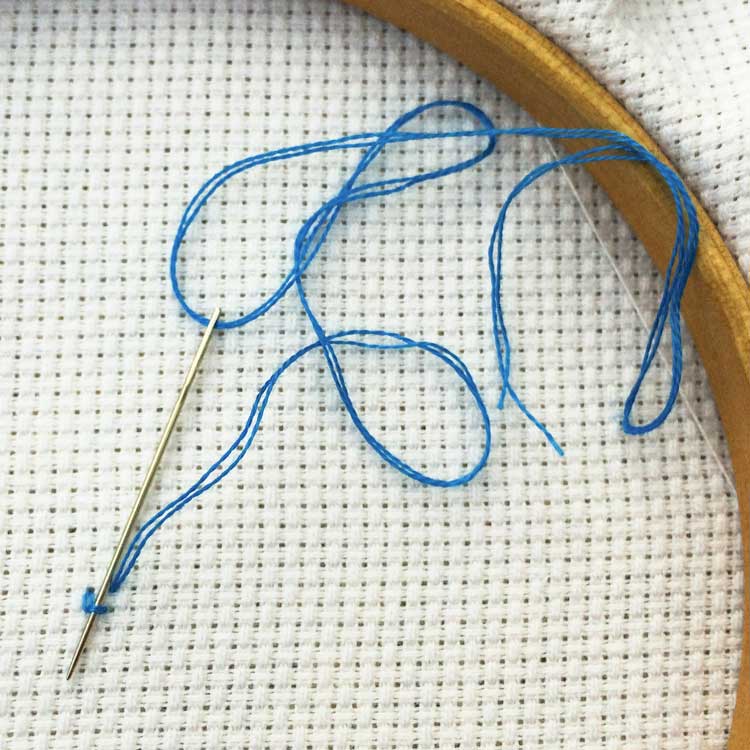
Bring your needle to the backside of your work and thread the needle underneath the horizontal loop and the vertical stitch.
Step 3

Continue to loop your floss around and thread it under the stitches horizontally.
Step 4
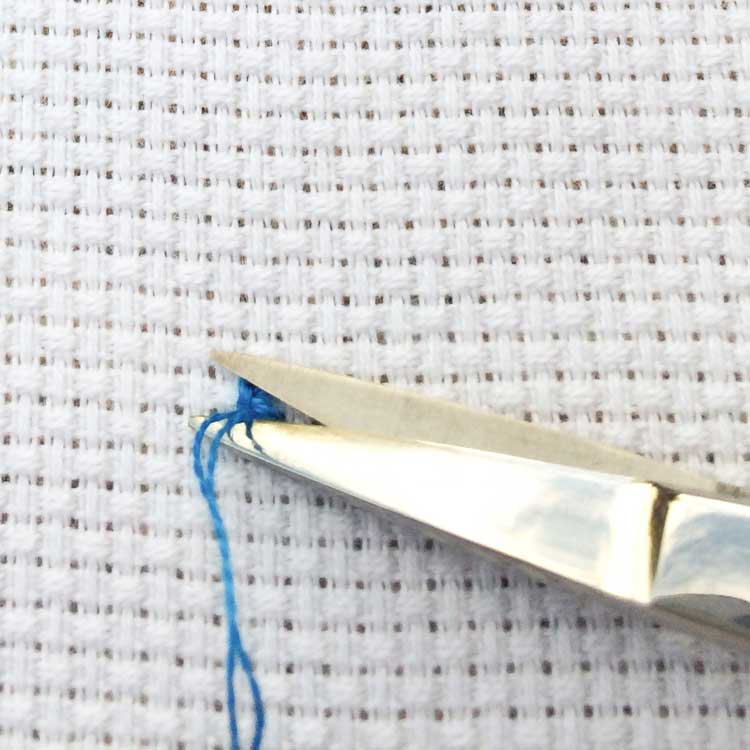
Cut your floss with an embroidery scissors close to your work
Step 5
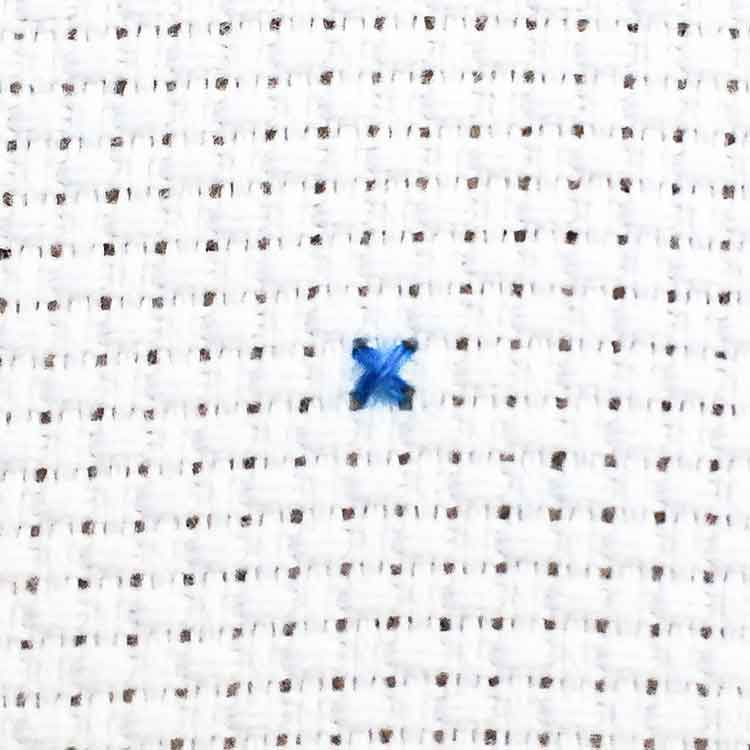
Enjoy your confetti!
