How to make a cross stitch cushion cover
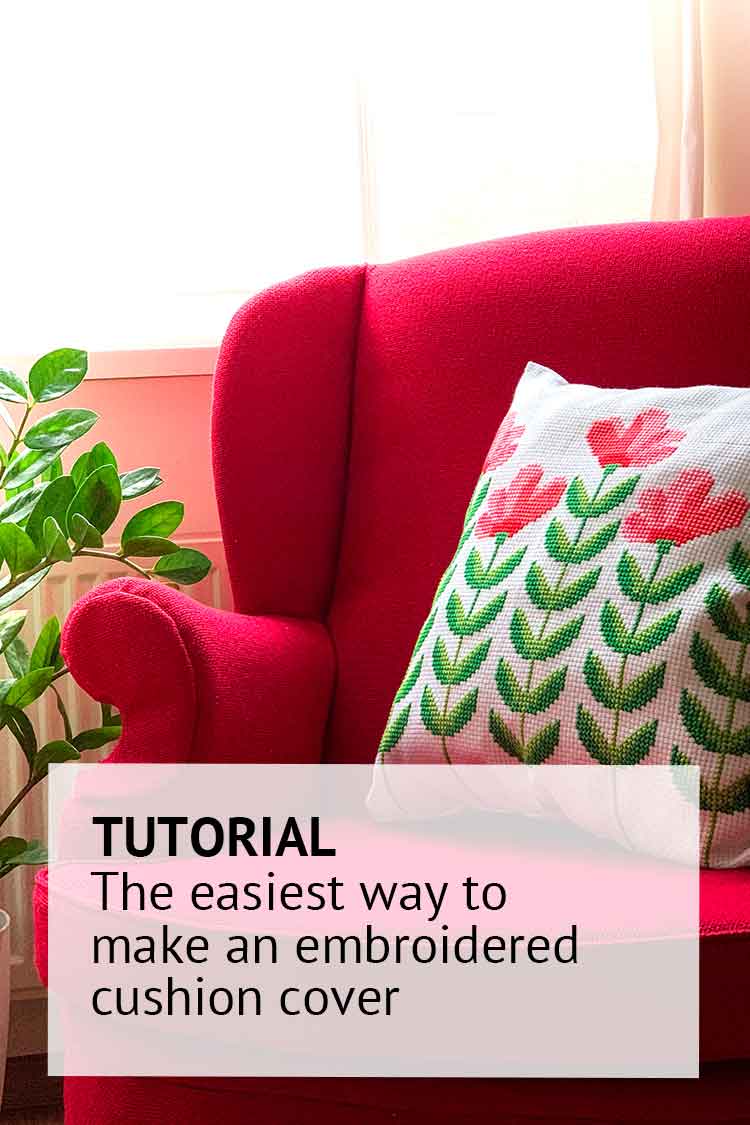
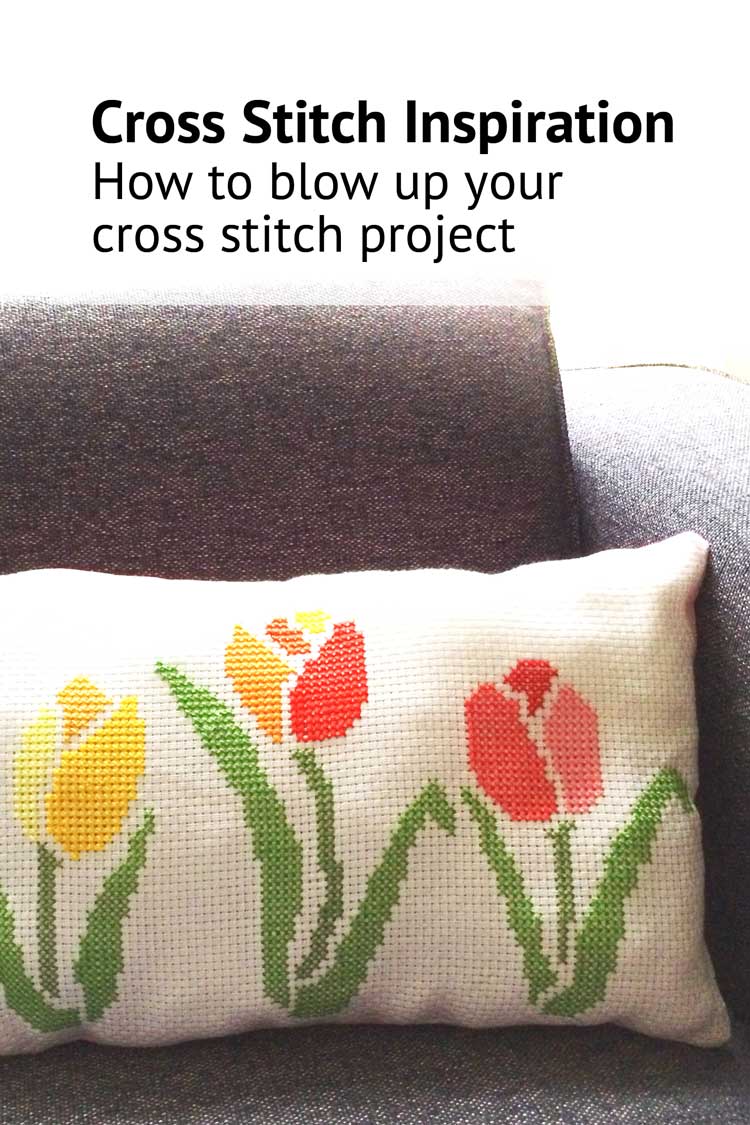
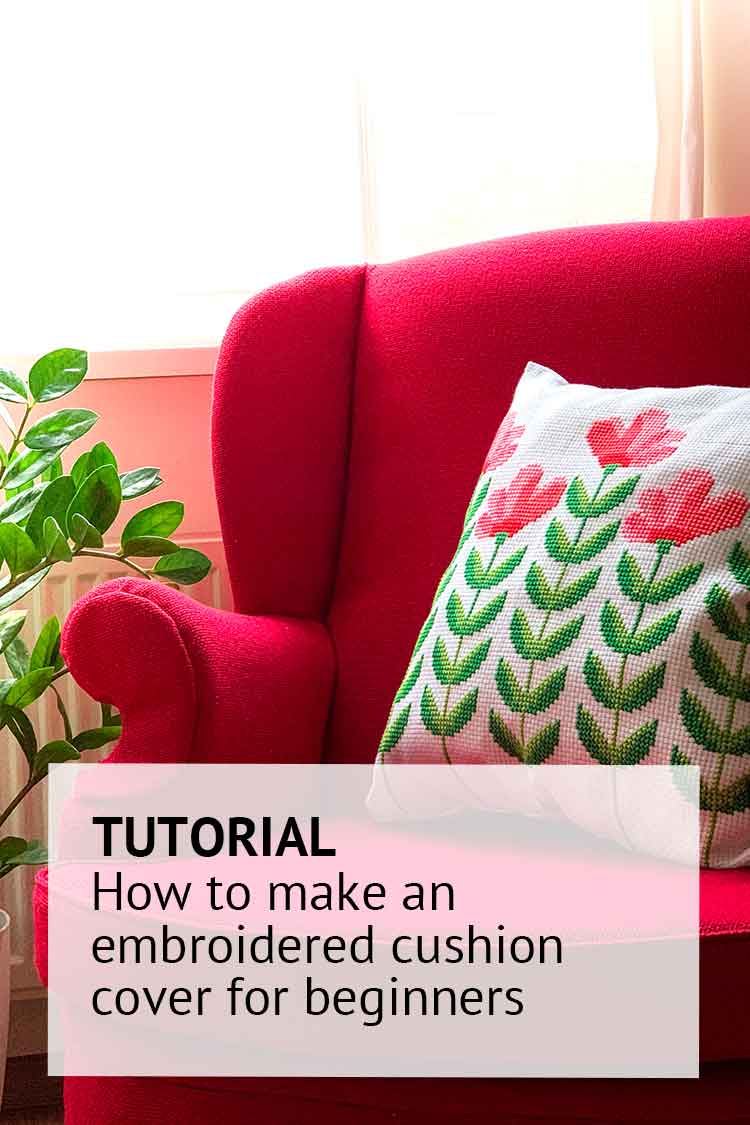
In this blog we explain how you can make a simple cushion cover using your completed cross stitch work. We’ll make an easy closed cushion cover using our flower design.
What materials do you need to make an embroidered cushion?
For this blog we used all the supplies from our Spring Cushion Cross Stitch Kit. The kit includes all the required materials for turning the embroidered piece into a cushion. You’ll only need to add your own scissors, pins and filling. Of course you’re also welcome to buy all supplies seperatly. You will then need the following:
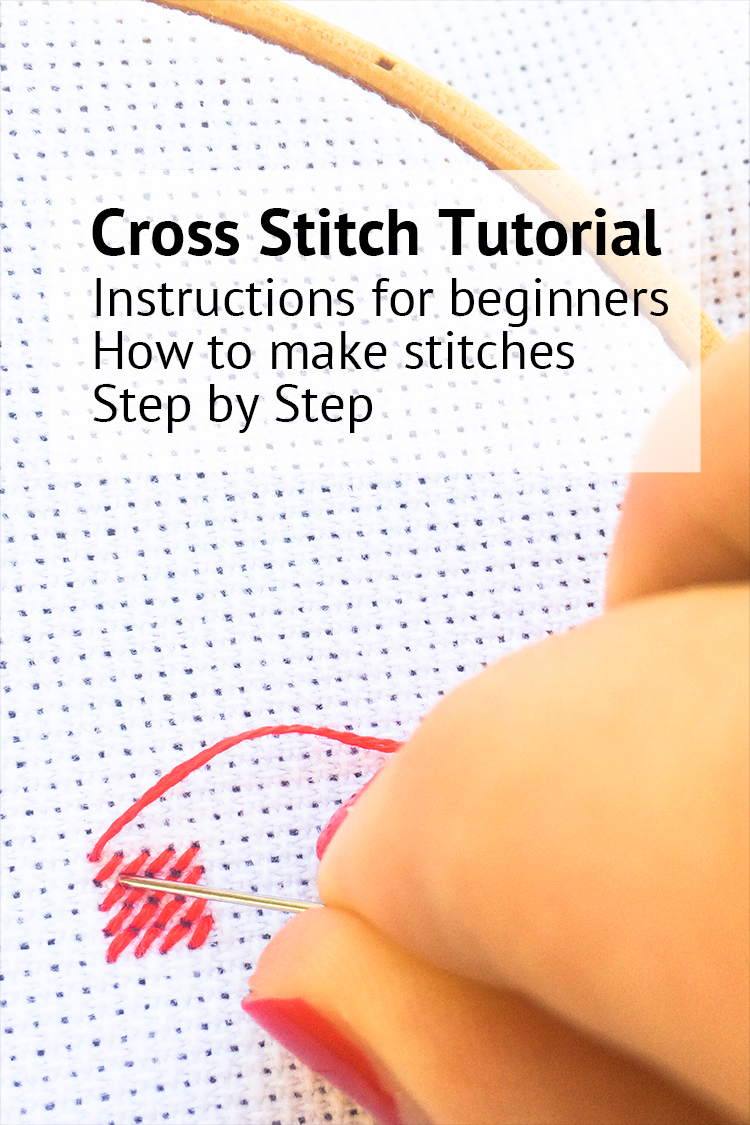
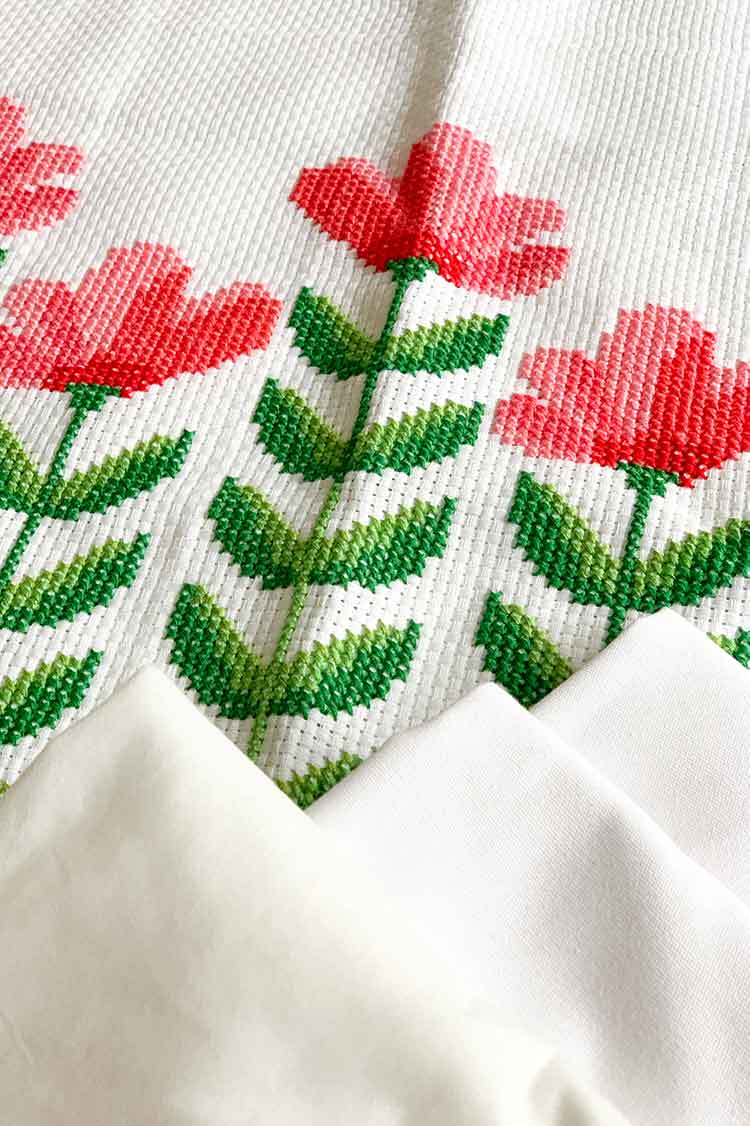
- Completed embroidery project. We stitched the flowers on Aida 6 count fabric with DMC embroidery floss. You can learn how to cros stitch in this step by step tutorial. You will need a piece that’s at least 5 cm (2″) longer and wider than your final cushion cover size. For the shown example we used 55 x 55 cm (22″x22″) to make a 50 cm (20″) cushion.
- Vlieseline fusible interlining. You will need a piece that’s at least 5 cm (2″) longer and wider than your final cushion cover size. For the shown example we used 55 x 55 cm (22″x22″) to make a 50 cm (20″) cushion. You can find the Iron on Vlieseline here in our shop
- Fabric for the backside. Our Ecological Canvas is very suitable as it’s closely woven. You will need a piece that’s at least 5 cm (2″) longer and wider than your final cushion cover size. For the shown example we used 55 x 55 cm (22″x22″) to make a 50 cm (20″) cushion.
- Sewing thread and sewing needle in the color of your fabric
- Filling Materials. You can use loose filling materials like us, or a pre-stitched cushion filler. You can recycle the filling from an old cushion or stuffed animal. Nothing at home that you can re-use? In Amsterdam you can get good quality recycled filling materials at ABC Shuimplasticshop
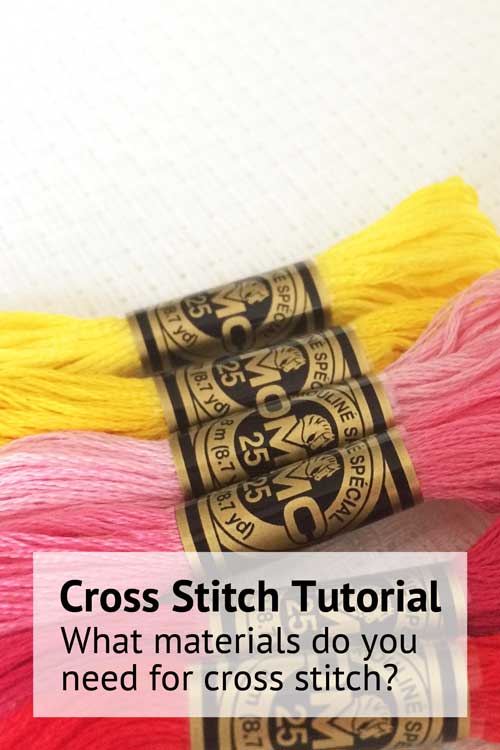
- Embroidery Scissors to cut all your loose threads. See our collection here
- Fabric Scissors or Rotary Cutter Handy to cut your fabric to size
- Optional: Extra Long Omnigrid Ruler. Handy to make a straight line when cutting. With 60cm lenght the one in our shop is perfect for cutting cushion size fabrics.
- Optional: Pins or Wonder Clips
- Iron and ironing board
.
How to make a cushion cover?
Below steps explain how you can make a simple cushion cover. We also use this method for making embroired dolls and small ornaments.
Step 1
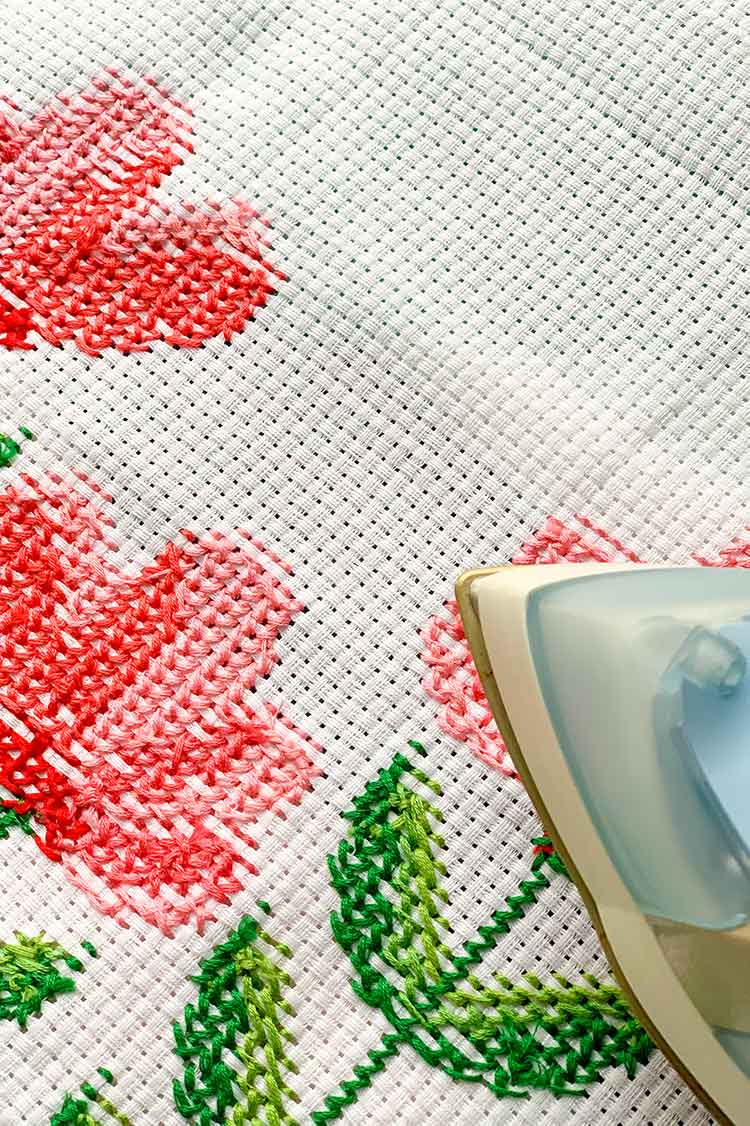
Wash your completed embroidery piece (read tips in this earlier blog). Iron your work from the backside.
Step 2
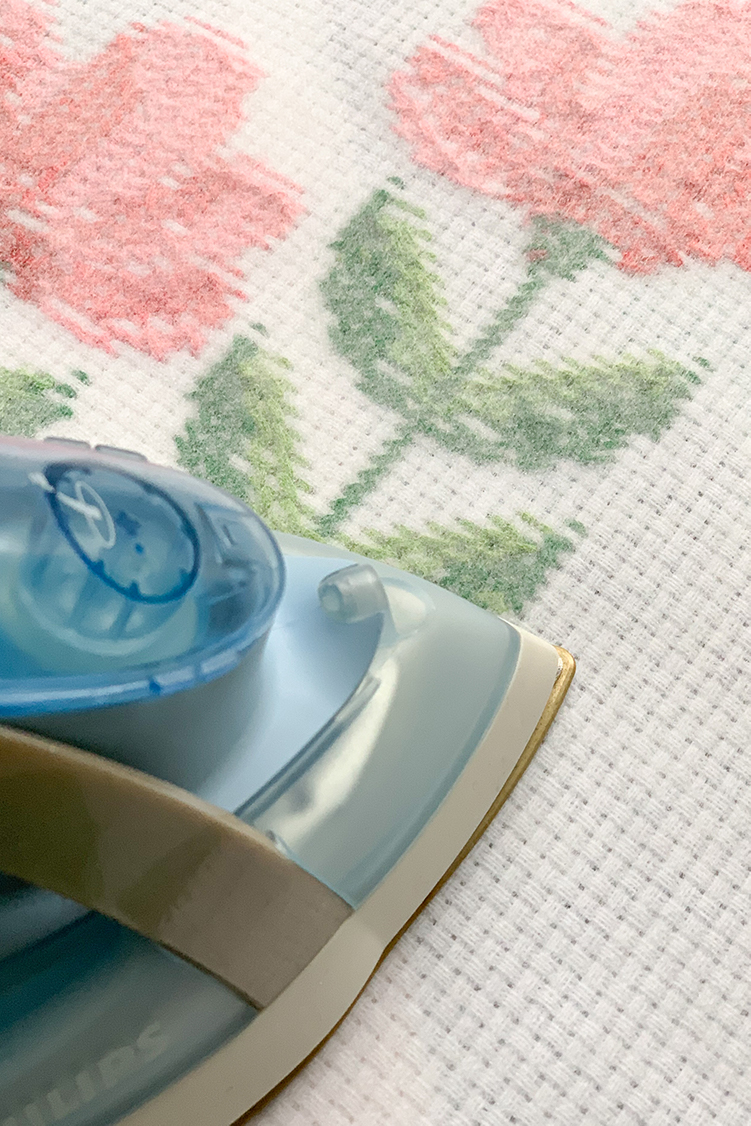
Lay your embroidery piece with the ugly side up on your ironing board. Lay the fusible interfacing on top of the embroidered piece. Iron the interfacing to your work.
Interfacing will ensure you cover all the open holes of your Aida fabric. It also makes your work firmer.
Step 3
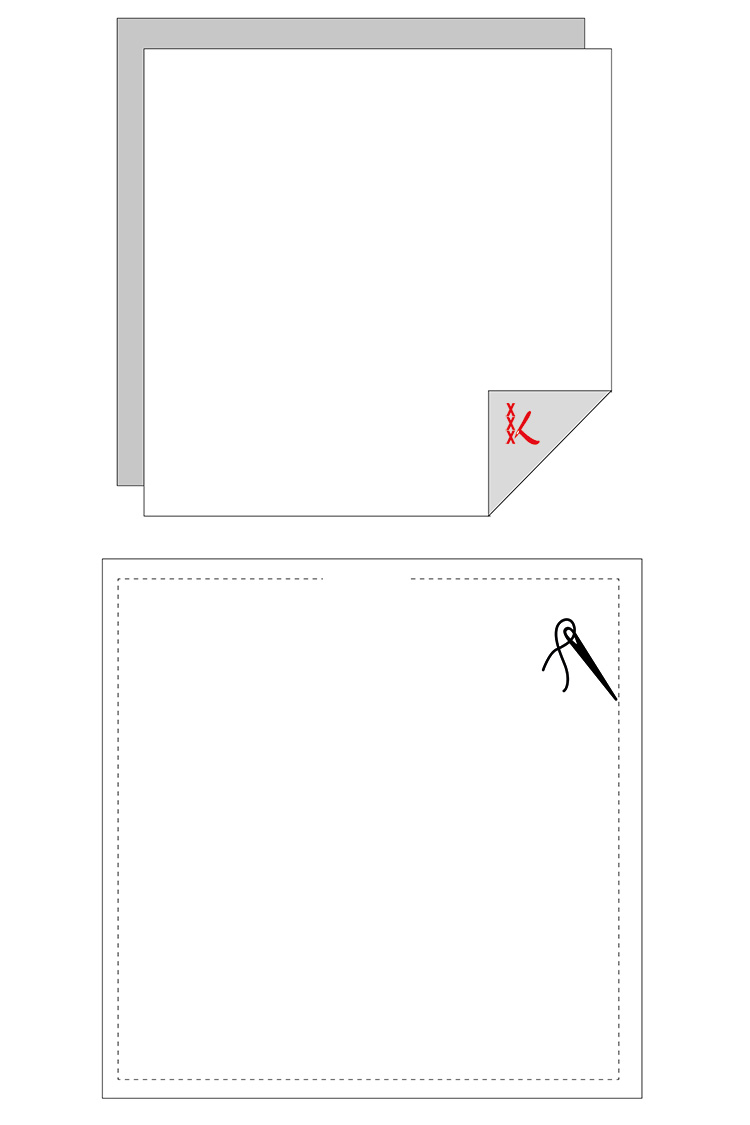
Lay your embroidery piece with the pretty side up on your table. Lay the backside fabric on top of the embroidered piece. Ensure the pretty sides of the fabrics face each other. Use the wonder clips (or pins) to keep your fabrics in place.
Stitch by hand or use a sewing machine or serger to sew the border. Stitch 2,5 cm (1″) from the edge of your fabric. Ensure you keep an opening of at least 10 cm open on one of the sides. When you’re using a filling cushion, leave one of the sides open.
Step 4

Use the opening to turn the fabric inside out.
Step 5
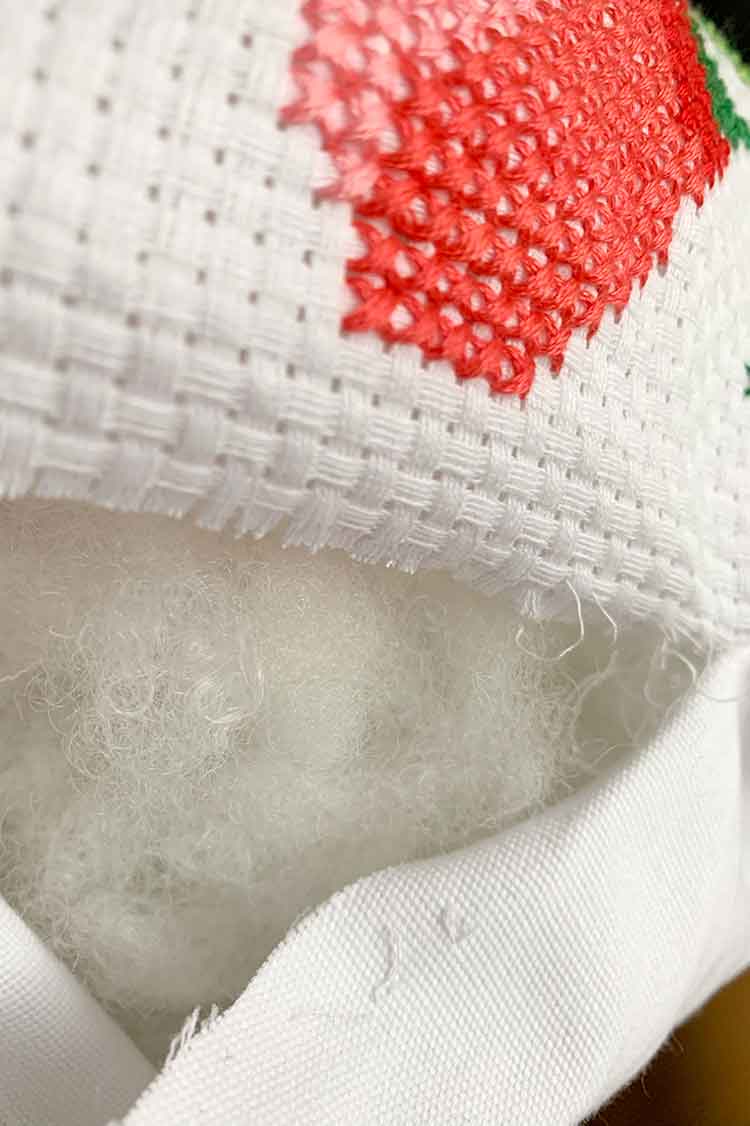
Fill the cushion cover with filling materials.
Close the cushion opening with a ladder stitch or invisible stitch.
Step 6
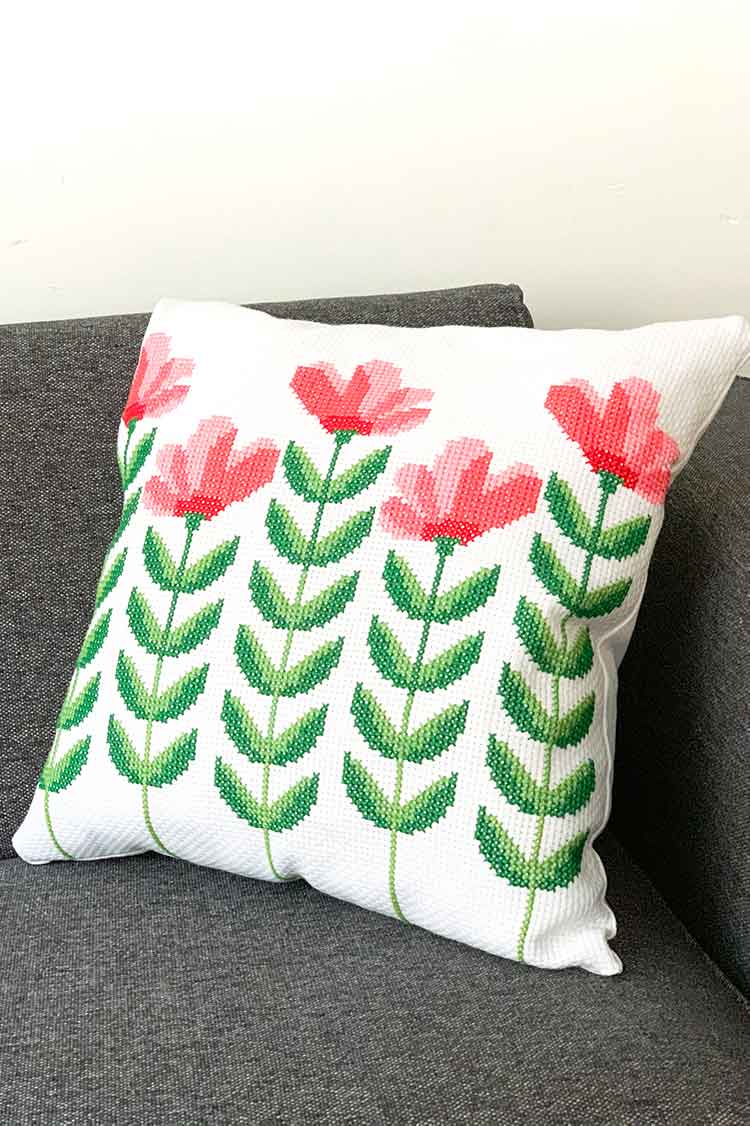
Taadaa! You’re ready. Time to enjoy your new cushion.
