How to use the Adjustable Punch Needle (regular) for aran and chunky yarn instructions
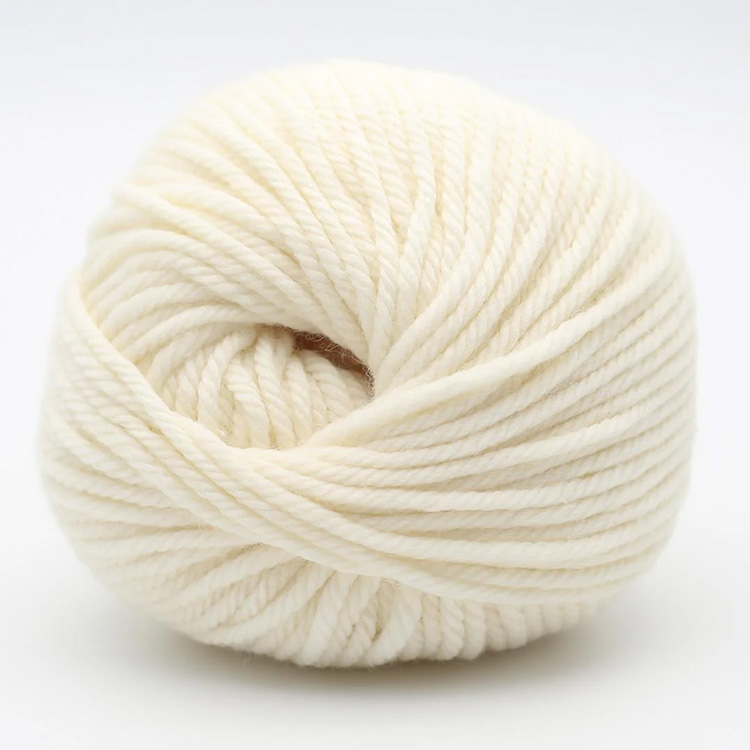
You may have read our punch needle tutorial for beginners and learned a lot about how to punch needle and how you can avoid the most common issues. In this blog we will share a few more tips specifically focussing on the adjustable punch needle for chunky yarn we sell in our shop. You will learn how to thread this needle with wool. You can read our tips for foundation fabric that is a perfect match with this needle. And we also show step by step how to adjust the height of your loops.

How to thread your adjustable punch needle?
To get your wool into your punch needle you will need a threading tool. For the adjustable punch needle you can use two options 1) a metallic wire threader or 2) a long needle of at least 15 cm. Without these tools you will strugle to poke your yarn through the needle.
How to use the metallic wire threader
Below steps explain how to use the wire threading tool to get your yarn flowing smoothly through your punch needle.
Step 1

Put your needle threader in the long end of your needle. Enter your needle from the sharp end of your needle, the side that you will poke into your punch fabric.
Step 2

Pull your thread through the metalic threader that comes out at the backside of your punch needle. When using thick wool you can use a short tapestry needle if you find it difficult to go in between the metallic thread. Now pull the needle threader from the front side of the punch needle all the way through your needle.
Step 3

You will now need to poke your yarn through the eye of the needle (the needle hole).
Voila! This is how your threaded needle looks like.
How to use a long needle to thread your punch needle
Below steps explain how to use an extra long needle to get your yarn flowing smoothly through your punch needle. You will need a needle of at least 15 cm lenght.

Step 2

Insert the needle from the backside of your punch needle, until it pokes out at the front side.
Step 3

Pull your long needle through the punch needle.
Step 4

Now thread your long needle through the eye of your punch needle pulling the needle from the inside of your punch needle to the outside.
Step 5

Voila! Your yarn is inside your punch needle.
Which foundation fabrics are suitable for the adjustable punch needle?
Each punch needle has a different thickness. To ensure that your loops stay nicely in your fabric, it is important to use the correct fabric for your project. We tested this punch needle with a large number of open weave fabrics to provide you the best combination.
Monks Cloth 7,5 Count. Great for sensitive skins and if you want to cherish your work for decades:
Our Premium Monks Cloth is especially developed for punching. It looks like Aida fabrics but is different. Where Aida is woven with 5 threads over 5 threads, Monks Cloth is made with 4 threads over 4 threads. Monks cloth is also not stiffened, enabling the threads to move and make place when you punch with your needle. Monks Cloth is not suitable for cross stitching. And Aida fabric is not suitable for punch needle embroidery.
Monks Cloth is not hairy and great for punching pieces that completly cover the fabric. Our Monks Cloth is woven in Germany. For the adjustable punch needle we recommend the 7,5 count Monks Cloth (approx 3 holes per cm).

Our Ecological Jute Fabrics
A budget fabric for this punch needle is jute, burlap fabric. Jute is a very eco-friendly material and we found a Spanish producer that grows and dyes the jute in ecofriendly way. We tested different weights and learned that the budget Raw Jute works the best. Jute is biodegradable and during the growth it consumes about half of the water resources that would be needed for cotton. Combine it with ecological wool and your punch needle project will be a fully sustainable gift.
The raw jute is the ugliest fabric we tested and it does loose hair. But it just punches sooo easily. No pressure on your hands, it just goes in an out like a breeze. And the loops do stay put afterwards. So it’s just exactly the right match for our punch needle.

Fabrics that did not pass the test for the adjustable punch needle
We also tested the punch needle with different evenweave linen fabrics, but found that the tested qualities where not suitable for this punch needle. You have to poke a lot harder, and when a thread breaks it is more difficult to redo a section when you make a mistake.
Aida cloths, heavier or lighter, Jute clothes other than the ones we linked above are also not ideal foundation cloths for the punch needle.
And where our canvas fabric is a fantastic foundation cloth for the clover punch needle, for this punch needle this fabric is too fine. You just have to poke so hard that you have to take frequent breaks to avoid hurting your hand.
We will continue testing fabrics and will share updates on our blog on test results. If you have questions about fabrics, please feel free to contact us!
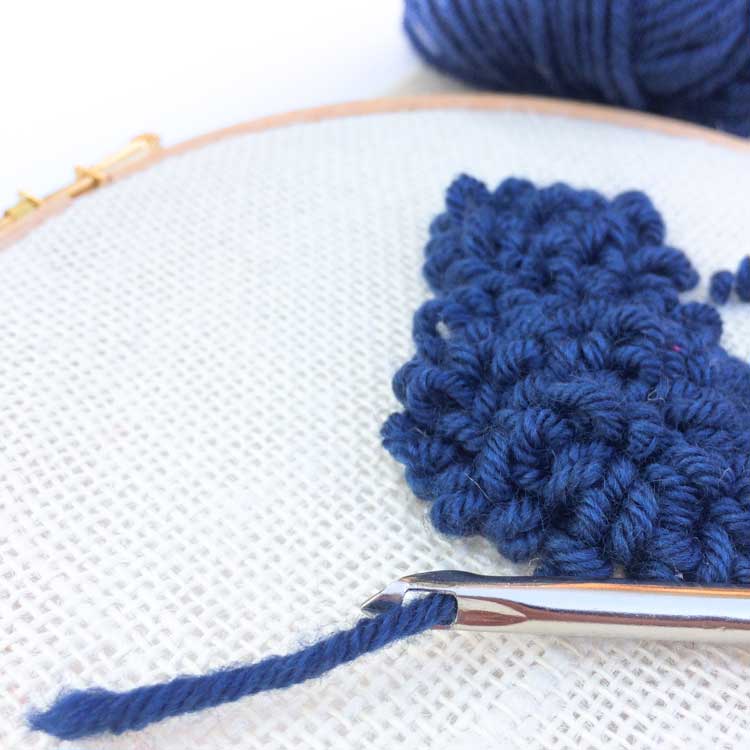
How to adjust the height of your loops
Adjusting the punch needle for different loop lenghts is not difficult. At the long end of your punch needle there are 7 notches in the punch needle. The spring inside the needle can be secured at each notch. You can turn the needle and pull it to the desired notch then you turn it back until you hear a soft click.

The notches at the backside of the punch needle

Turn the needle and pull the metal part further in or out until your needle ‘clicks’ into the next notch.

You can make 7 different heights with the adjustable punch needle

When subscribing you allow us to send e-mails to you. You can unsubscribe at any moment you like. Read our privacy policy here
Shop Matching Supplies for this Punch Needle