How to make punch needle embroidery patches
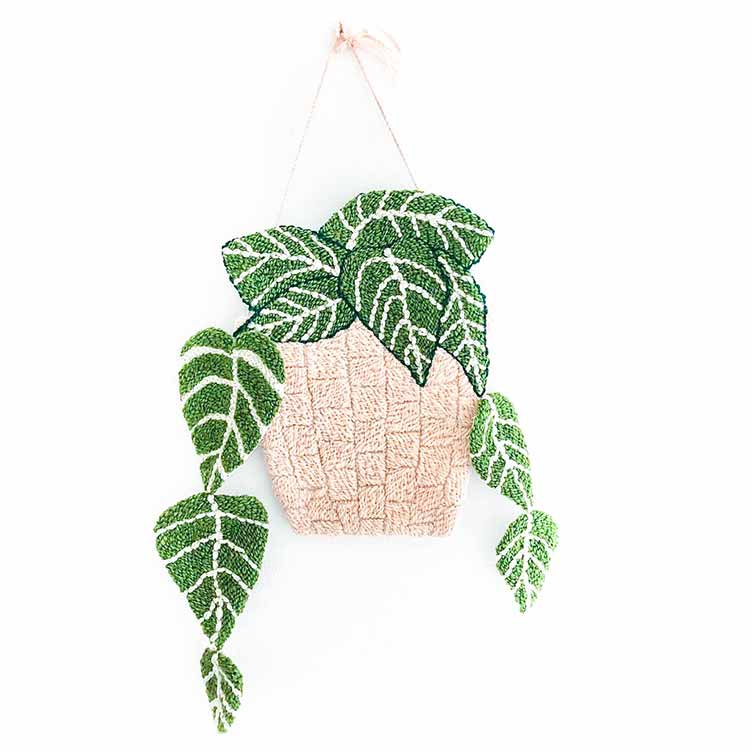
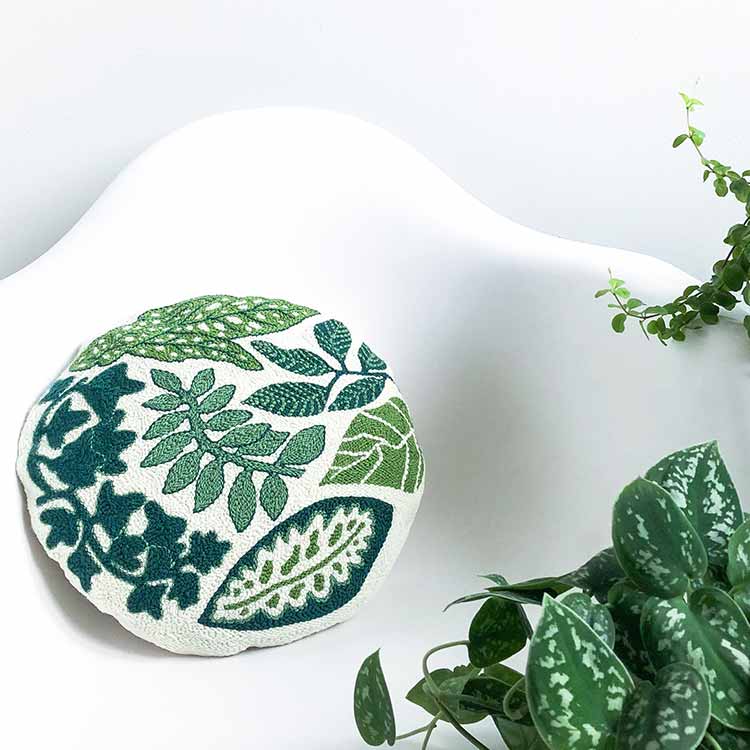
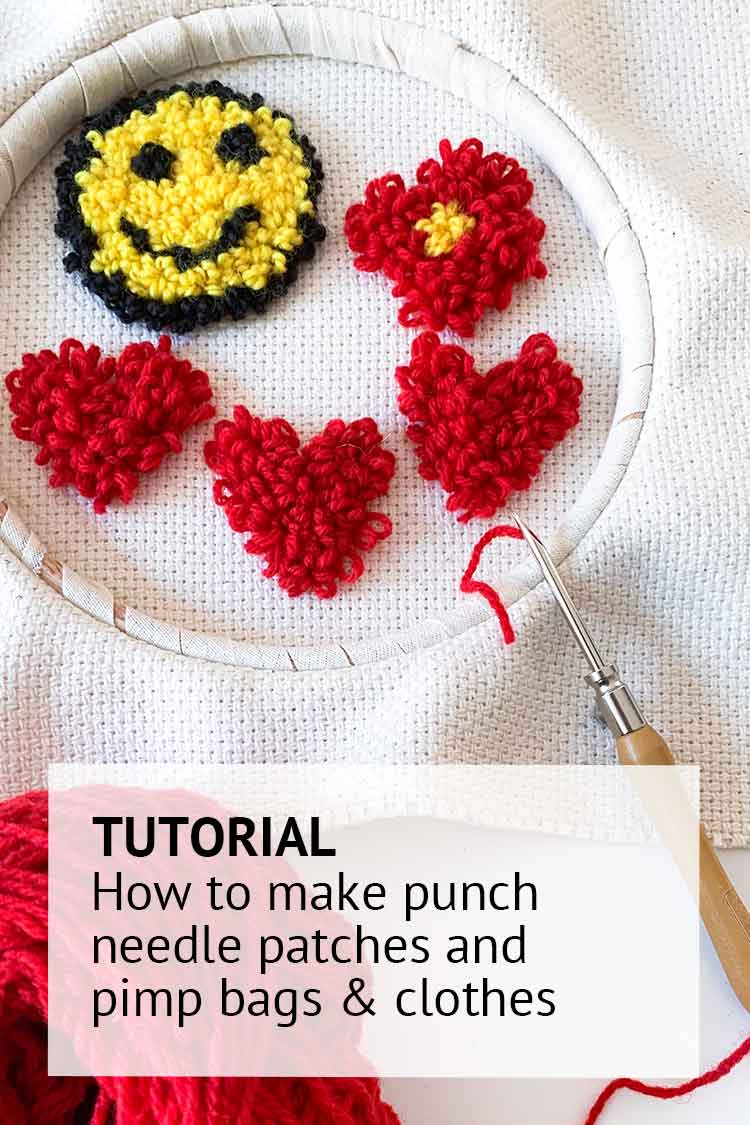
You can use iron on patches to decorate a pair or jeans, to spice up a plain tee shirt or personalise a backpack. Of course you can also use iron on patches to repair clothing by covering a rip, tear or hole. In this blog we explain how to make iron on patches from punch needle embroidery work. Punch Needle patches are fluffy which adds a sweet touch to your clothes.
What materials do you need to make an iron on patch
- A completed piece of embroidery
- Fabric glue to secure the threads of your punch needle embroidery
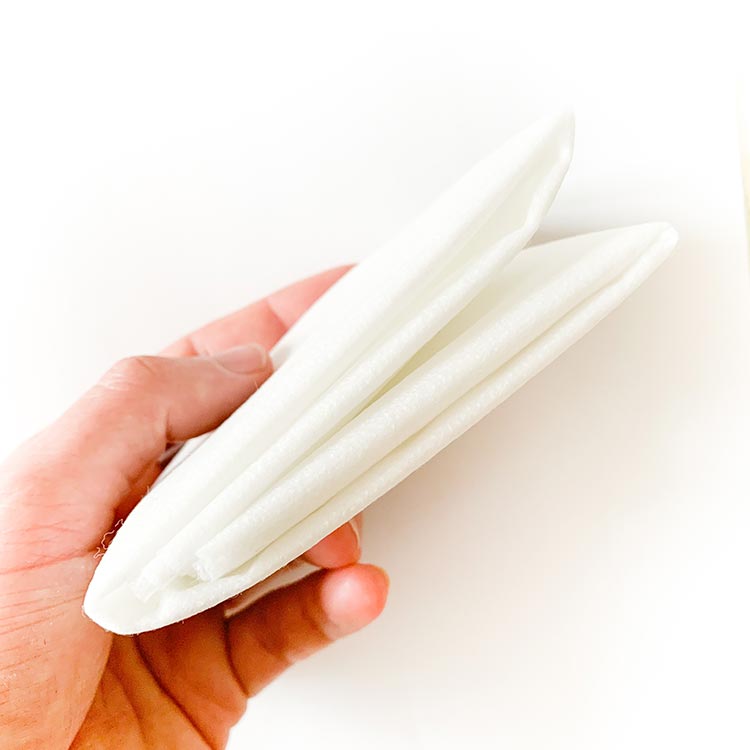
- Double sided adhesive Fabric fuse to iron your patch to your fabric like Vliesofix
- Fabric Stabilizer to stabilize the fabric backside, espcially needed when you want to adhere your patch to a strecthy material like a tee shirt.
- Clothes, a cushion or a bag where you would like to place your patch!
- Iron
- Baking paper (optional)
- Pins
- Sewing thread and needle
.
How to make an iron on patch
Below steps explain how you can make your own iron on patch and secure it to your fabric.
When you use a punch needle embroidery piece as iron patch you use the loopy side of your piece as the front side. As punch needled piece of fabric is relatively heavy. We therefor recommend to use fabric stabilizer.
Step 1
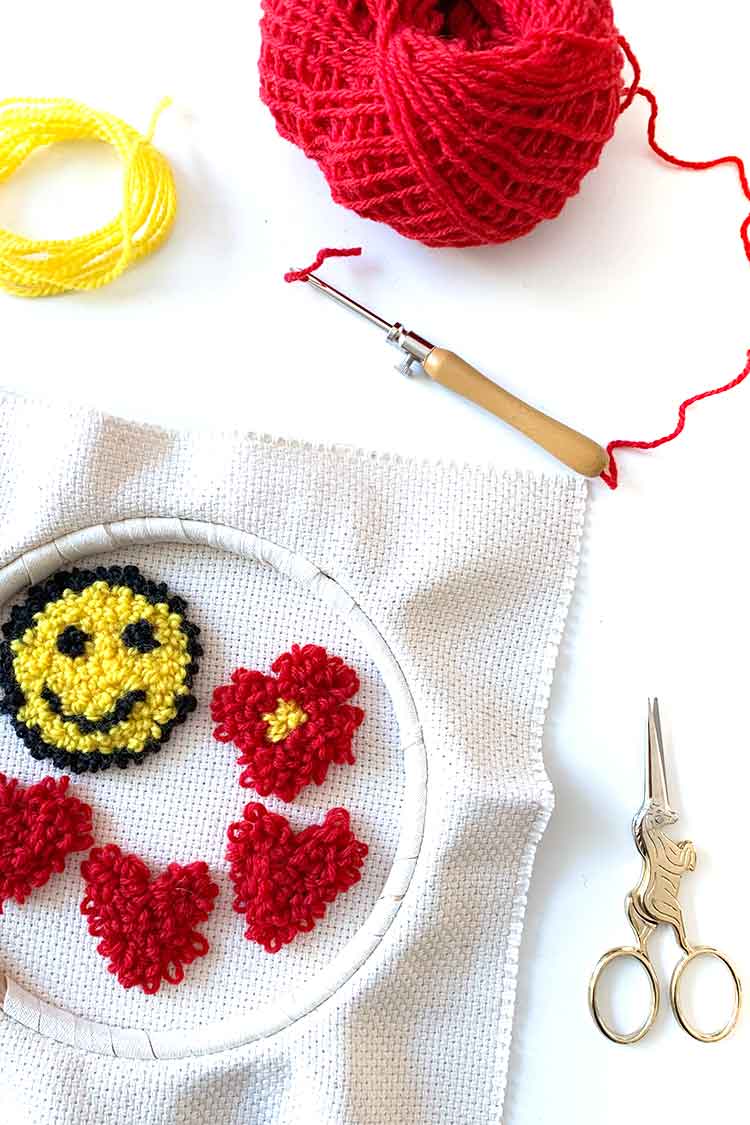
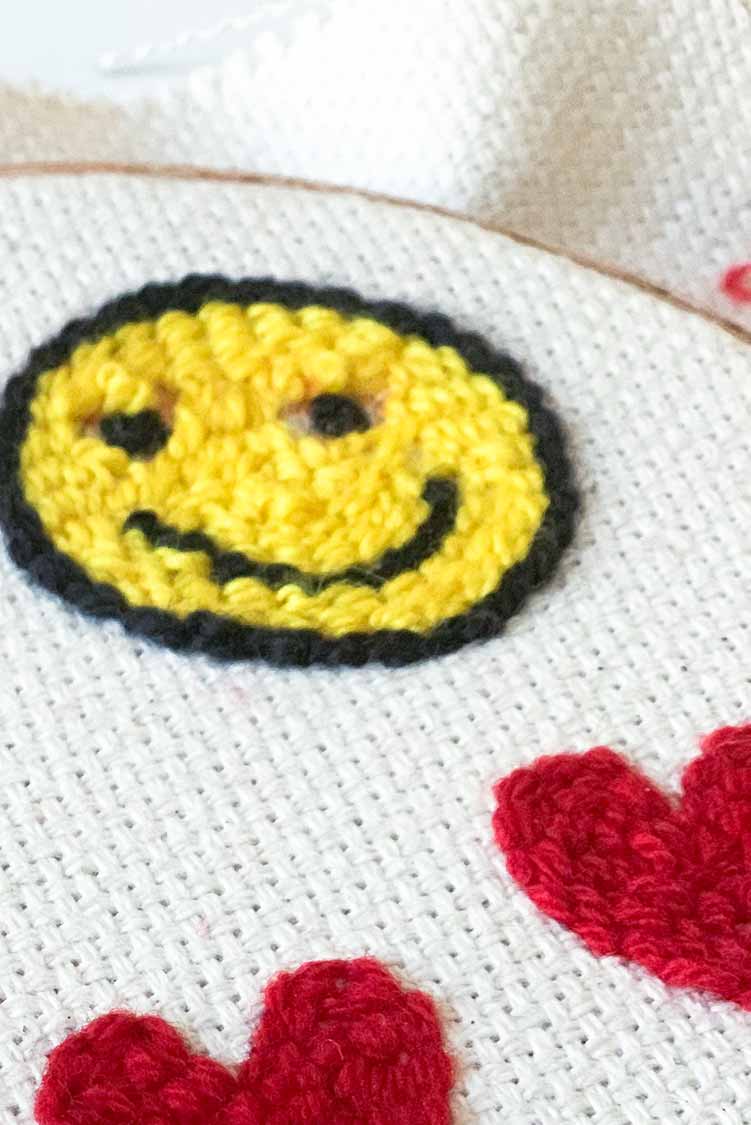
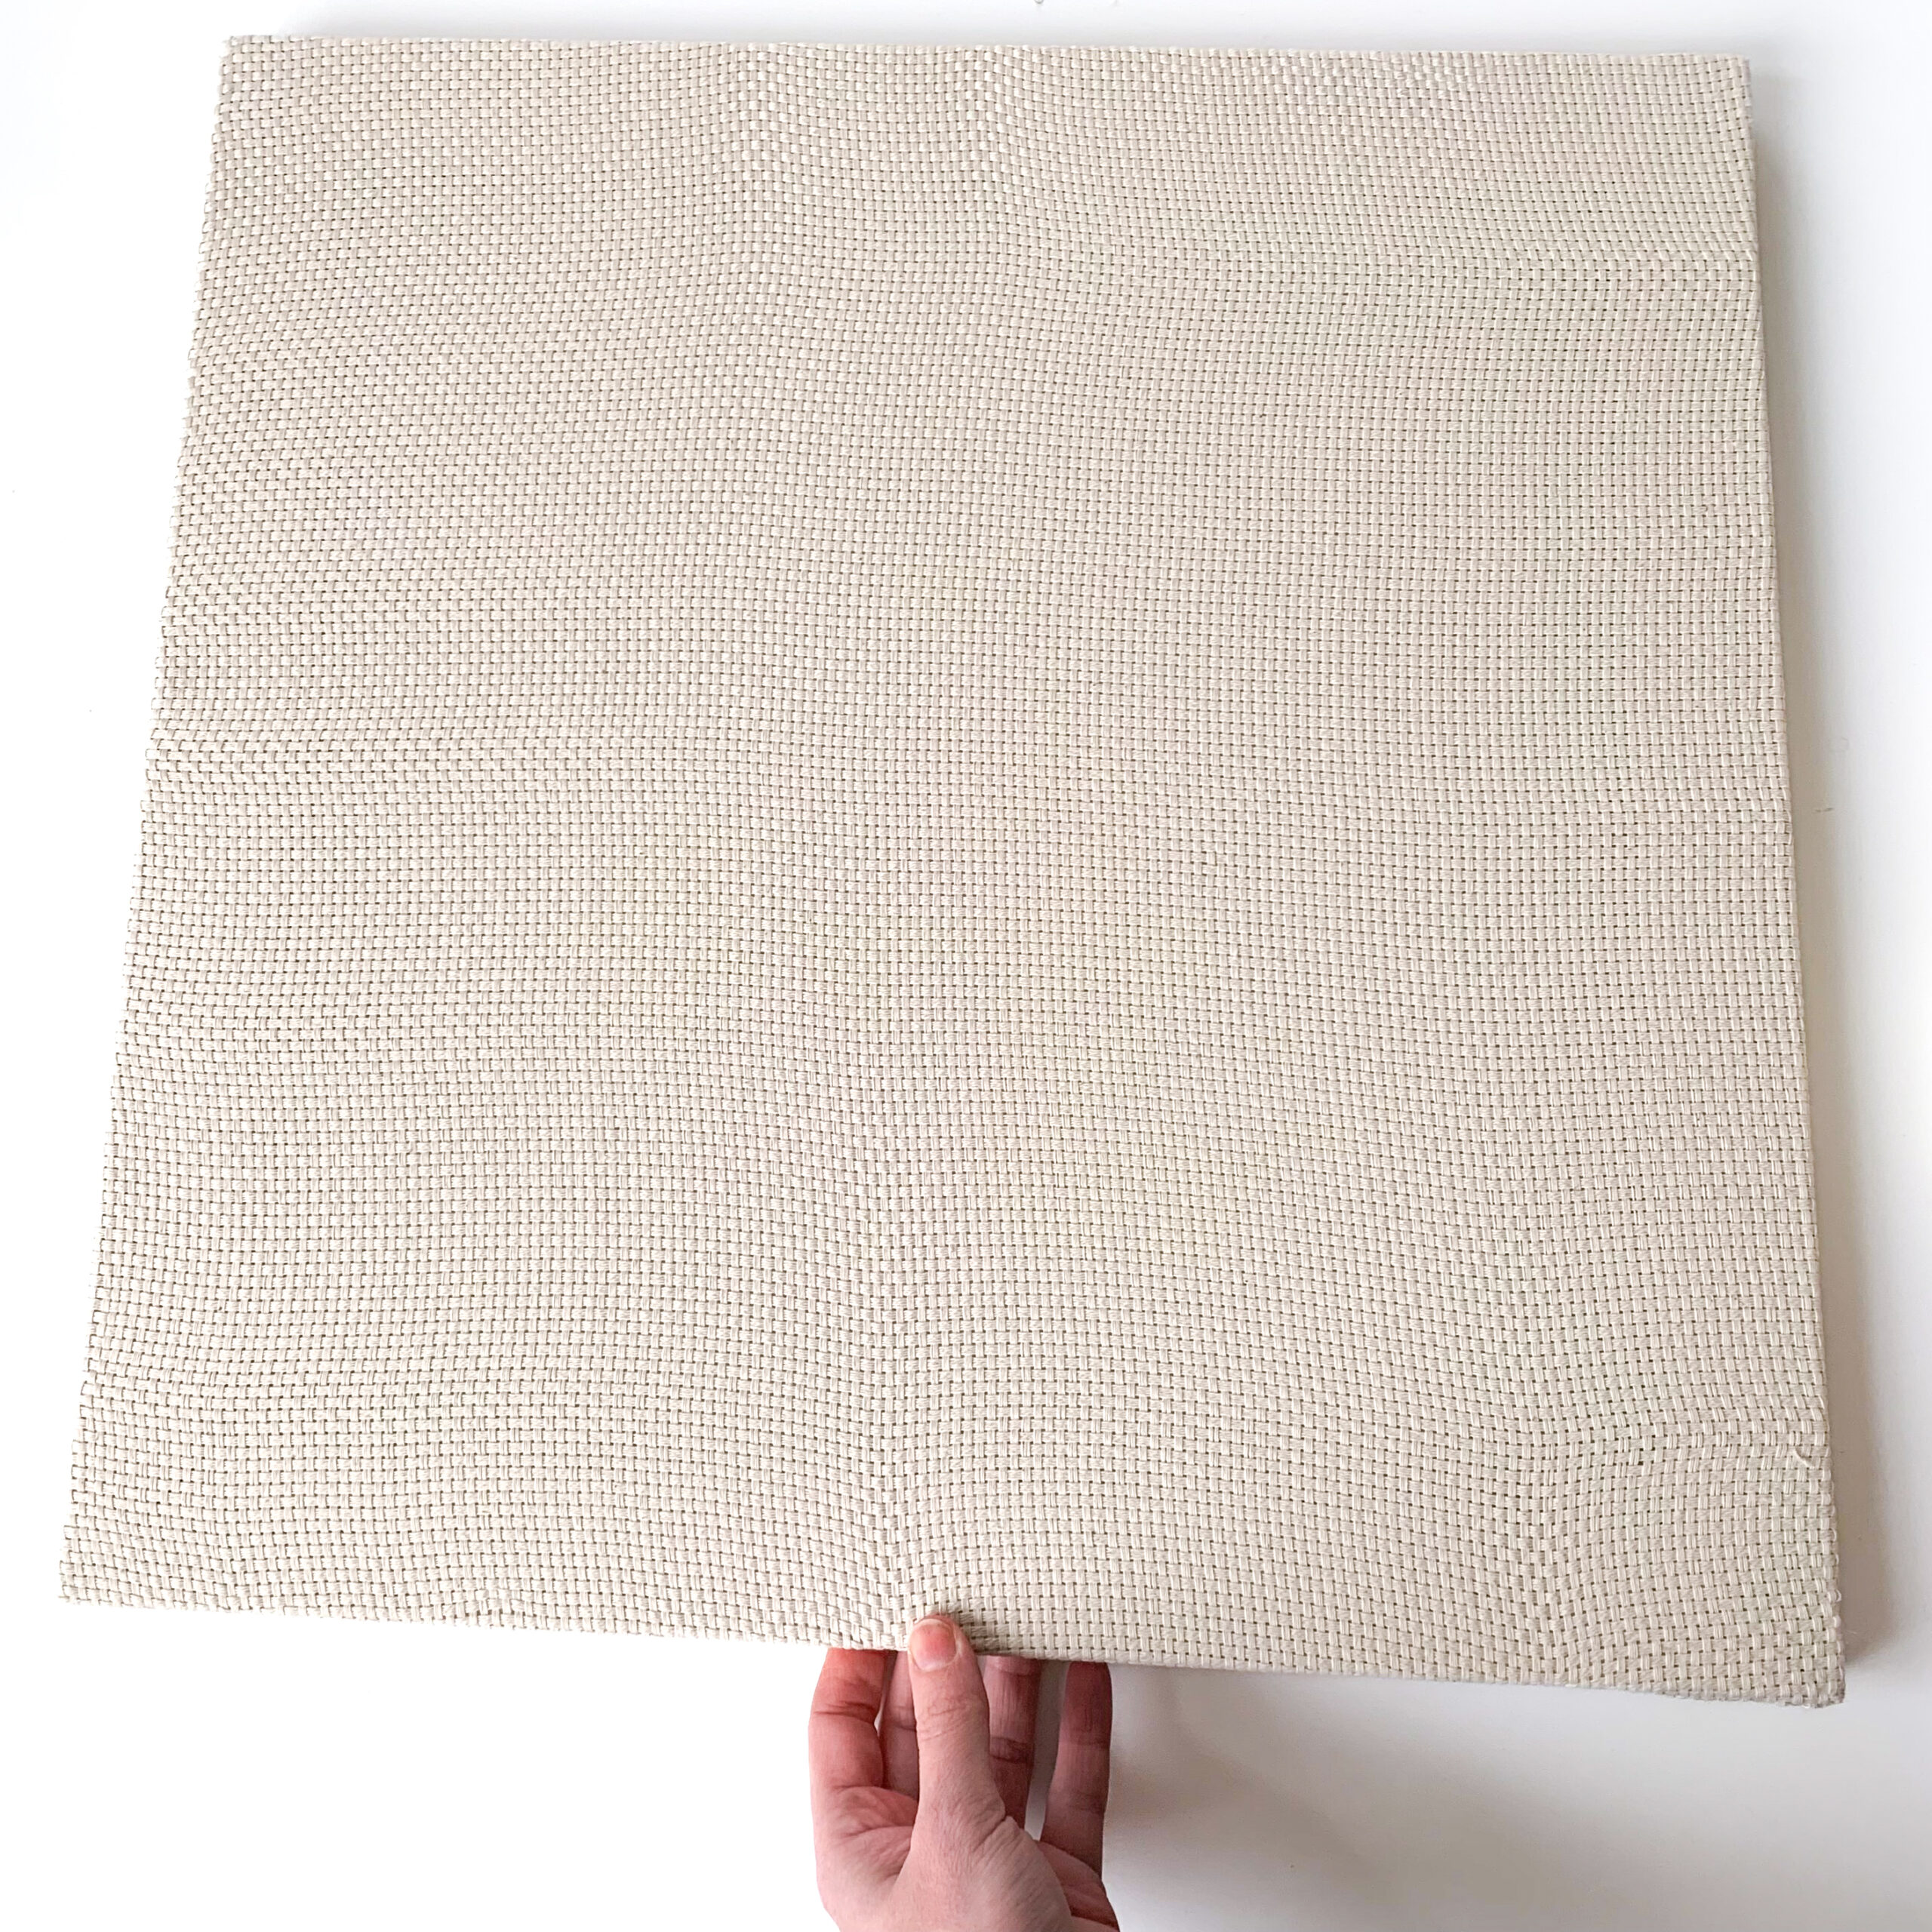
Punch your patch on a piece of fabric that is suitable for your punch needle.
When making small patches you can combine multiple on one piece of fabric.
You will use the side with the loops for your patch. So we recommend to use simple designs.
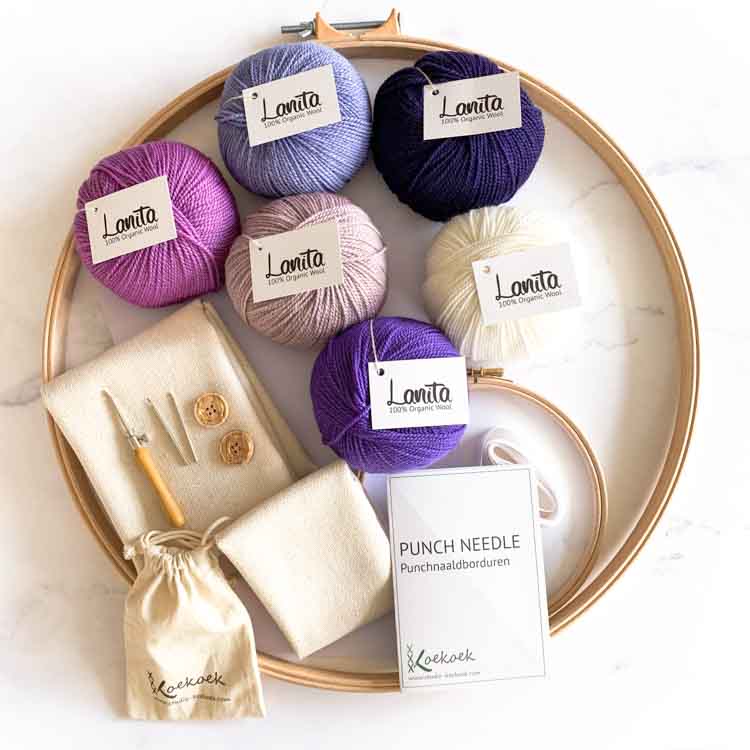
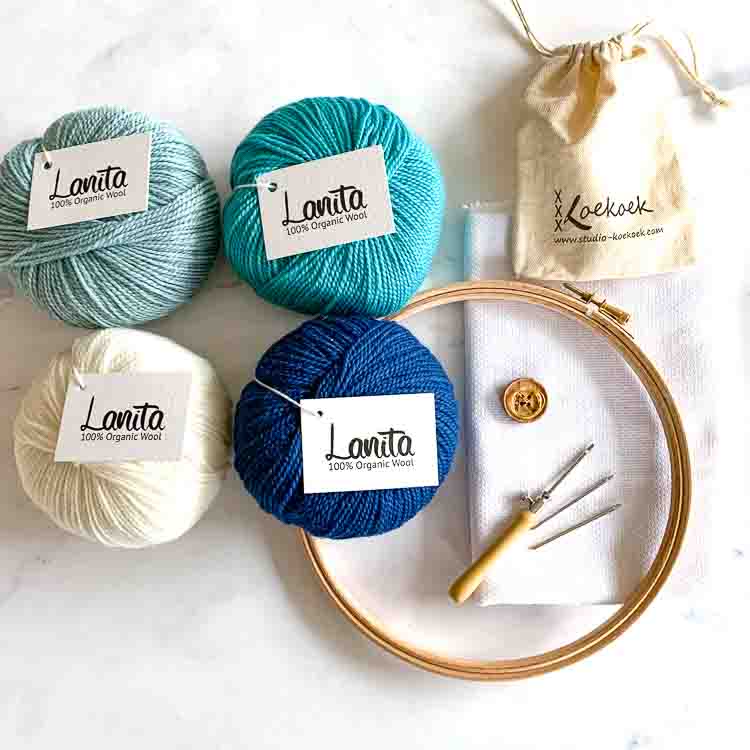
For this sample we used our 3 size punch needle with Lanita wool and fine monk’s cloth fabric
Step 2
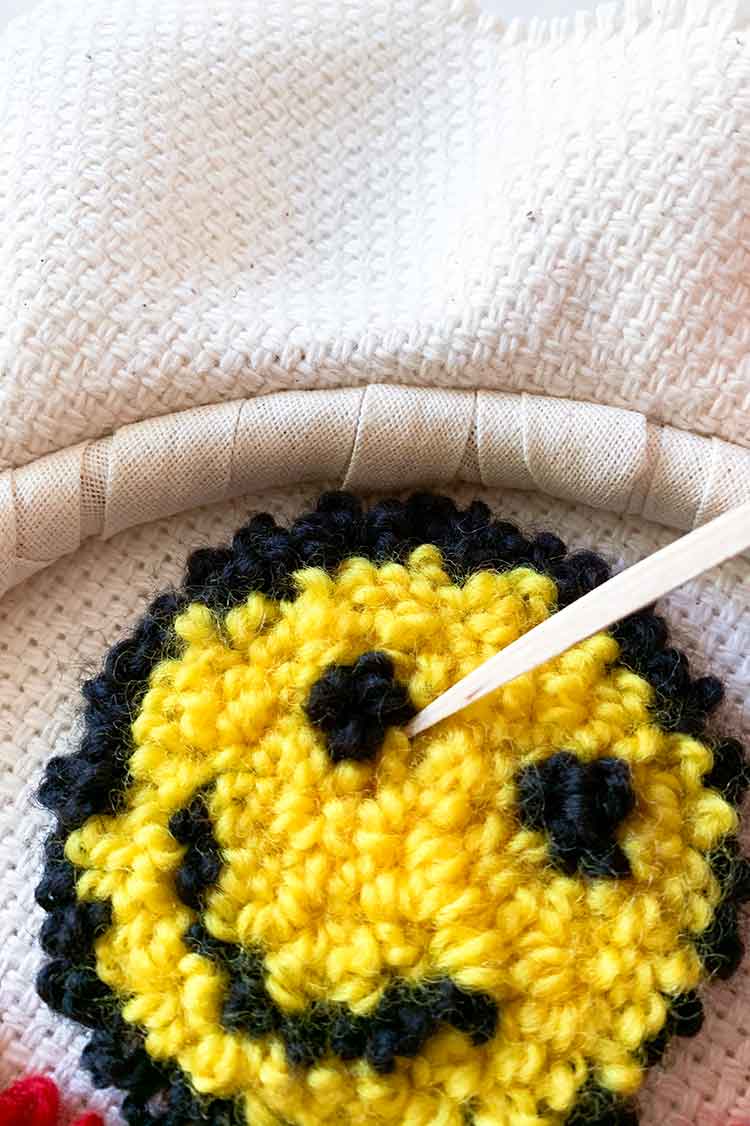
Check your loopy side and use a tooth stick to move your loops in place when needed. This will help to make your design more visible.
Step 4
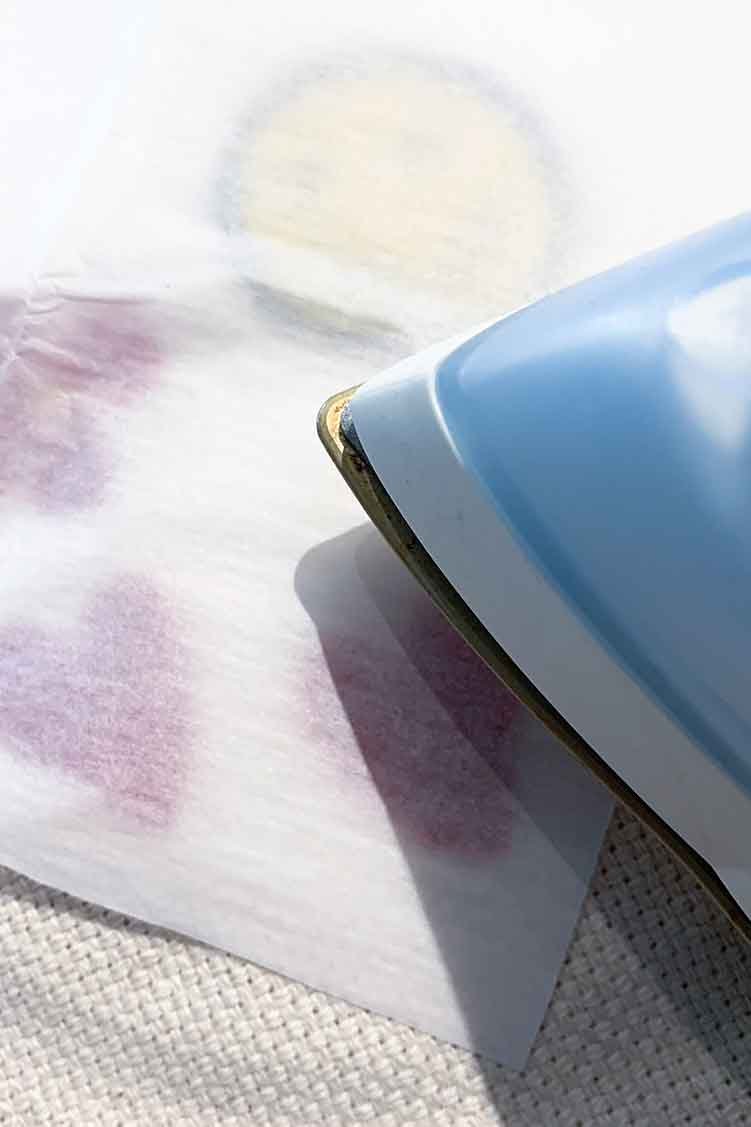
Prepare your iron board with a sheet of baking paper. Lay your embroiderd piece with the loopy side down on the baking baper. Add Vliesofix or fabric fuse on the flat side of your embroidered fabric with the shiny glue side down.
Iron the vliesofix to your embroiderd work. Lift iron up and down rather then moving it.
Step 5
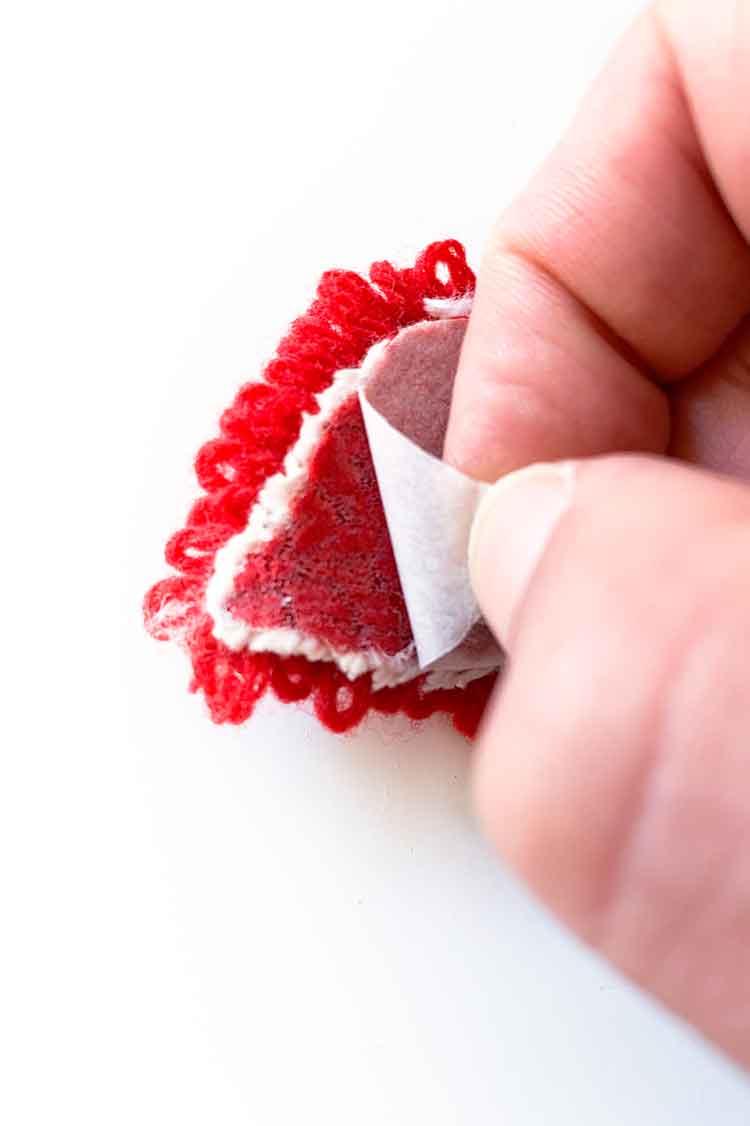
Cut your patches from the fabric.
Remove the paper from the Vliesofix layer.
Step 6
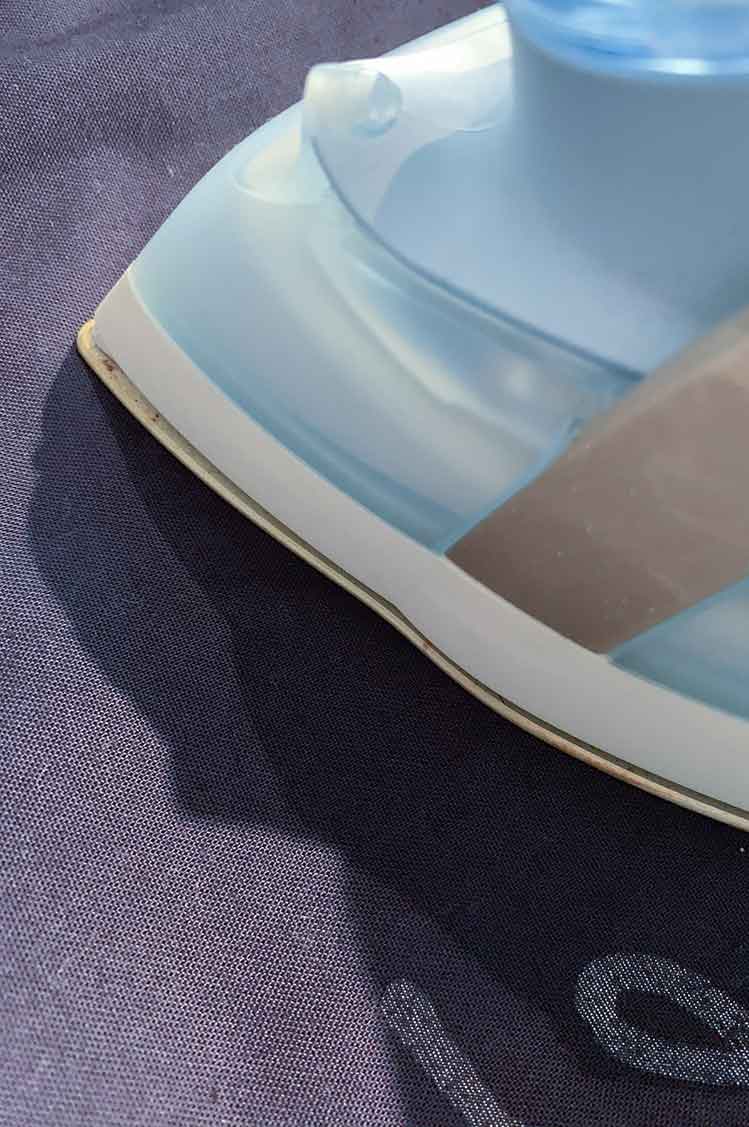
Iron your punch needled piece on the destination fabric. Ensure you iron it from the backside of your ‘destination fabric’ to avoid that you iron flat all your punched loops.
Step 7
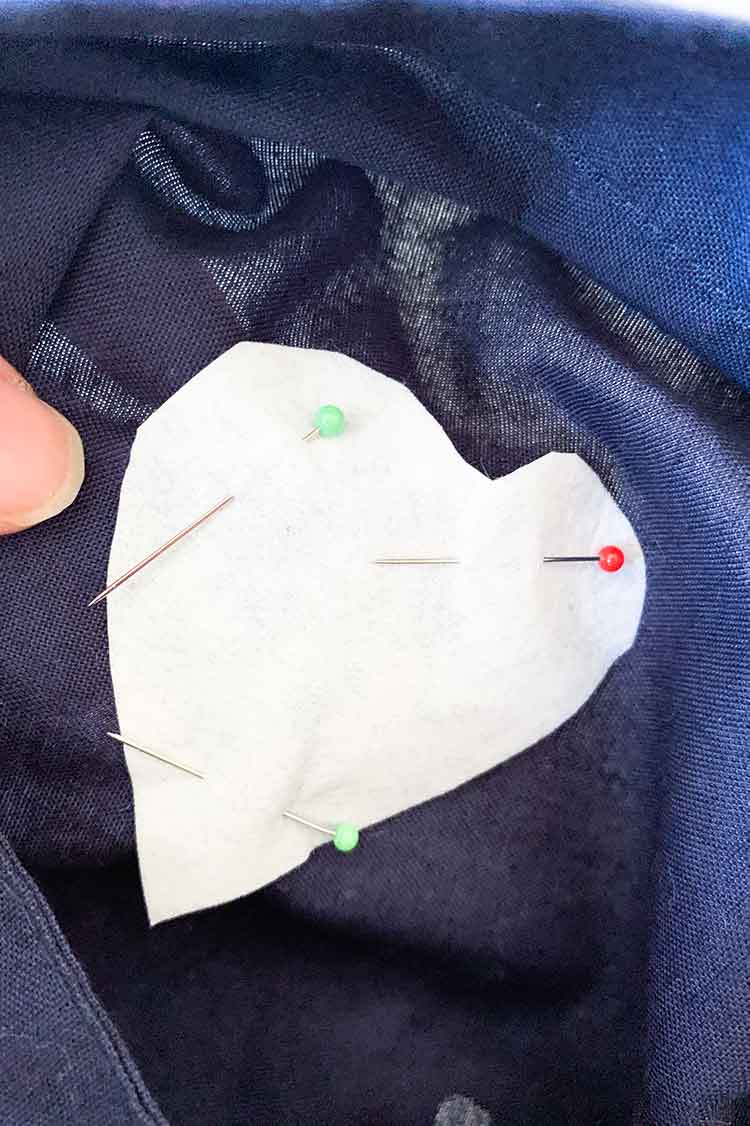
Cut a piece of fabric stabilizer with a border of approx 1 inch / 2,5 cm bigger than your patch. and use pins to secure this to the backside of your fabric.
Step 8
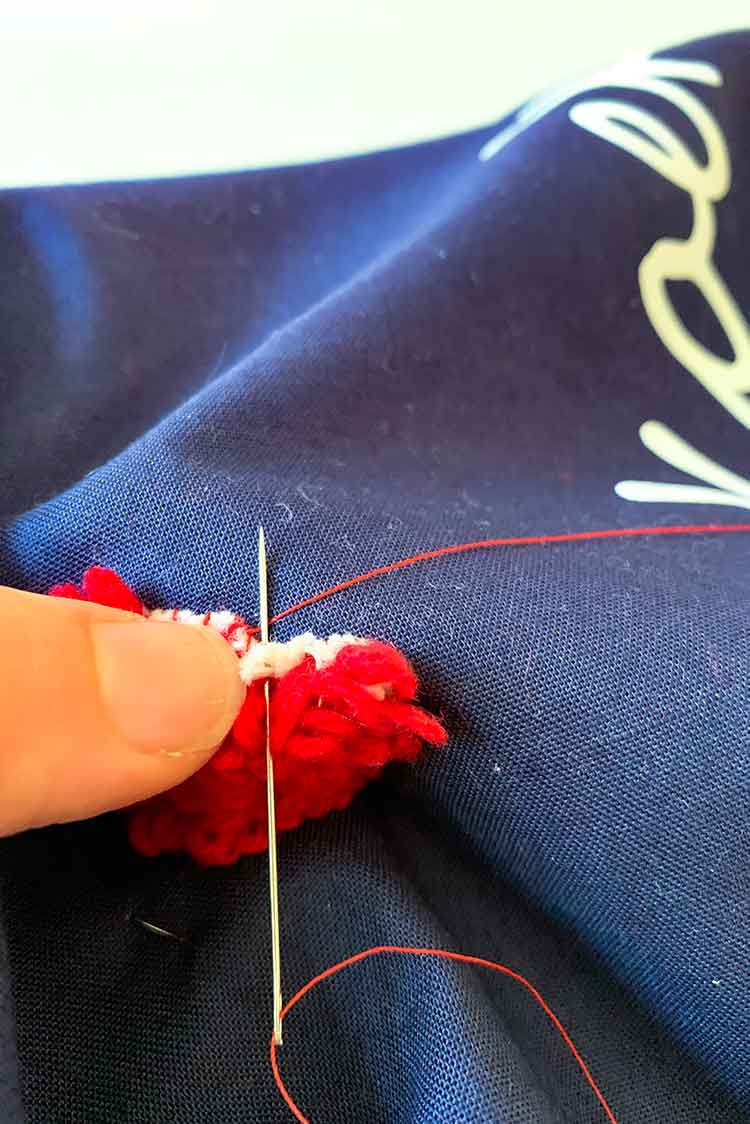
From the front side of your piece (the loopy side) sew a zigzag or border stitch around the border of your patch.
Ensure your needle goes through all layers (the punched piece + double sided fabric fuse + destination fabric + fabric stabilizer ). We prefer to stitch by hand but you can also use a sewing machine.
As you stitch, push the punch needle loops away with your thumb to avoid going through the punch needle loops.
Step 9
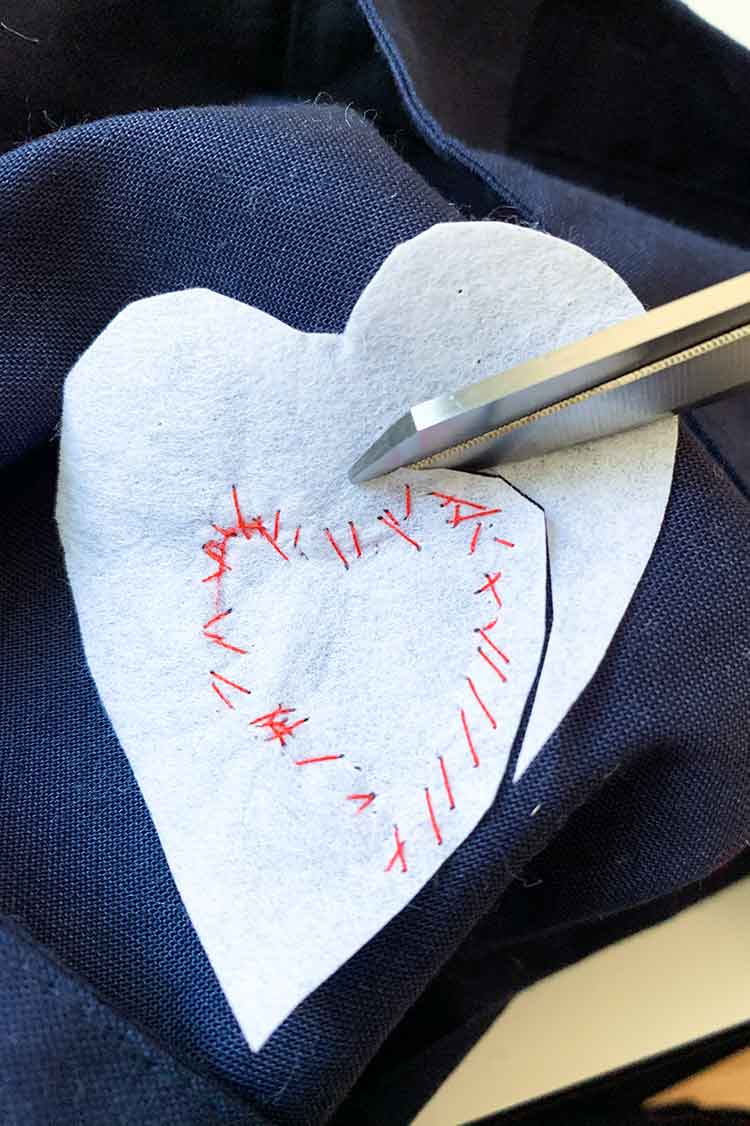
Cut or tear off any excess fabric stabilizer
Check your loopy side and use your fingers to bring the loops alive again when they are pressed down too much.

Tadaa! Enjoy your patch!
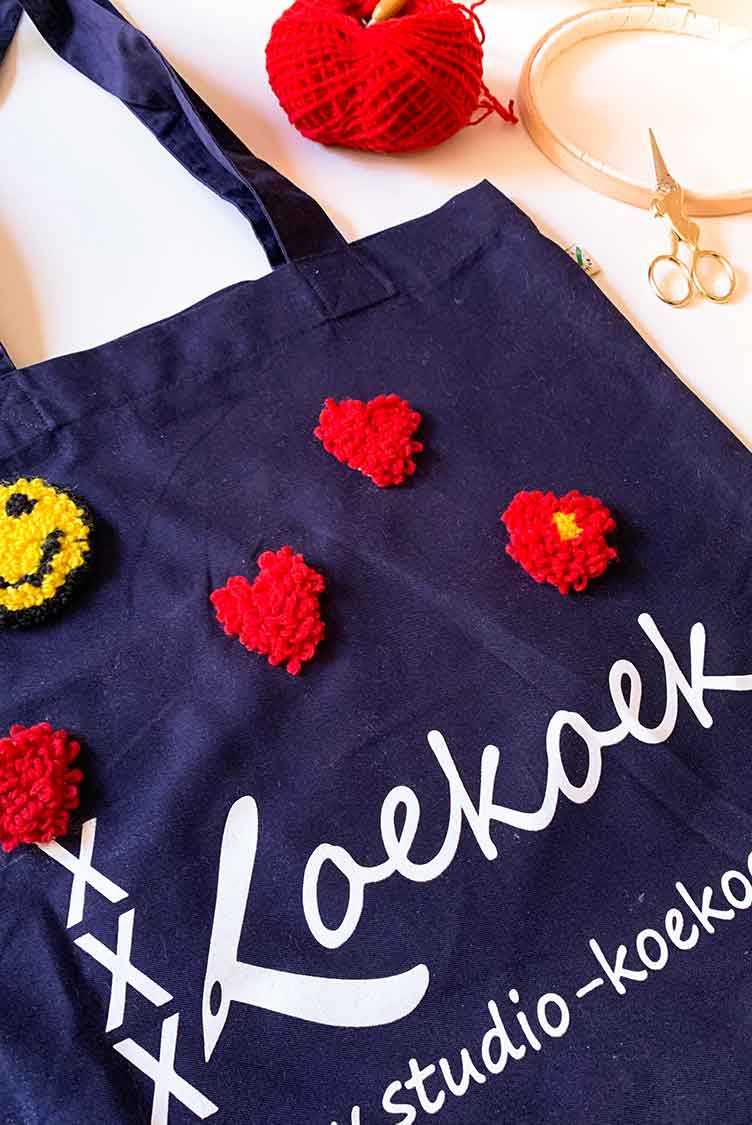
We’re off, adding lot’s of other patches to this tote bag 😉
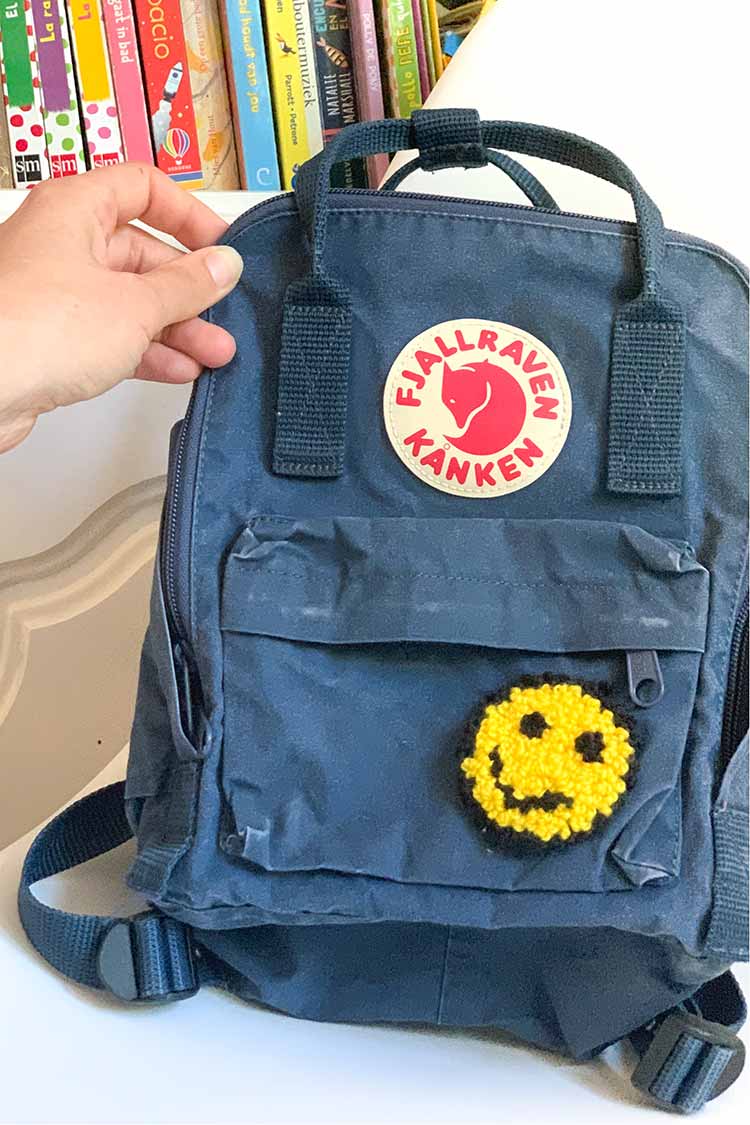
Oh help! I guess we have a new addiction ;-).
A few pro tips to get the best results when securing your iron on patch
- Use a piece of baking paper to protect the ironing board from the sticky adhesive.
- Make sure that you use clean fabric to make the iron on patches.
- Wash your clothes before adhering an iron on patch.
- Move the heat from the iron over the edges of the patch in order to ensure the patch sticks completely.
- Make sure the adhesive is placed on the material with the right side down; otherwise the sticky glue will get on your iron
- Switch off the steaming option of your iron
Shop Punch Needle Supplies
Start Punching with 5 Euro discount

