Quick Easter Eggs decoration with yarn
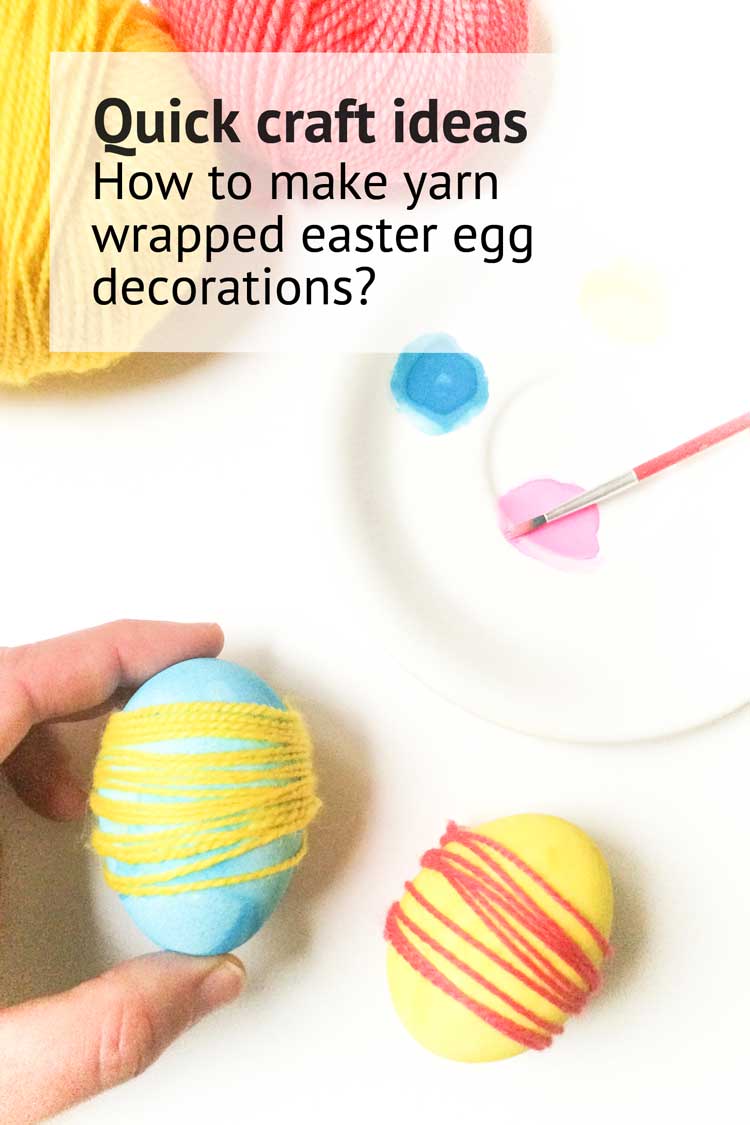
Are you looking for a fun and quick project to make with your yarn stash? These colorfull diy easter eggs are easy to make and very suitable as kids craft project. The pastel colors add an instant spring feeling to your home!
Learn more about the tradition of eggs in easter period here
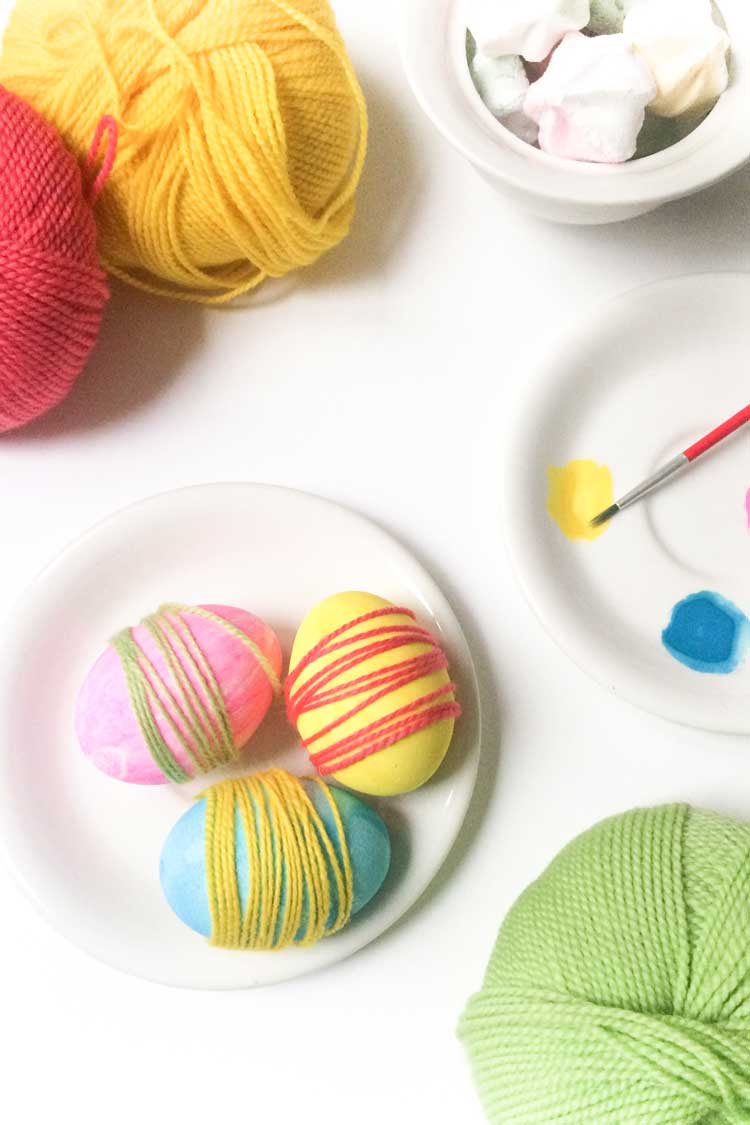
What materials do you need?
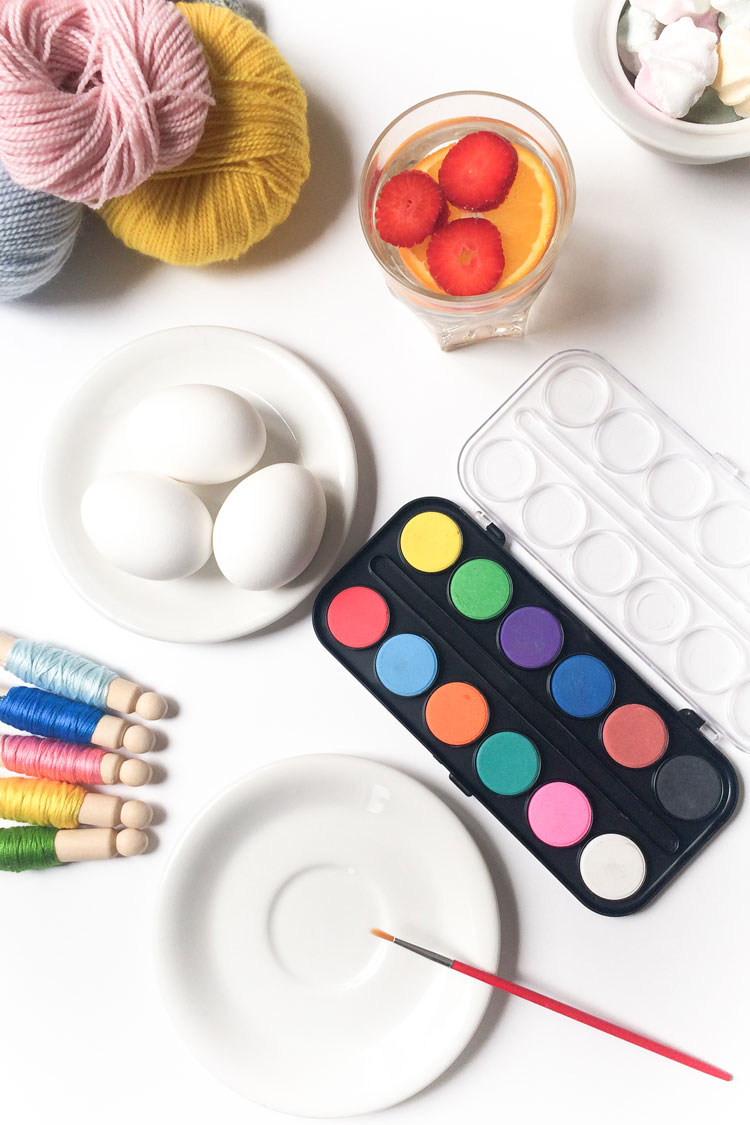
- White eggs. White eggs are a lot easier to paint then their brownish alternatives.
- Waterpaint with brush and a glass of water. You can also use alternative dyes, like acrylic or fabric paint. But for us the regular craft waterpaint works good enough. Watercolor paint gives a fun marbling effect.
- Yarn leftovers. Short pieces of yarn will do the trick. You can use any type of fiber. Your end result will look cleaner with well twined floss or yarn. But you can also go for a fluffy look. We used some left overs of Lanita yarn
- Glue Gun. You’ll use the glue gun to secure your yarn to the egg. If you do not own a glue gun you can also make a little knot and hide it under your your yarn.
- Scissors
How to make the eggs. Step by step instructions
Step 1.
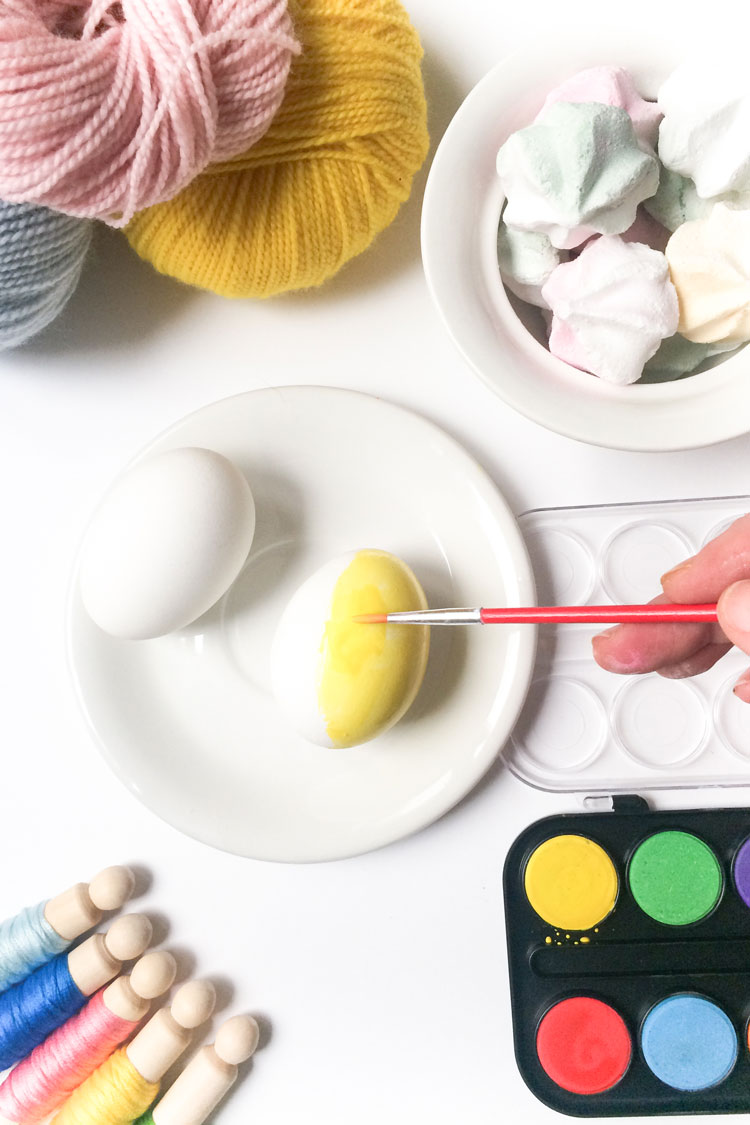
Boil your eggs approx 10 minutes. Do it with soft fire, otherewise they may break in the process. Let them cool down completly.
Mix the watercolor paint with a bit of water. Just go with a wet pencil on the watercolor paint and keep making circles until you have a thicker substance. Paint your eggs.
Step 2.
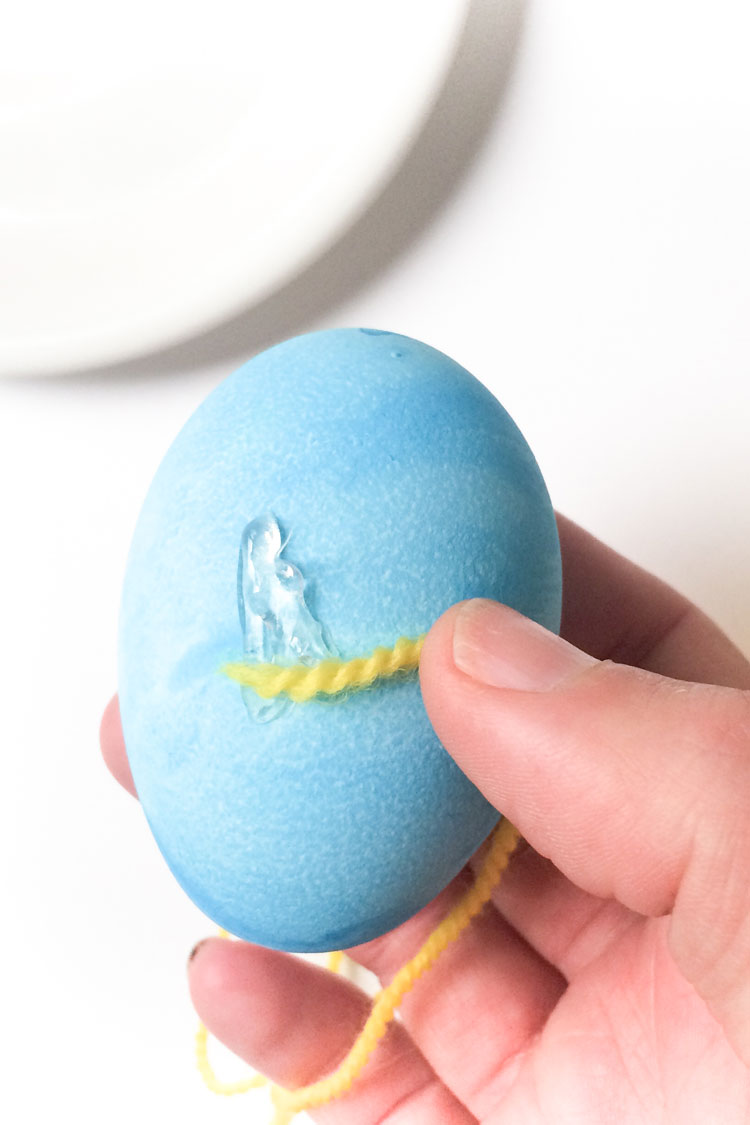
Heat your glue gun. Make a dot of glue on one side of the egg. The amount on the picture is a bit too much. Less is better in this case. Make the dot a bit below the middle. We will now call the side with the glue the ‘backside’ of your egg. Push one end of your yarn directly into the hot glue.
Step 3.
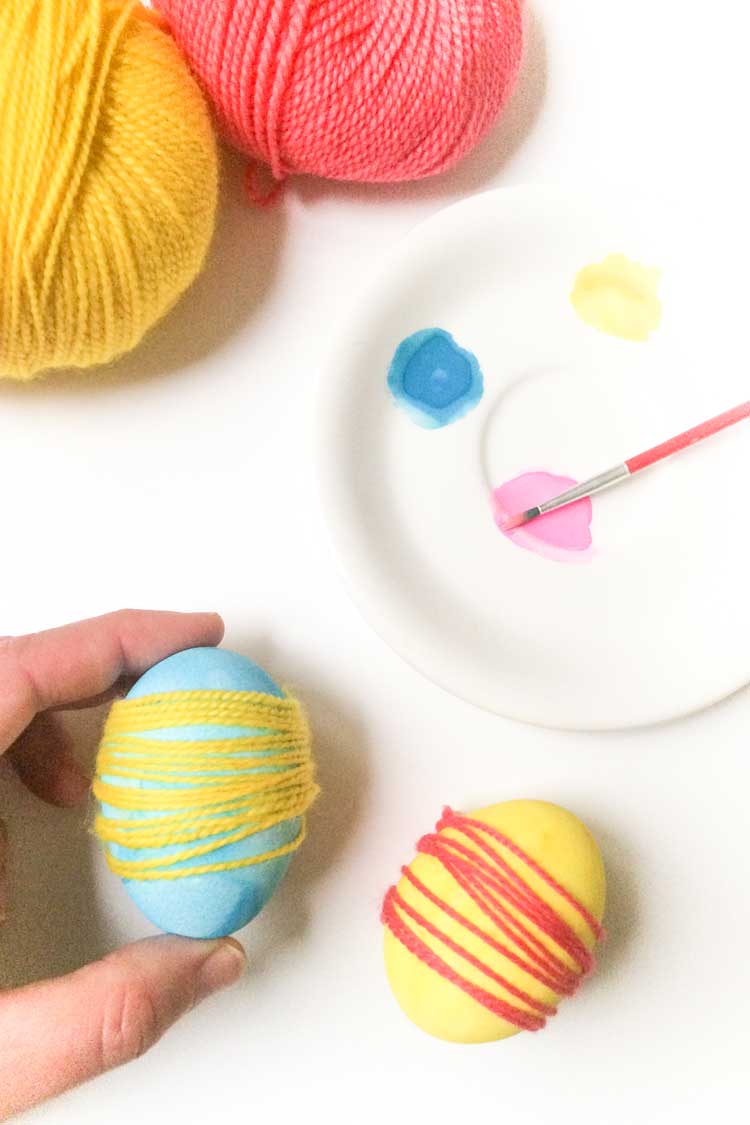
Take your yarn and wrap it about 10 around the egg. Secure the end with a new dot of glue on the ‘backside’ of your egg.
Voilá there’s your yarn wrapped egg!
We do not recommend to eat these eggs. They are just for decoration :-).
