How to make free hand embroidery stitches for beginners
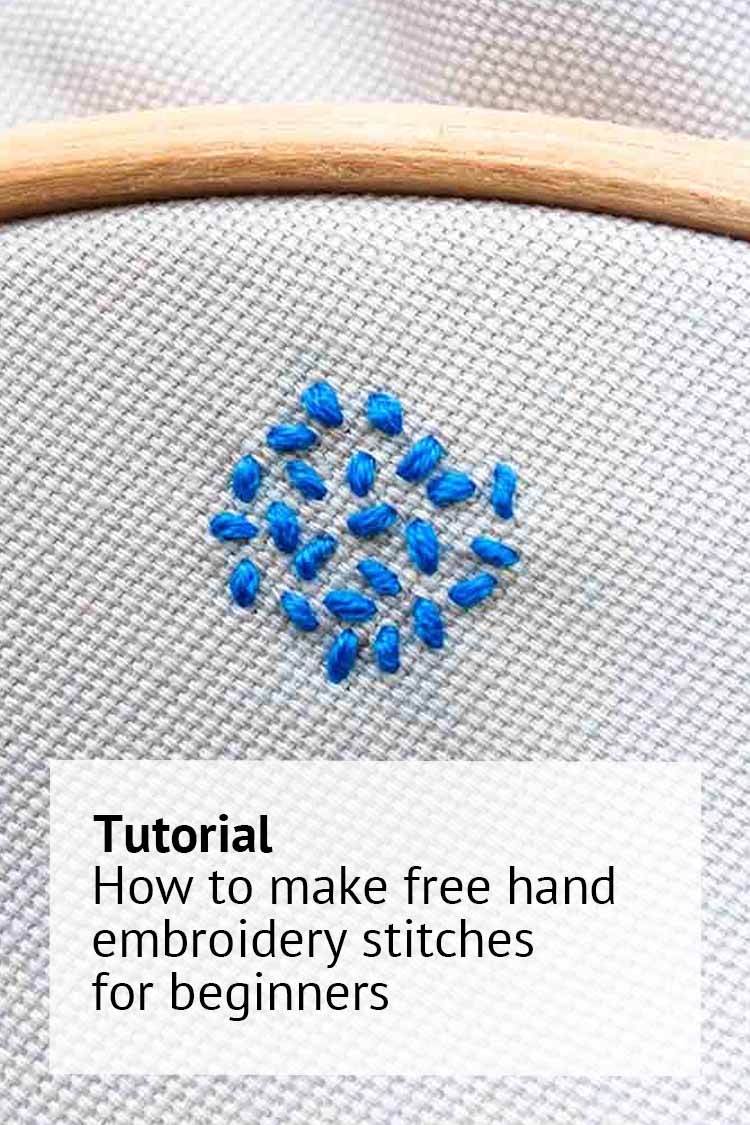
In this blog we will explain the basics of free hand embroidery. You will learn what materials you need, and how you can make the most populair stitches. You may also like to read our cross stitch tutorial for beginners.
What materials do you need for free hand embroidery?
We have a large collection of premium hand embroidery supplies in our shop. Below we highlight our favourites.
1. Embroidery fabrics
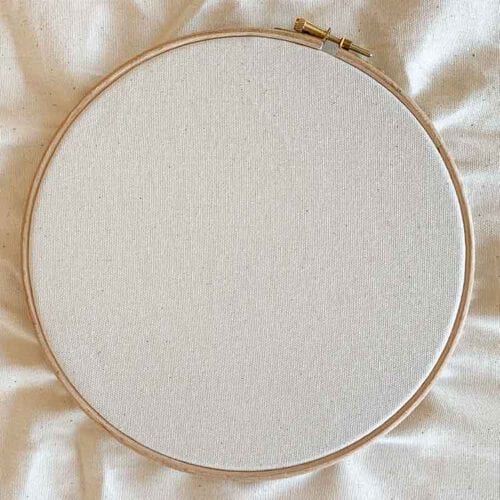
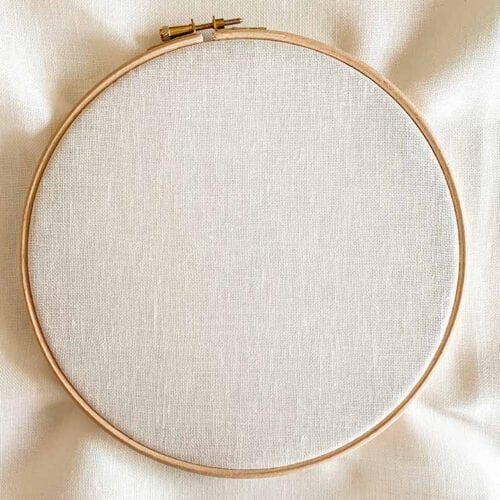
We love to stitch on our GOTS certified ecological canvas. For a luxurious finish you will like our linen embroidery fabrics. Both the canvas and linen fabrics are available in multiple colors so there’s always a suitable fabric for your free hand embroidery project.
2. Embroidery floss
Embroidery floss is available in different qualities. We love to use DMC mouline embroidery floss as there are over 500 colors available. Made from 100% cotton, these floss skeins are colorfast and can be washed up to 90 Degrees Celcius.
You may also like to expiriment with the other floss qualities:
- DMC color variations. This is a multi-colored six-strand thread with an over-dyed effect that creates subtle variations without having to change threads.
- DMC light effects . These are floss skeins with special effects including glow in the dark and metallic threads.
- DMC coloris. Made with 4 different teints combined in one floss. This is great floss for filling your work or to create a special border.
- DMC etoile. The newest floss in the DMC collection adds a subtile sparkle to your piece.
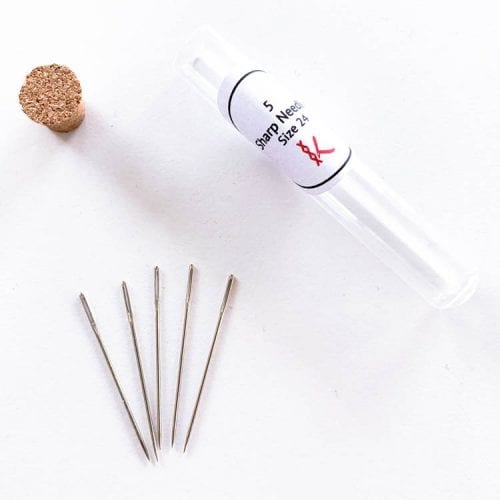
3. Embroidery needle
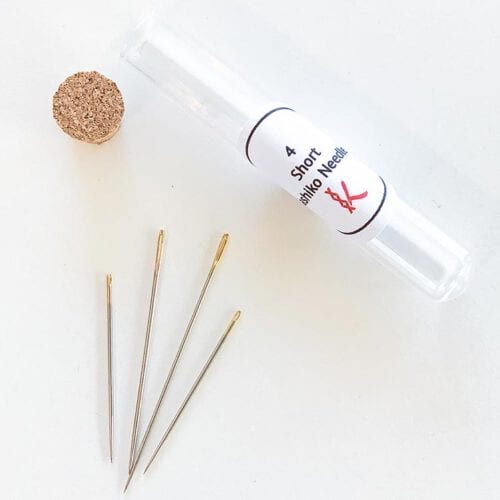
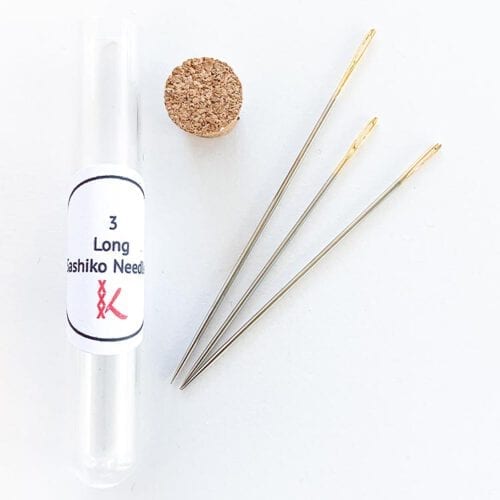
For free hand embroidery you will appreciate a needle with a sharp point.
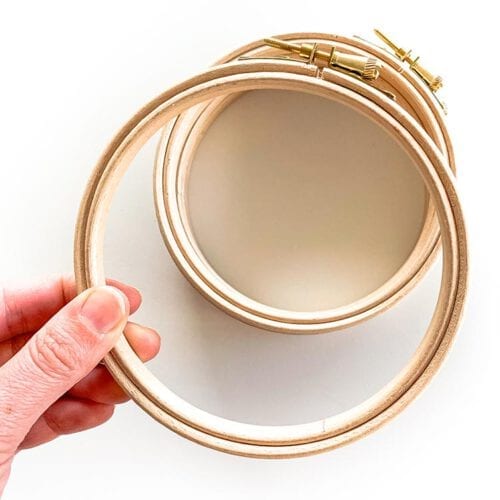
4. Embroidery hoop
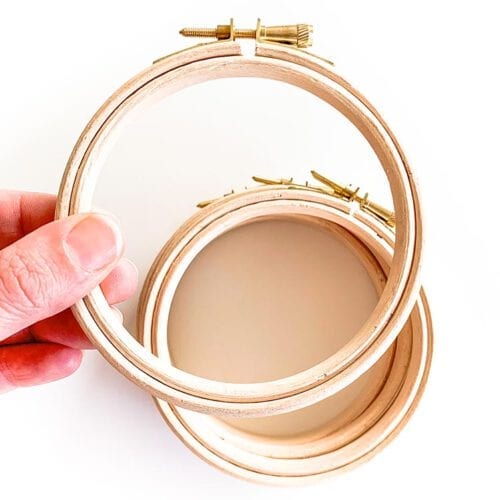
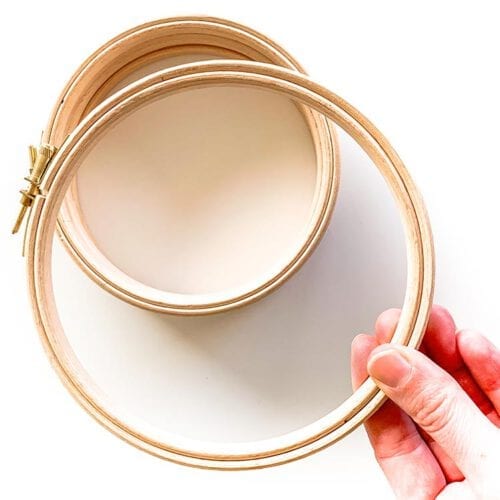
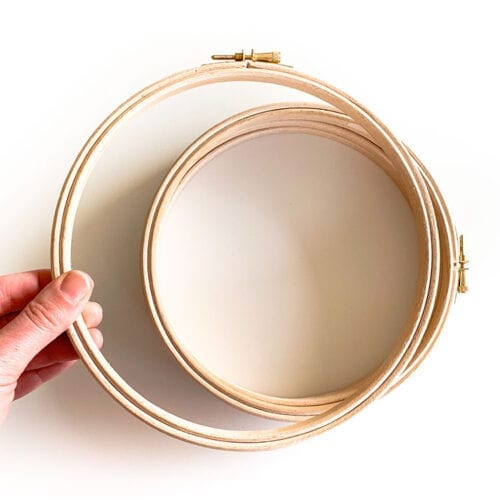
Embroidery hoops are handy to make neat stitches as they keep your fabric taught when stitching. In our shop you’ll find wooden embroidery hoops from 3 inch (7,5 cm) up to 22inch (53 cm).
5. Embroidery scissors
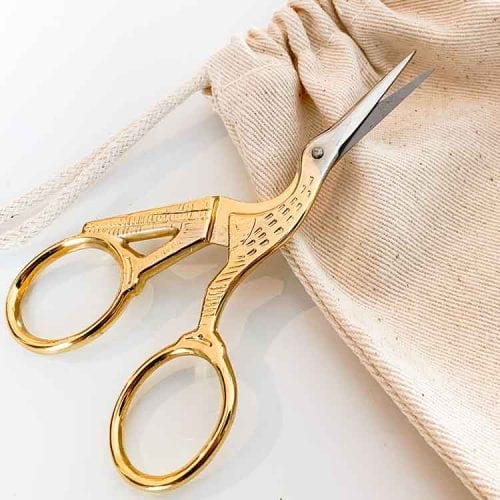
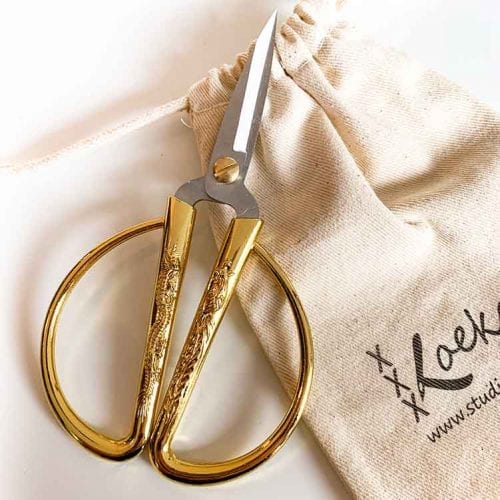
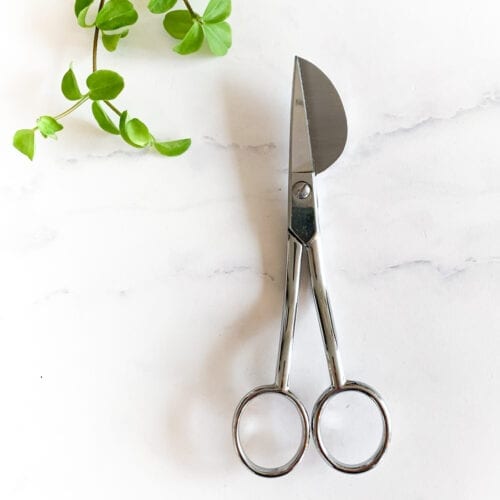
Embroidery scissors are your best friend when making embroidery art. They are typically shap with short blades. Perfect for cutting floss.
6. Pattern & transfer tools
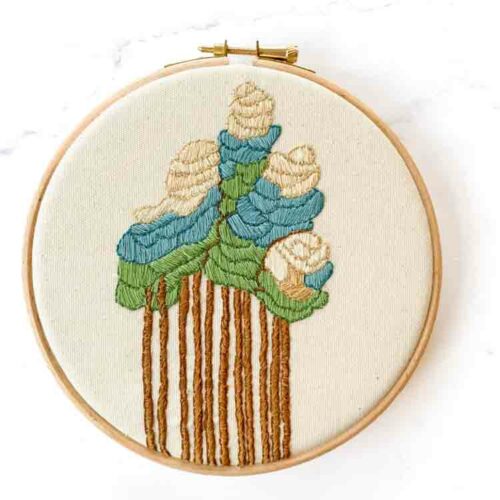
Free hand embroidery patterns typically look like outline drawings. They often also indicate which color floss you will need and what stitch you will need to make in which area.
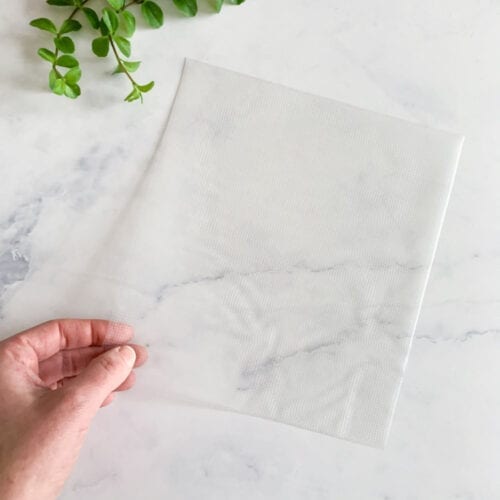
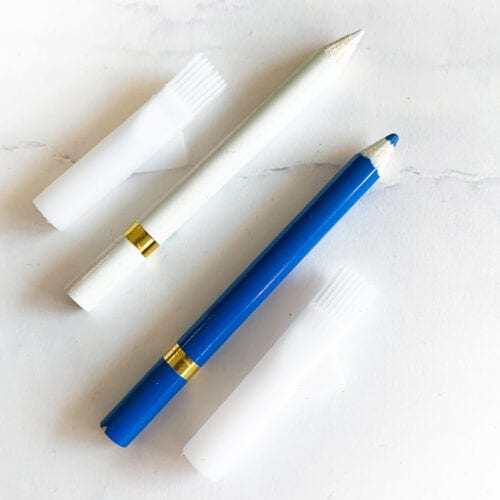
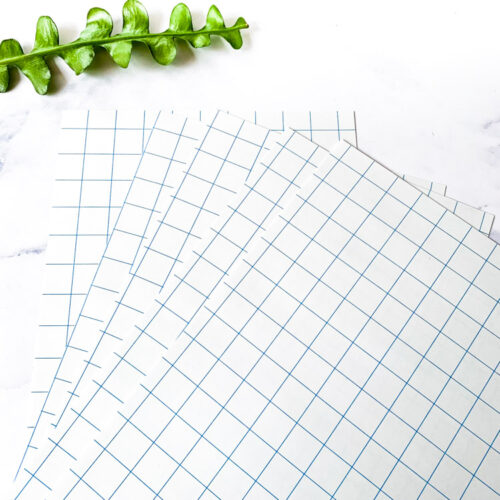
To transfer your pattern to your fabric your can use printable and water soluble solufix, or calcium pencils, or transfer paper. When using transfer paper you will use white transfer paper for dark fabrics and dark carbon for light fabrics.
Or start directly with one of our kits
How to prepare your hoop for embroidery?
Using an embroidery hoop helps to make neat stitches. It will keep your fabric in place while you work.
Step 1
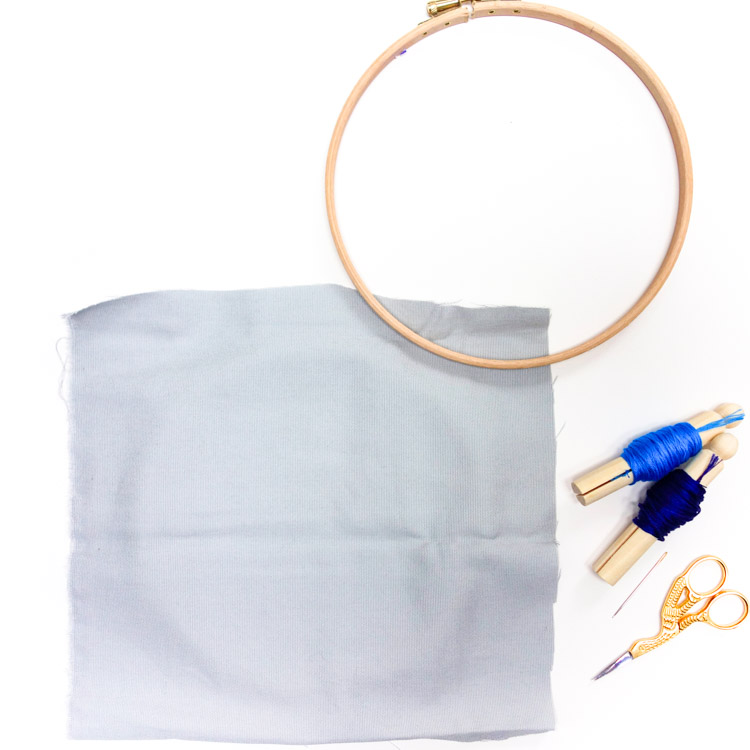
Cut your material at least 5cm wider than the size of your hoop.
Step 2
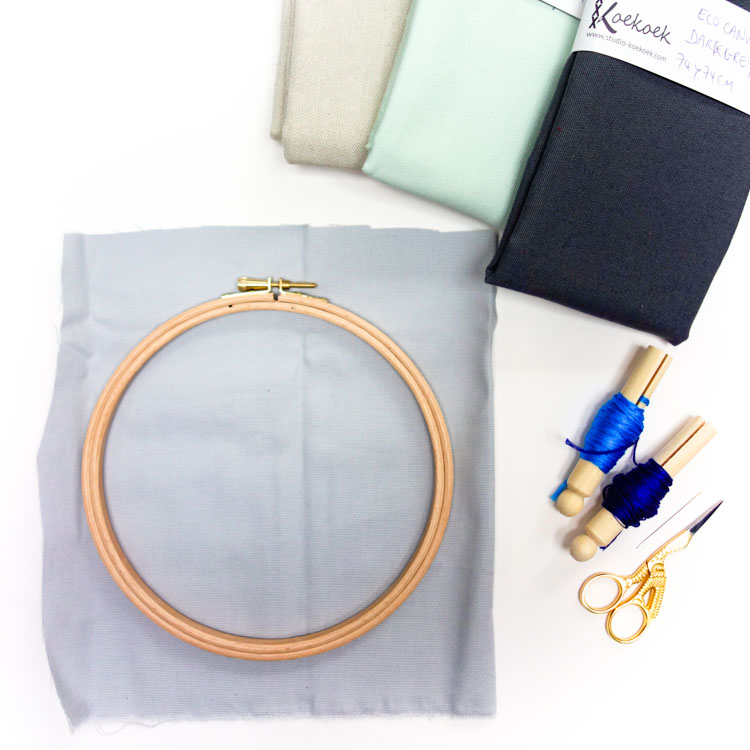
Place the fabric on top of the inner hoop circle.
Step 3
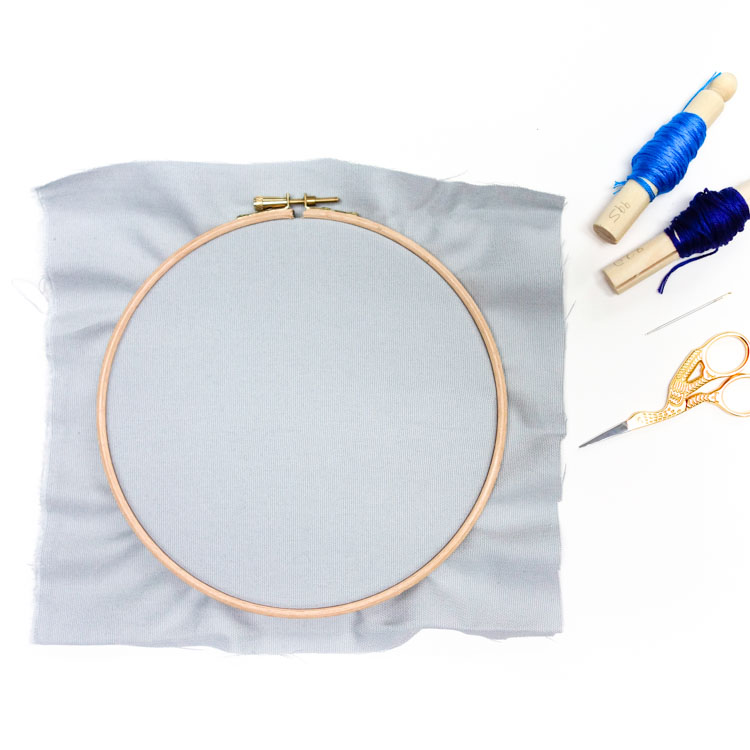
Place the outer hoop on top of the fabric and use the screw to tighten the hoop. Make sure the fabric is pulled taut with no creases.
How to make a back stitch?
The back stitch is a nice and simple stitch for beginners. The back stitch is great for stitching outlines or letters in your embroidery work.
Step 1
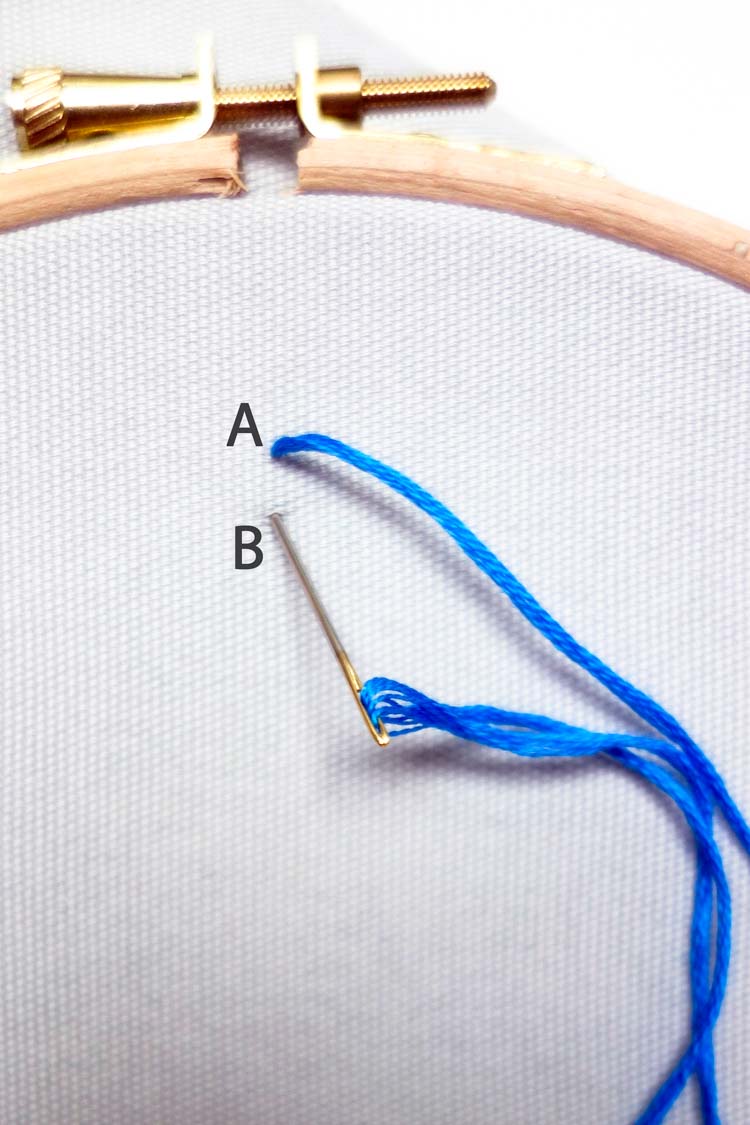
Bring your needle up through point A and back down through point B.
Step 2
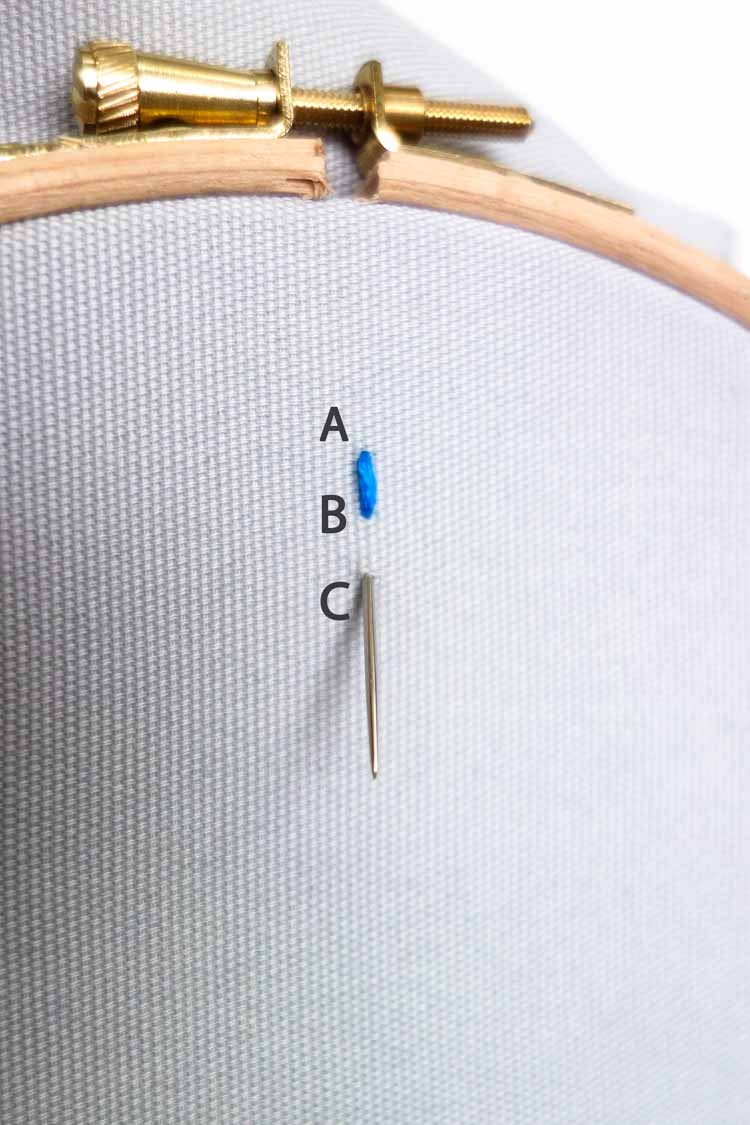
Pull the thread through to make a neat stitch. Then bring your needle up through point C.
Step 3
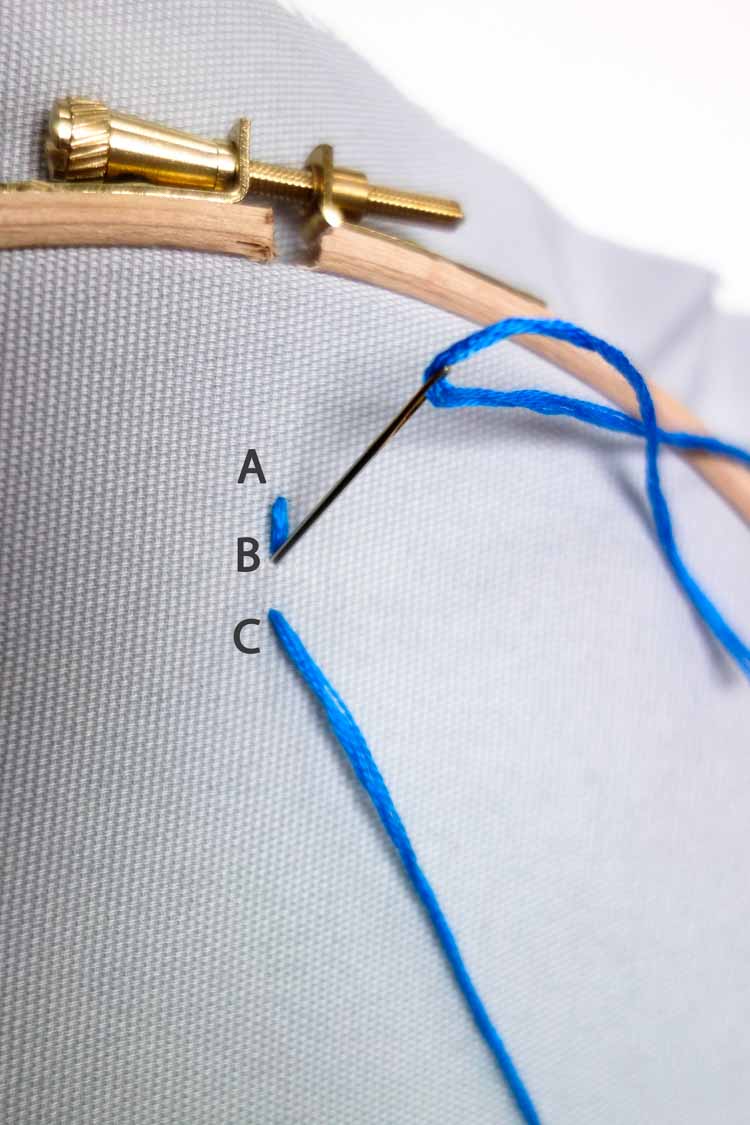
Take your needle back down through point B and pull through so your stitches are taut.
Step 4
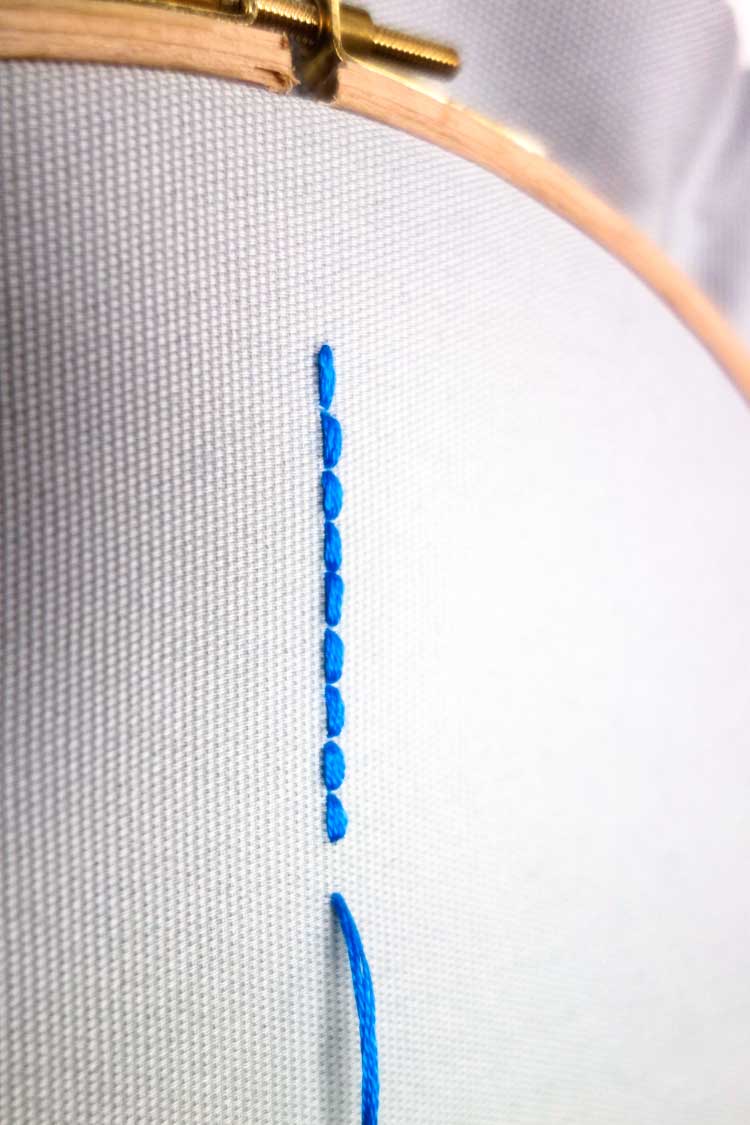
Repeat this action – you can draw a line on your fabric if it helps you to keep straight. Try to keep your stitches even for a neat result.
Congratulations, you’ve just learned how to make a back stitch!
How to make a blanket stitch?
The blanket stitch is a really versatile stitch that can be used decoratively or to help keep unhemmed fabrics from fraying.
Step 1
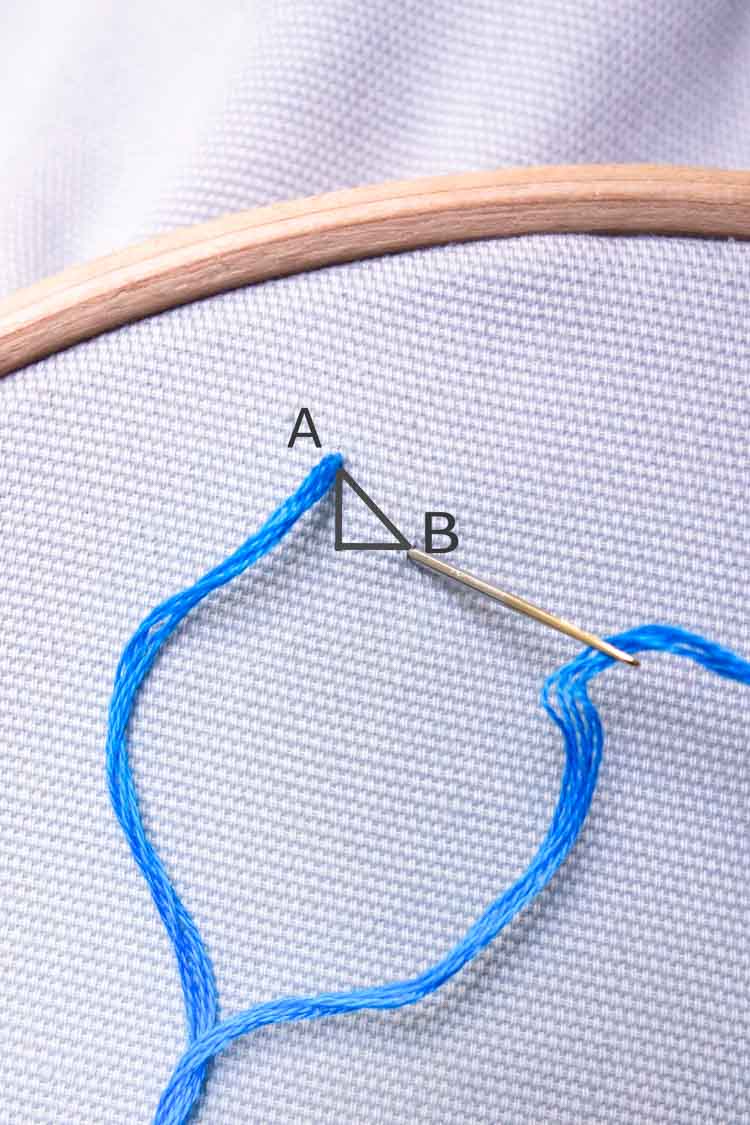
Bring your thread up through point A and down through point B, imagining a perpendicular triangle between them. Make sure you keep the thread loose and don’t pull it all the way through.
Step 2
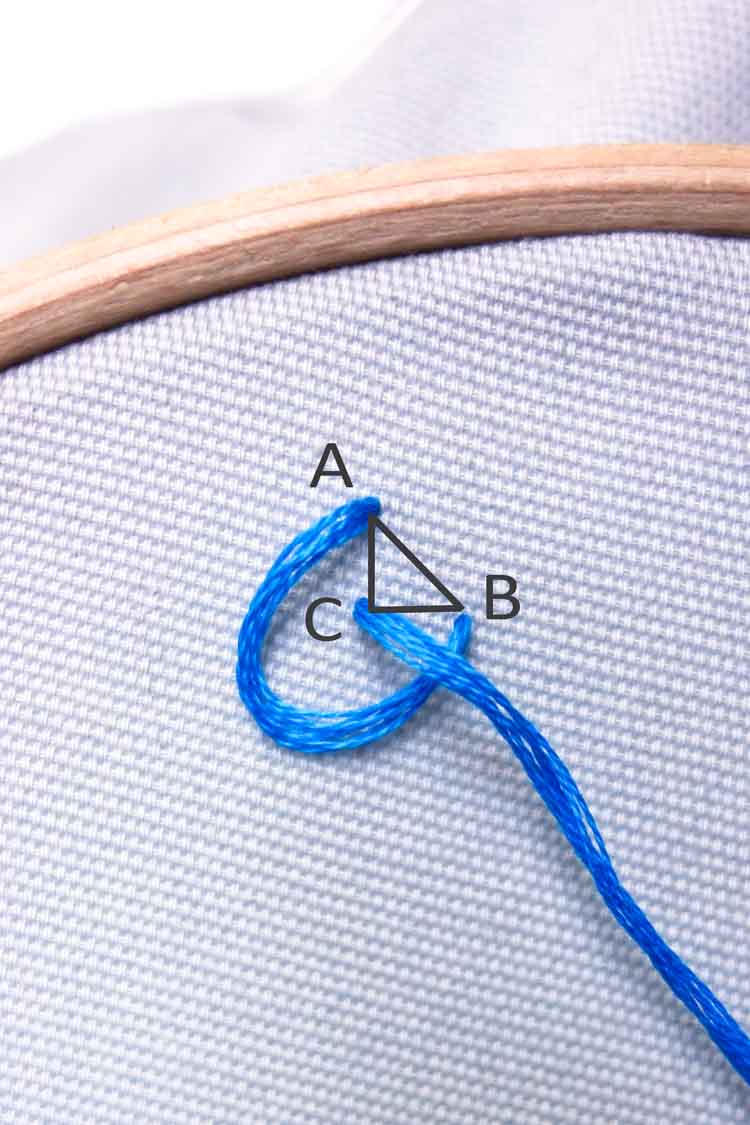
Bring the needle up through point C of the triangle and pull the thread taut to finish the first stitch.
Step 3
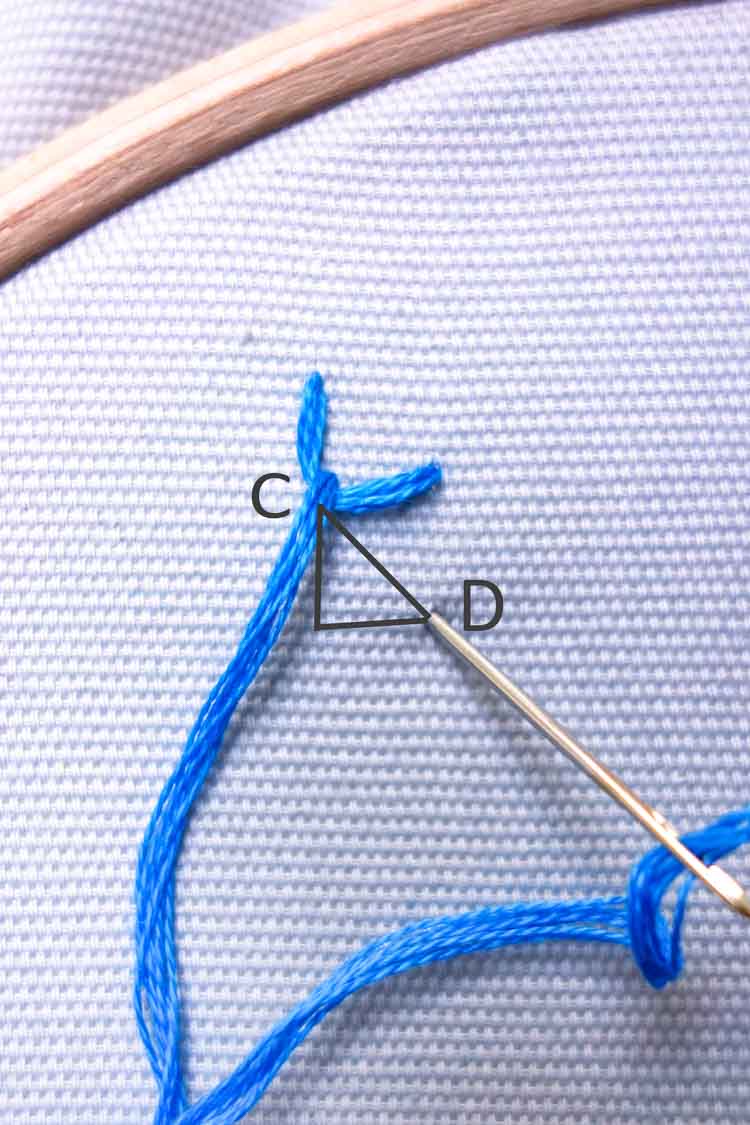
Create the next loop by going down through point D of the next imagined triangle. Again, make sure to keep it loose at first.
Step 4
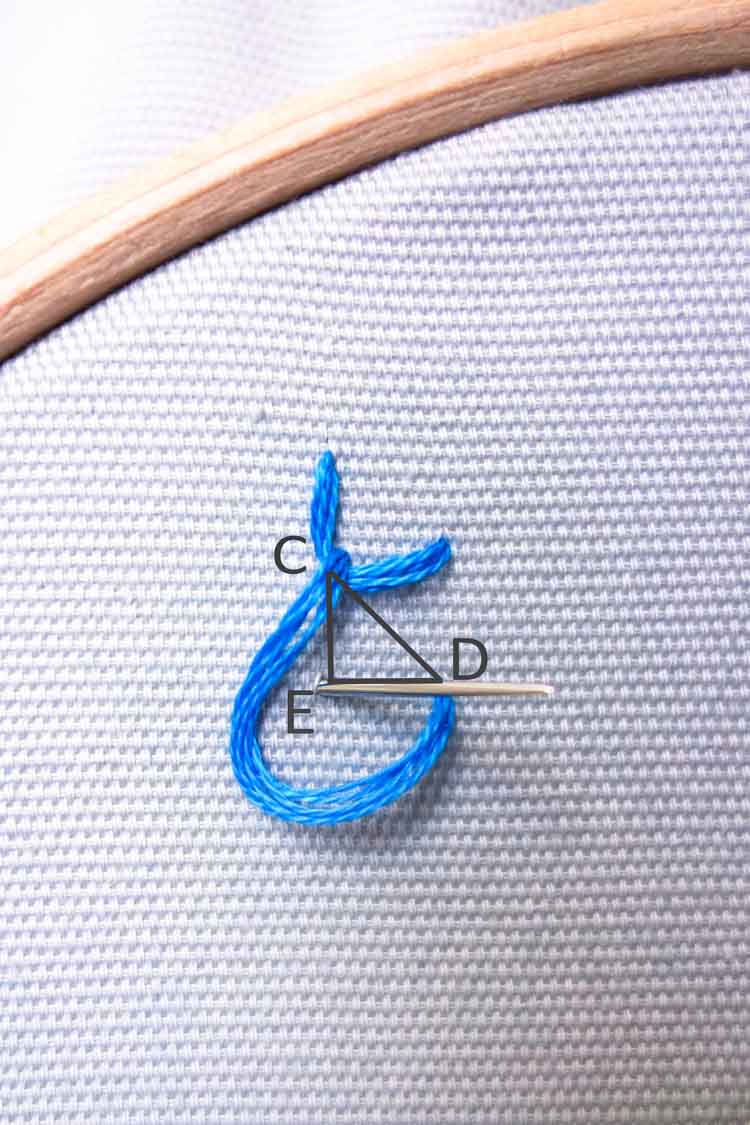
Complete the next stitch by going back up through point E, making sure to go through the loop, and pulling it carefully taut.
Step 5
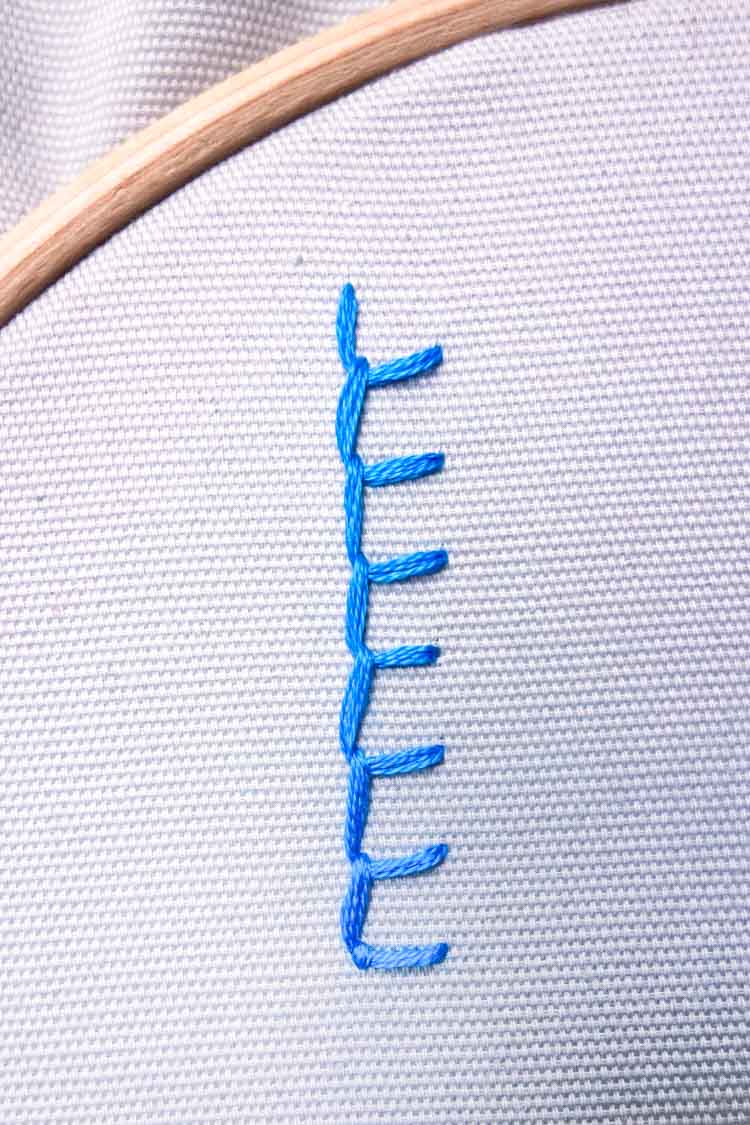
Continue in this rhythm to create your line of blanket stitches!
How to make a chain stitch?
This chain stitch is often used to create a beautiful, decorative outline.
Step 1
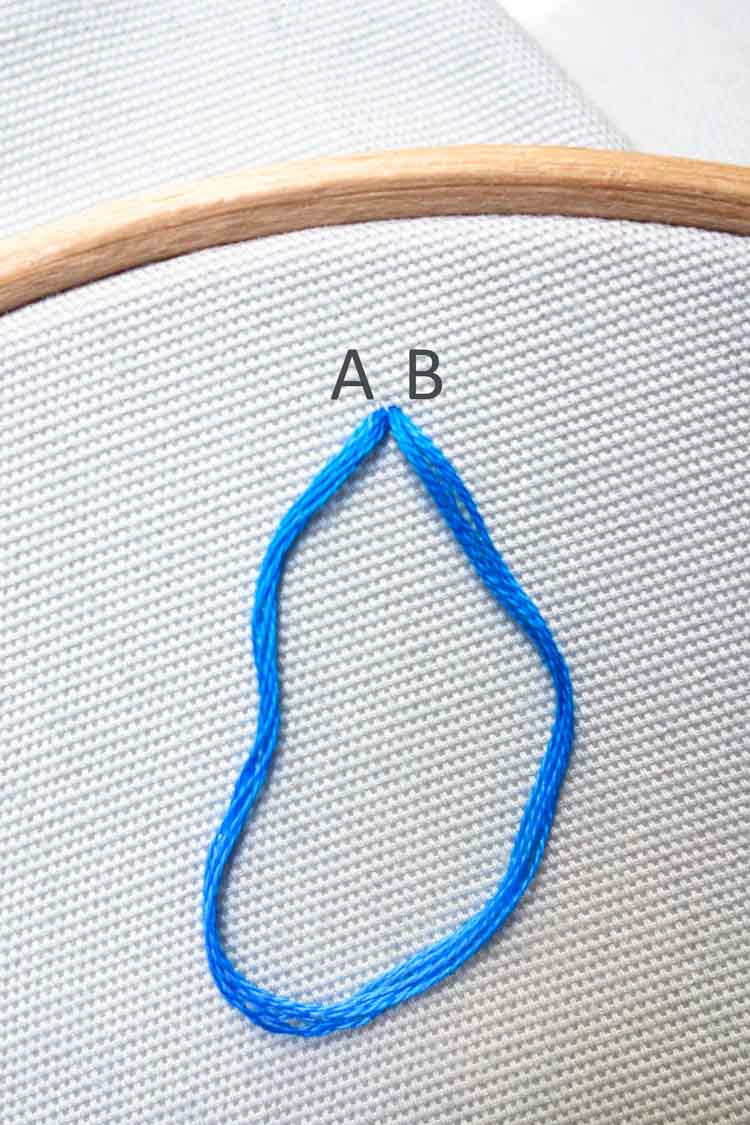
Start by creating a loop with the thread. Take your needle up through point A and back down closely next to it through point B. Make sure you keep the thread loose and don’t pull it all the way through.
Step 2
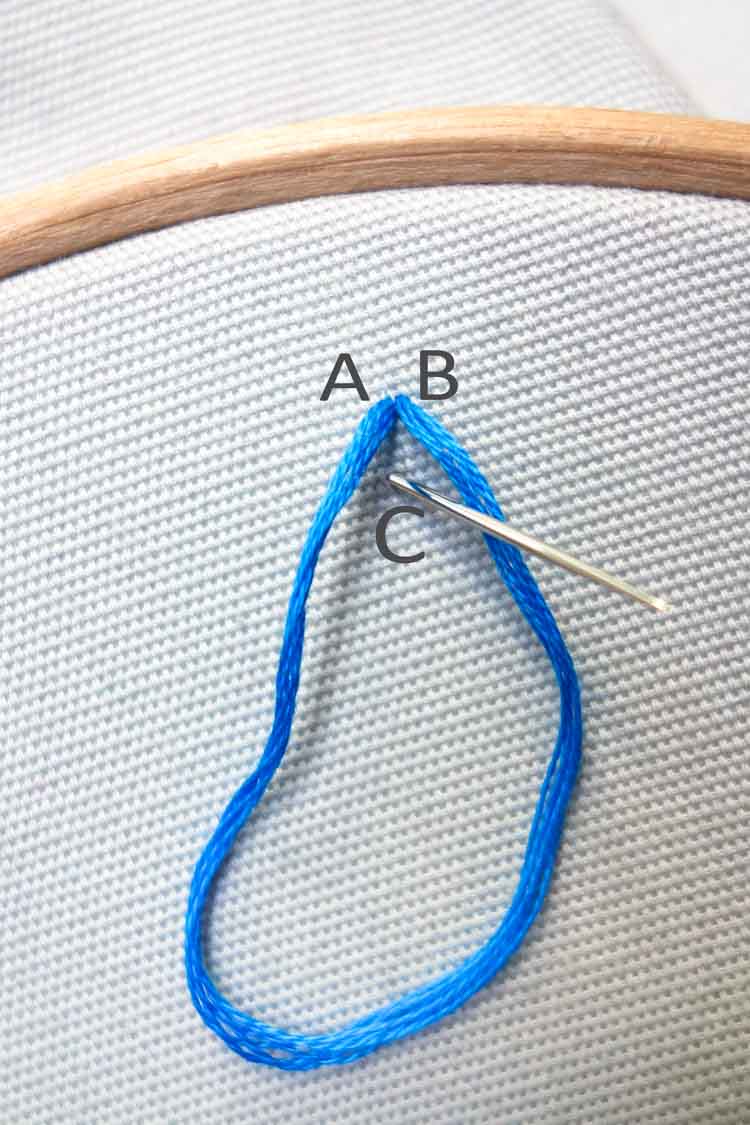
Take your needle up through point C and make sure it goes up through your loop.
Step 3
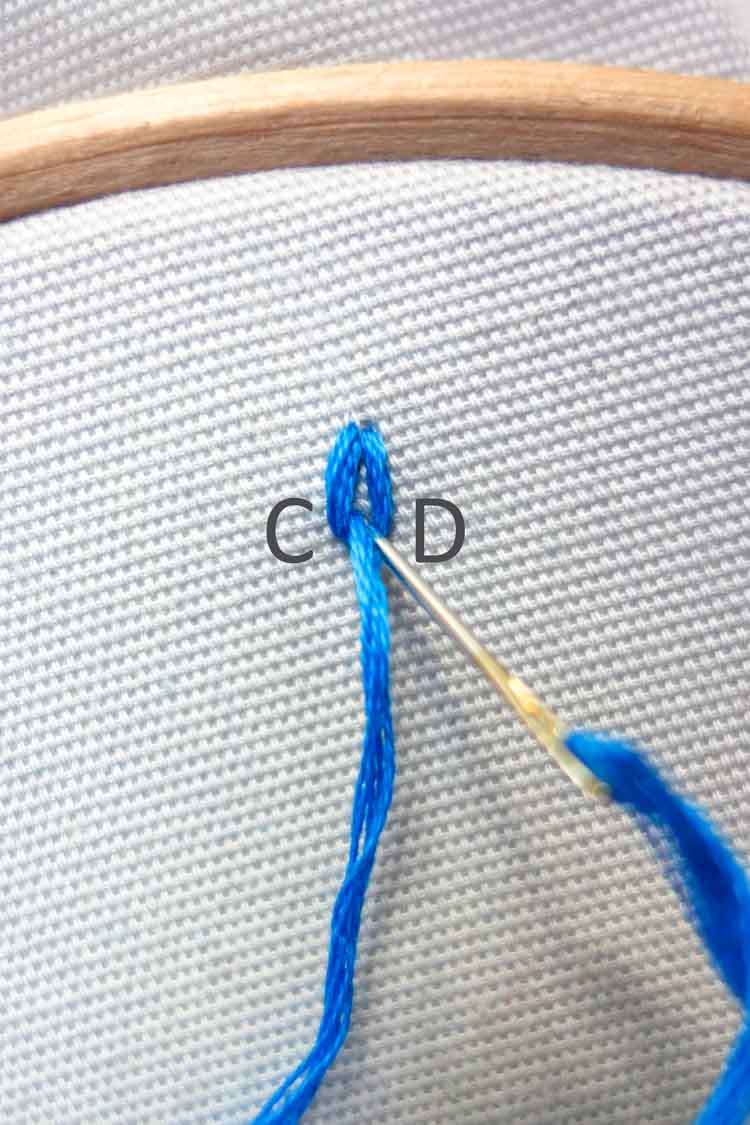
Carefully pull the thread through to complete the first stitch.
Step 4
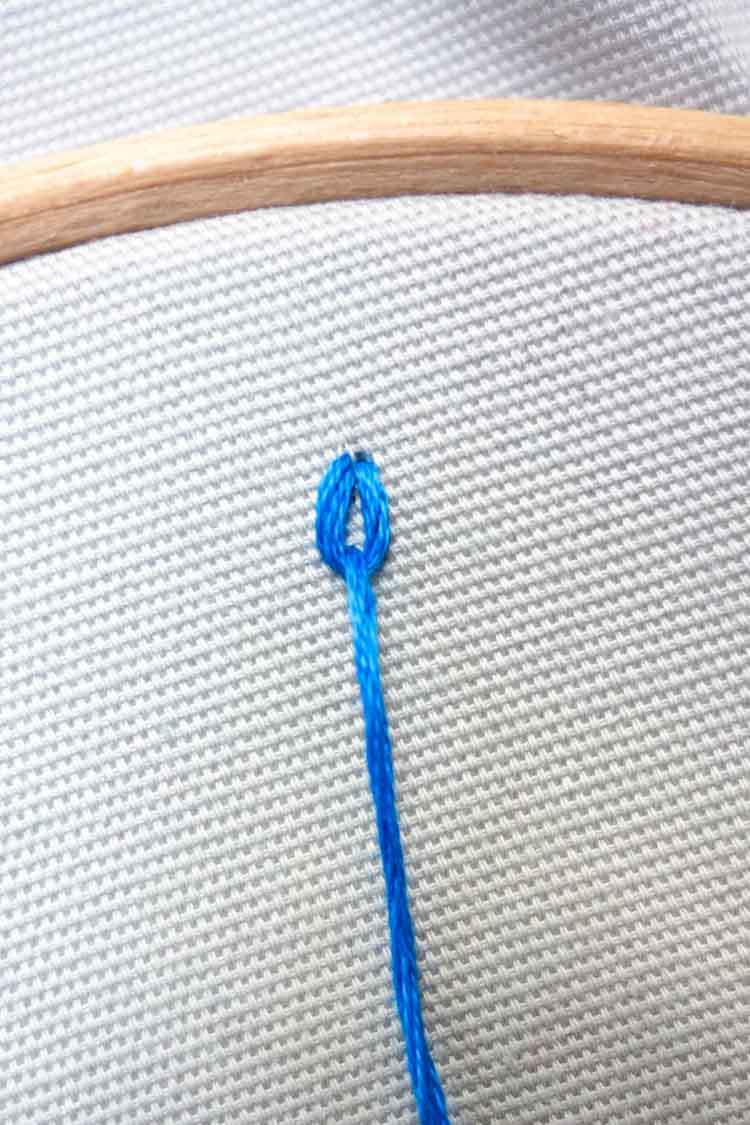
Start the next stitch by pushing the needle down through point D and creating a new loop.
Step 5
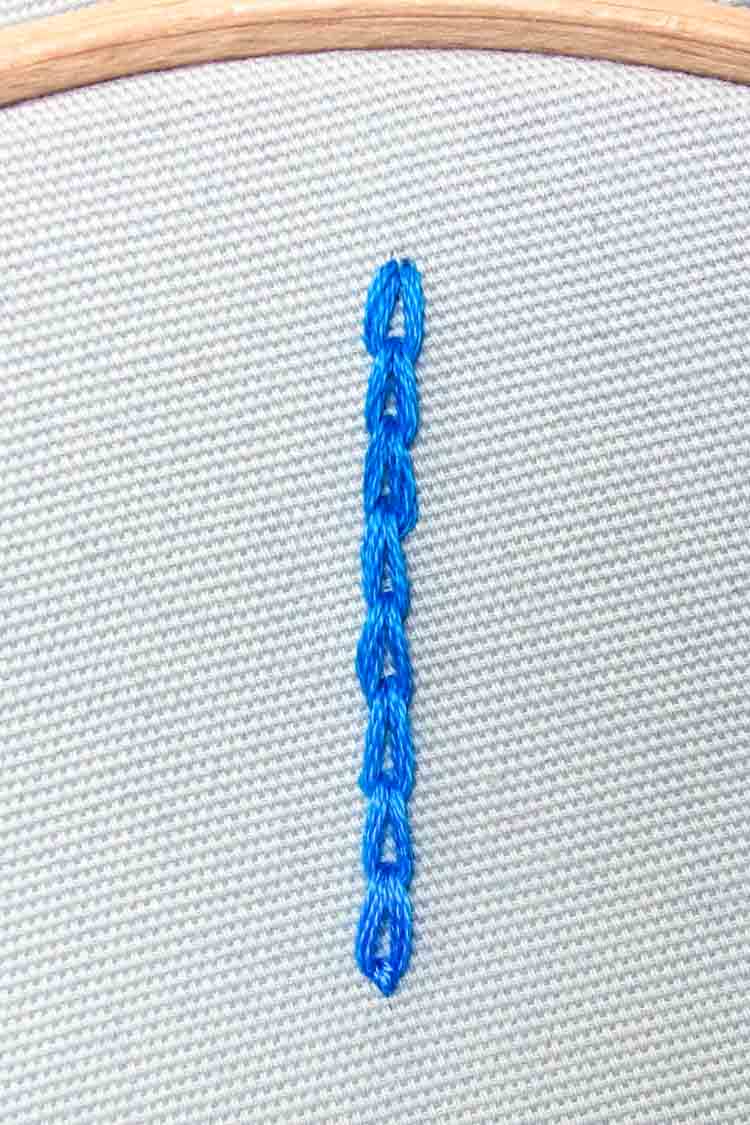
Continue in this rhythm to create a ‘chain’ of looped stitches.
How to make a french knot?
The French Knot can be useful when lettering or for creating texture and pattern in your work. It can be a little tricky to get the hang of, so don’t worry if it takes you a few practices to get it right!
Step 1
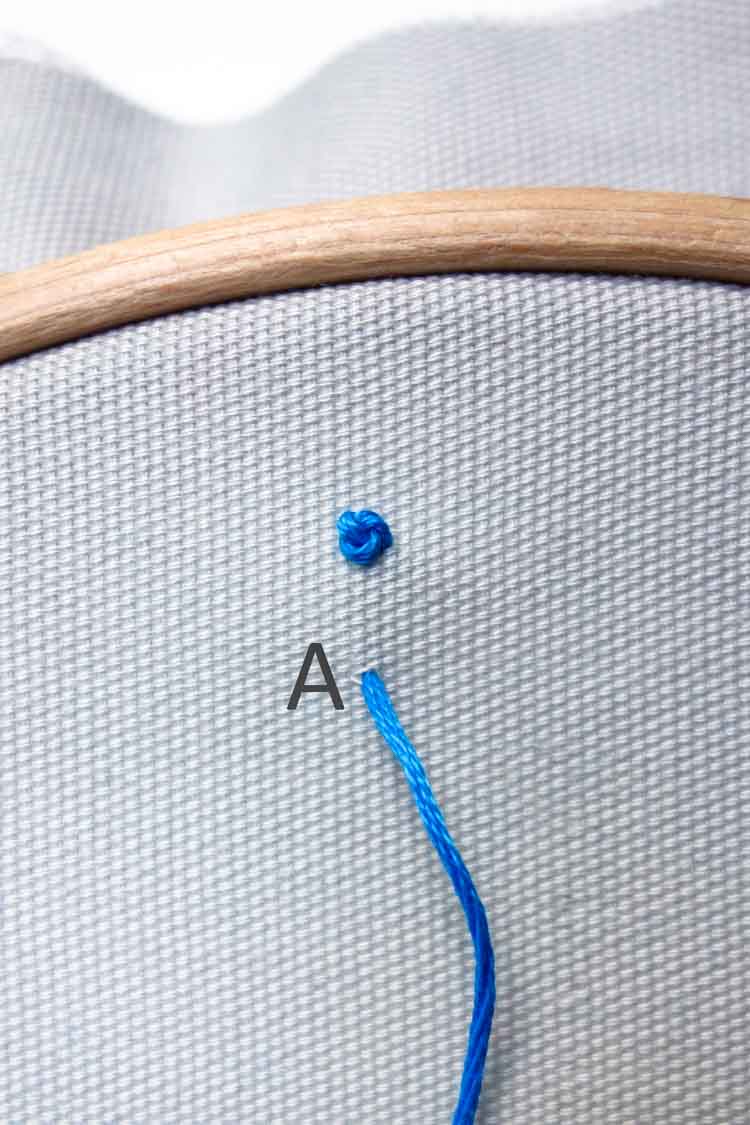
Start by taking your needle up through point A.
Step 2
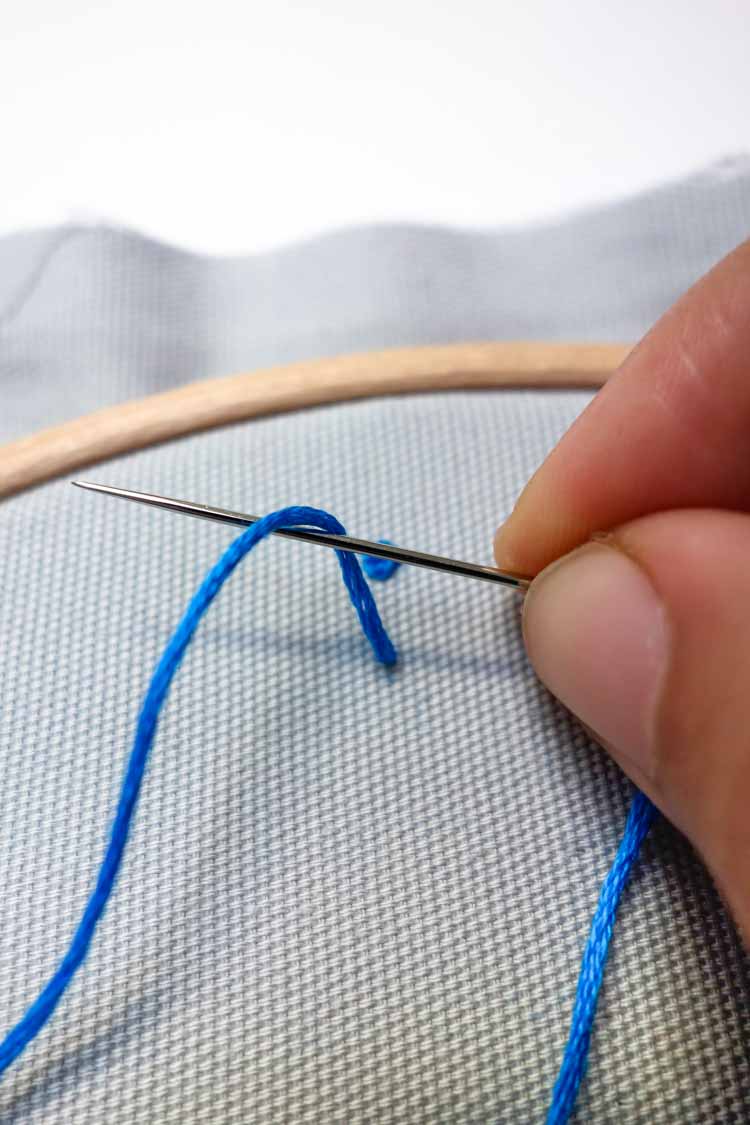
Next you will need to wrap the thread around your needle. Start by taking the needle up from underneath the thread.
Step 3
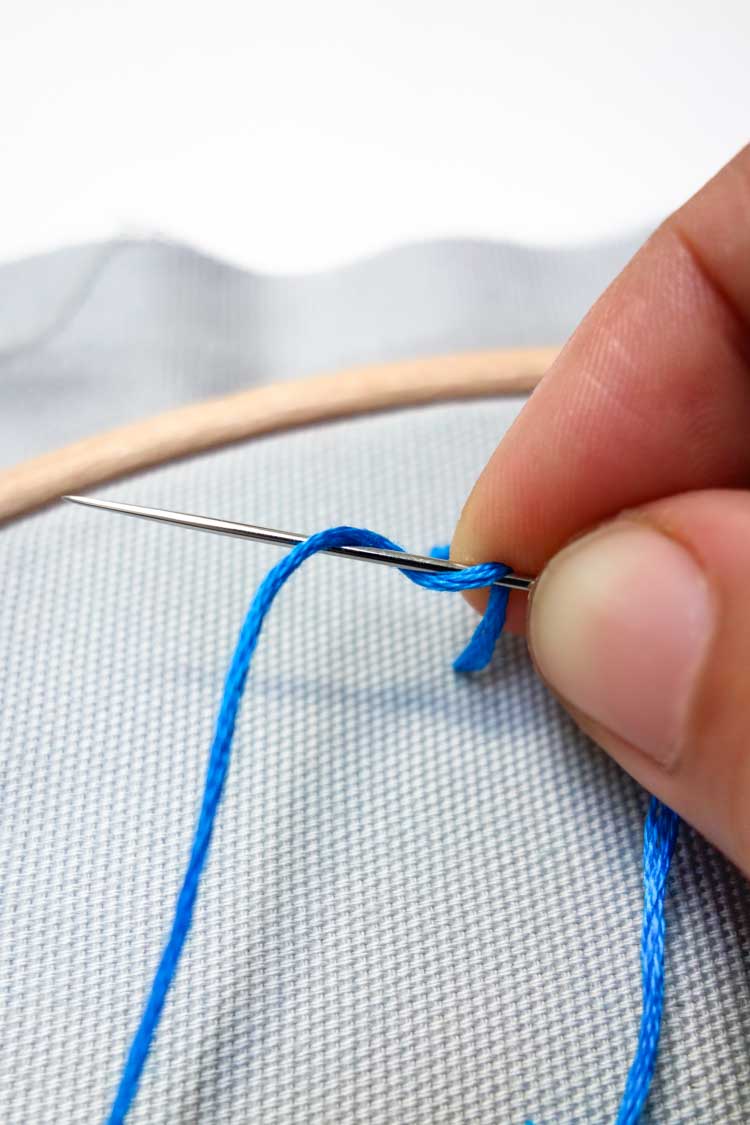
Wrap the thread one more time around the needle in a clockwise direction.
Step 4
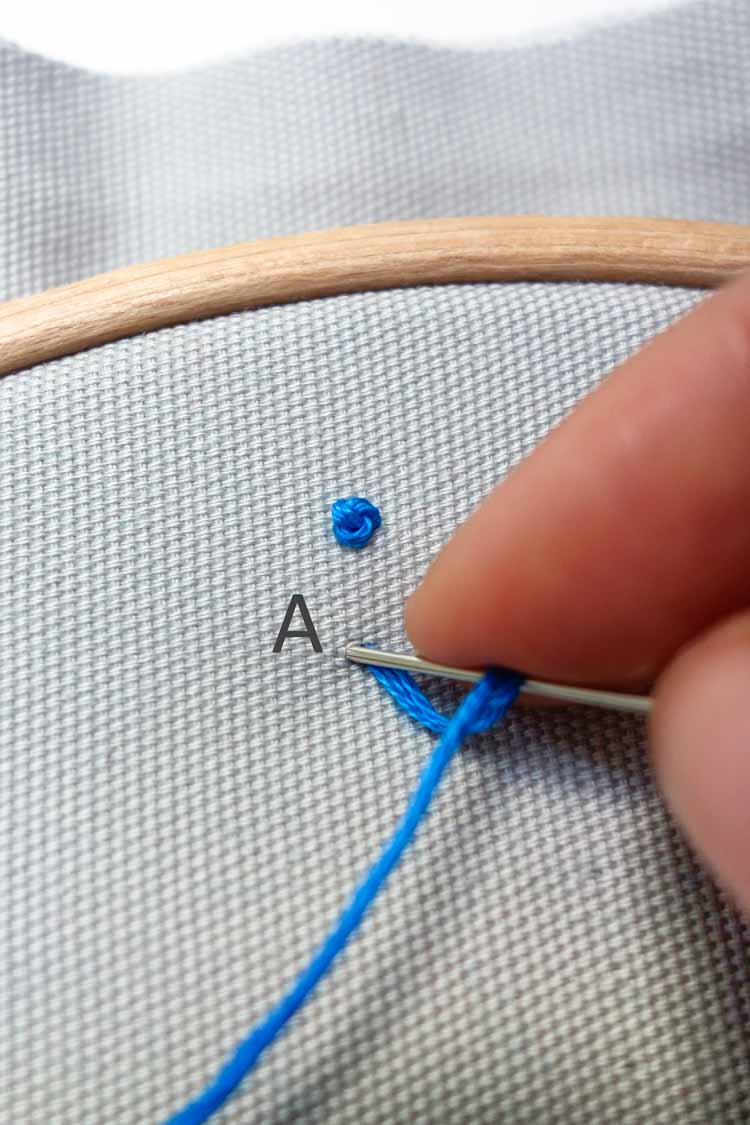
Carefully hold the thread in place and push it back down closely next to your point A.
Step 5
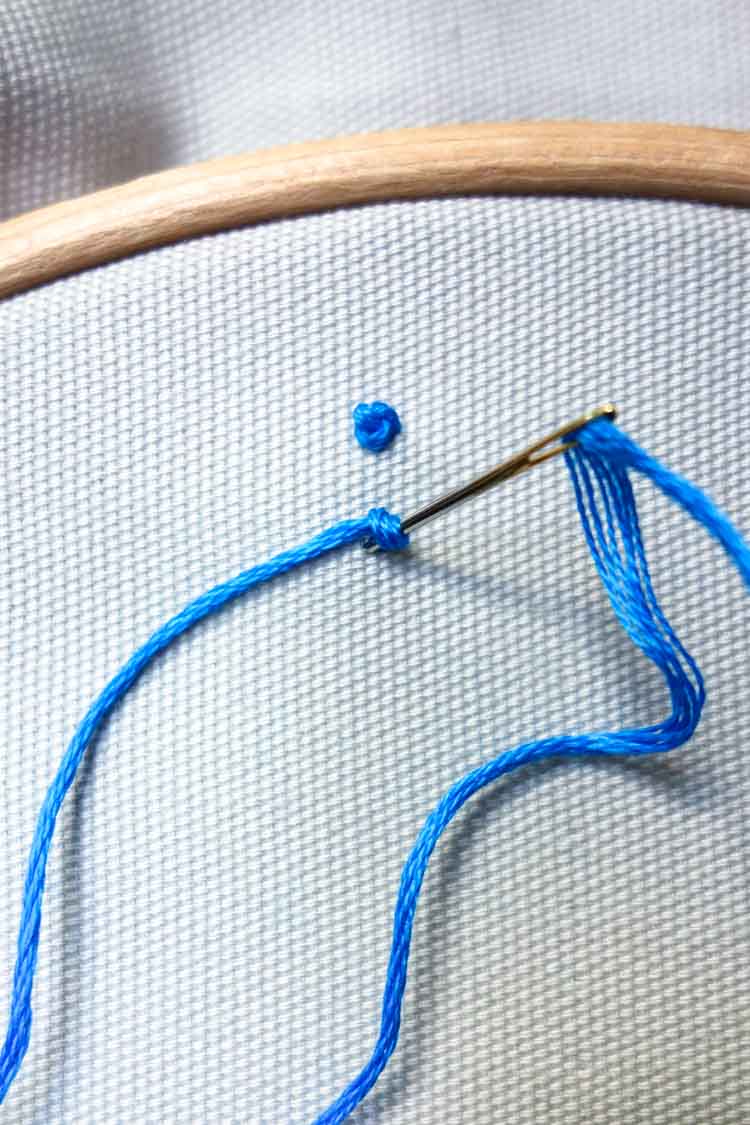
Try to keep the thread taut as you guide the needle down through the fabric.
Step 6
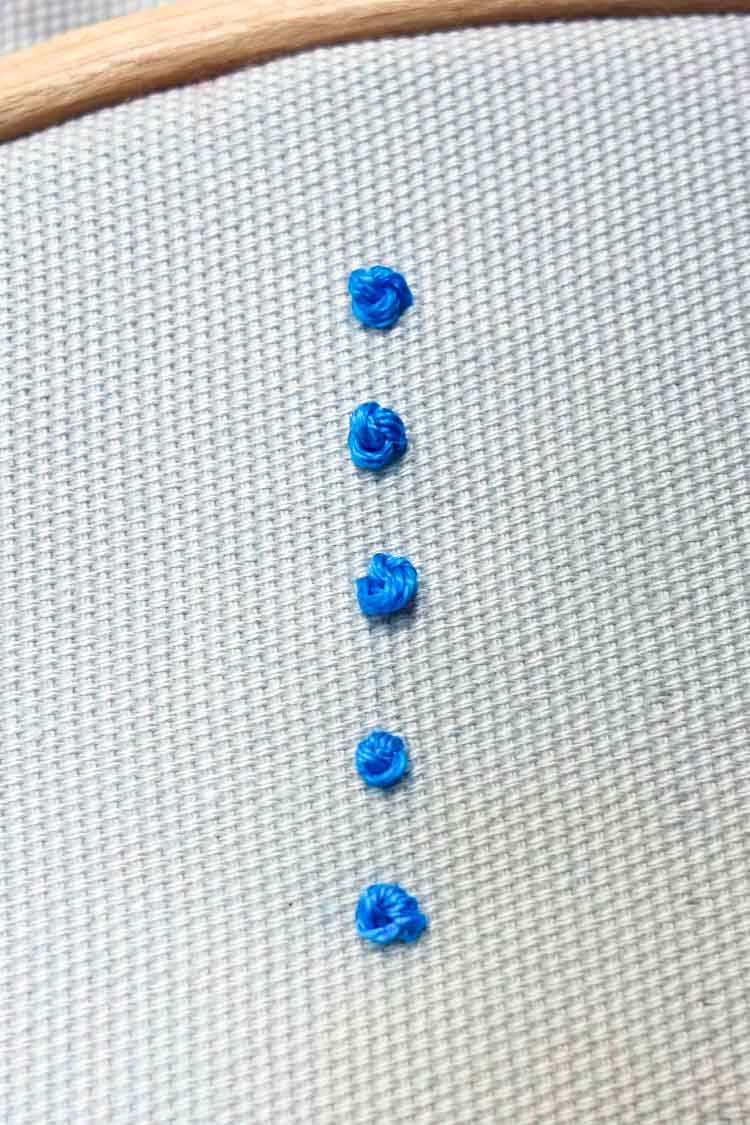
Your knots should be neat and fairly tight once completed.
How to make a satin stitch?
The satin stitch is great for covering large areas with color. Using more strands of floss will give a more raised texture, whereas using fewer strands will keep your stitches more flush with the fabric.
Step 1
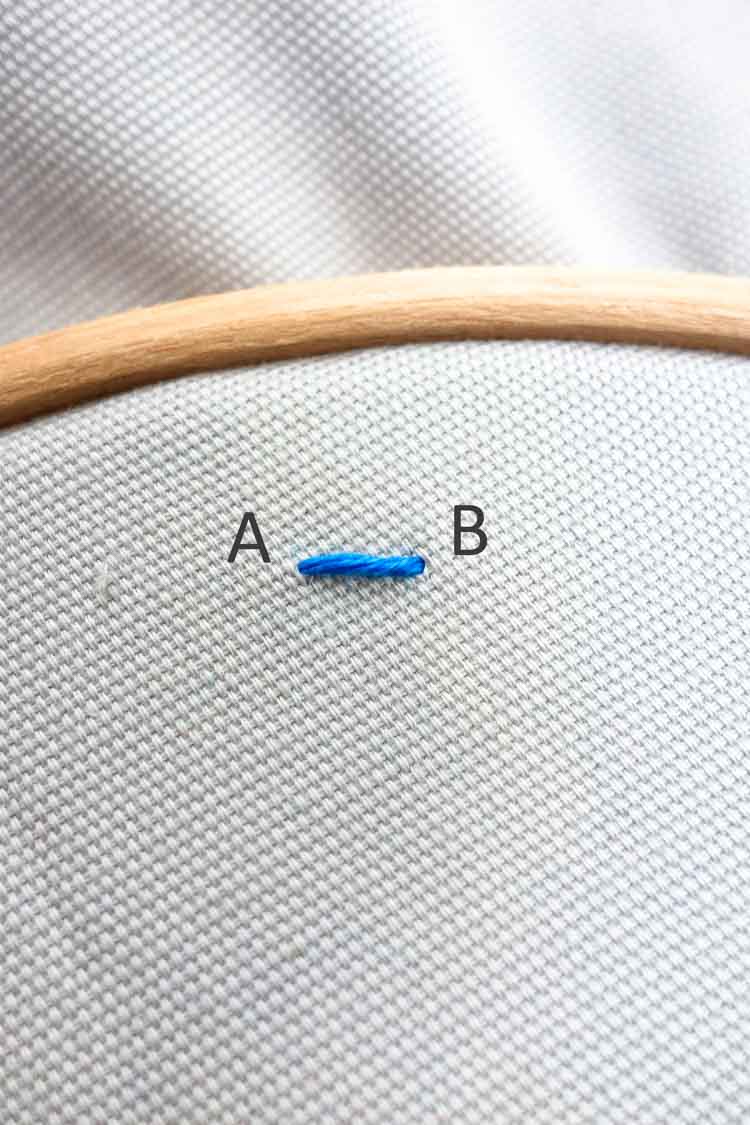
Bring your needle up through point A, and back down through B. The size of this stitch will determine the width of the section you are filling in.
Step 2
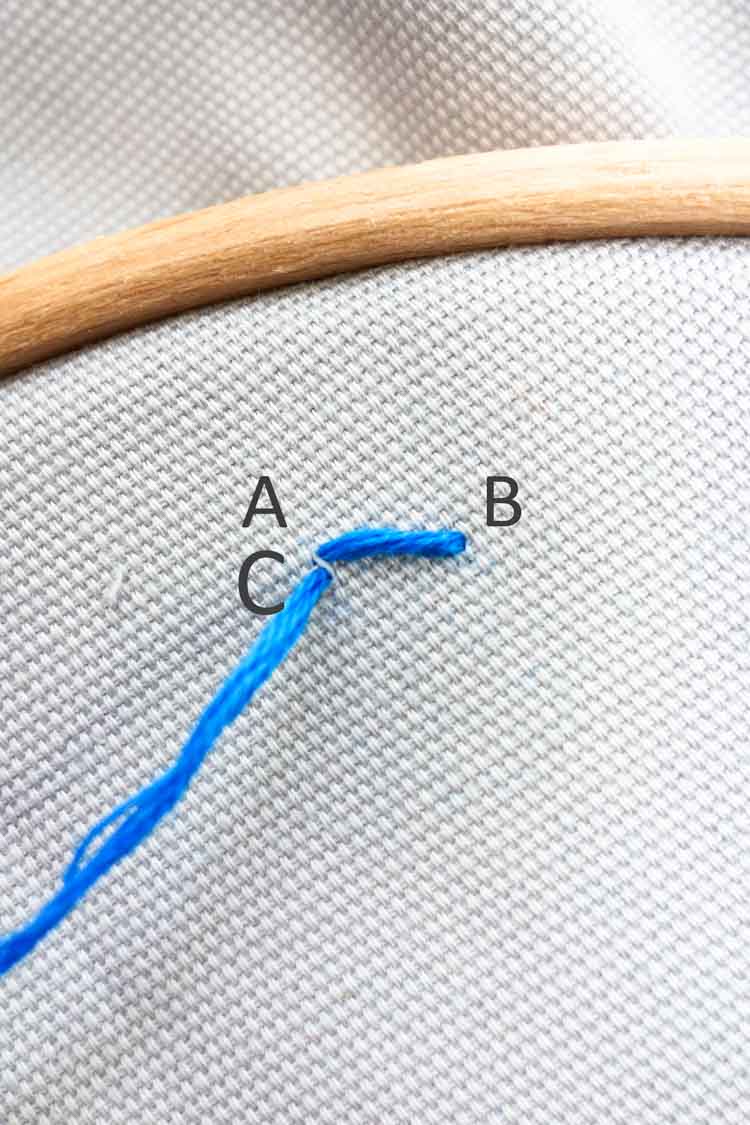
Bring you needle back up through point C, which should be positioned as close as possible to point A.
Step 3
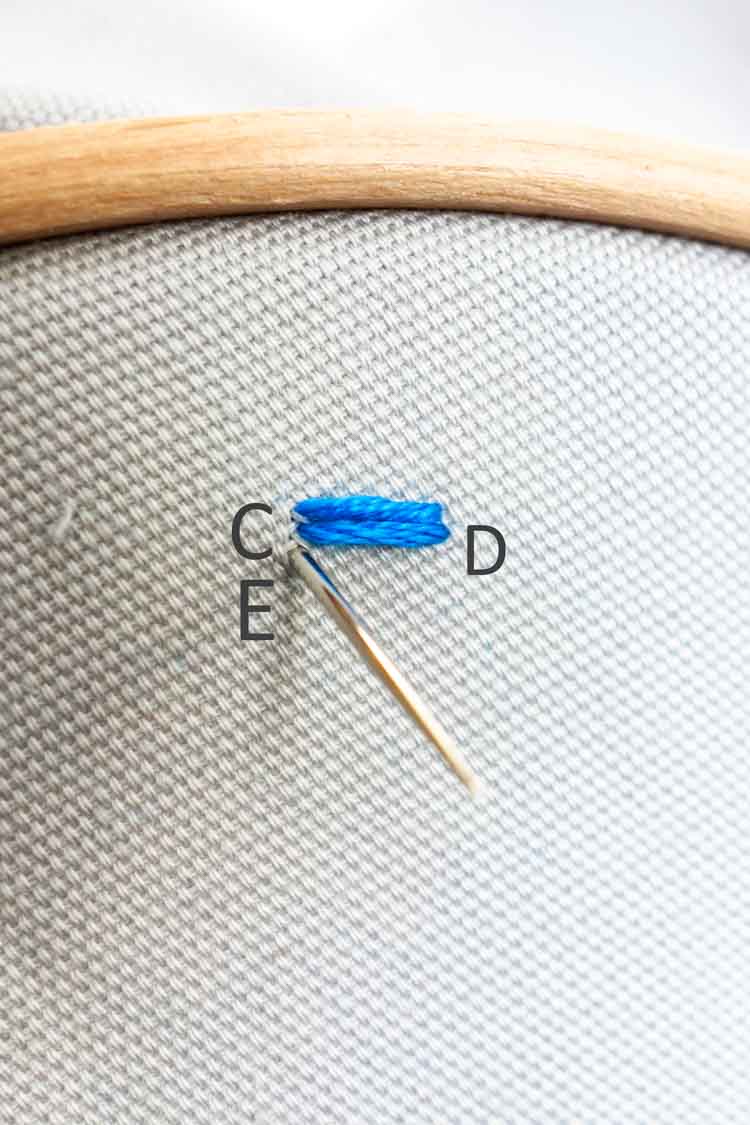
Complete the stitch by going back down through point D, which should be just next to point B. Continue in this rhythm by bringing your needle up through point E and completing the stitch.
Step 4
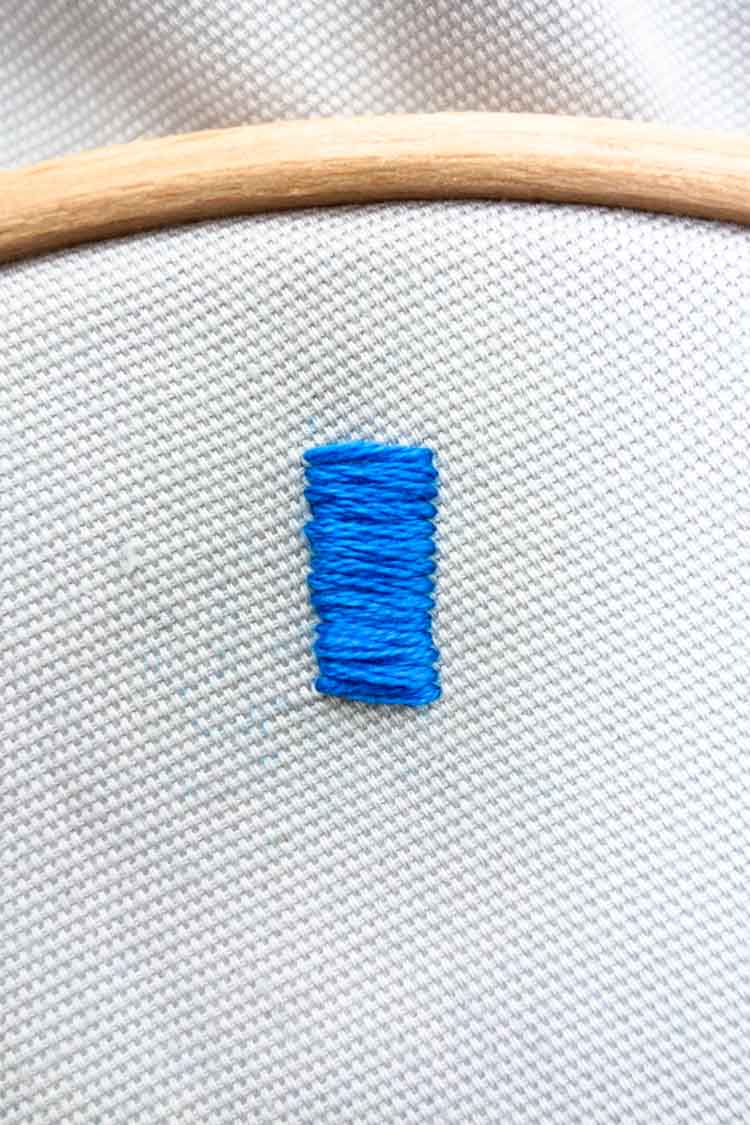
Continue placing your stitches closely together to create a block of colour.
Pro tip: The satin stitches on the front and back of your hoop should look the same!
How to make a seed stitch?
Seed stitch is a very simple stitch to learn for beginners. With the seed stitch you can quickly create large areas of pattern and texture in your work!
Step 1
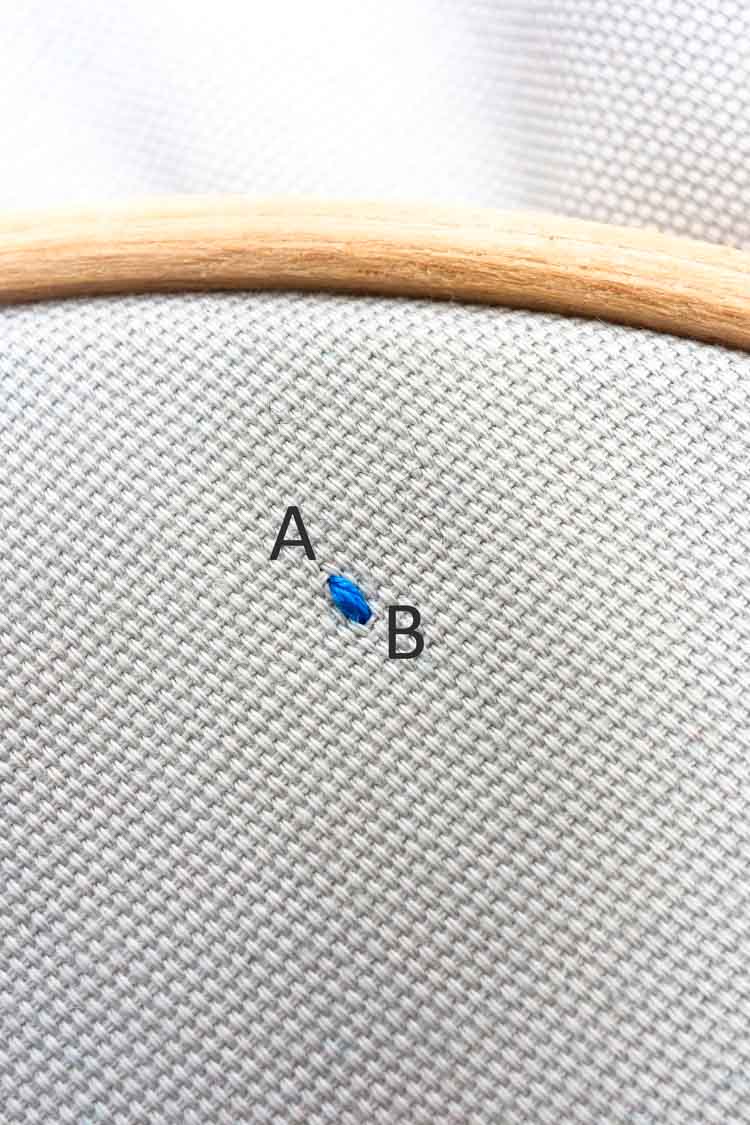
Bring you needle up through point A and down through point B. Make sure to keep the stitch length short.
Step 2
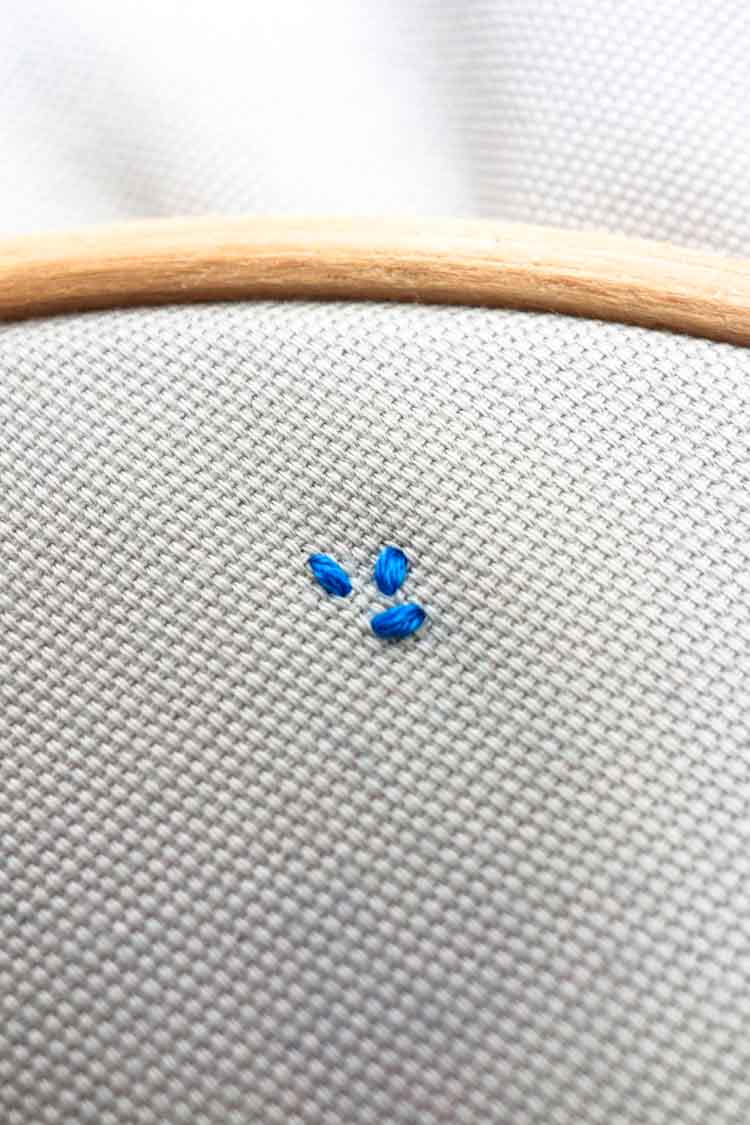
Repeat this stitch and try to place them near each other at different angles to achieve a ‘seed’ effect.
Step 3
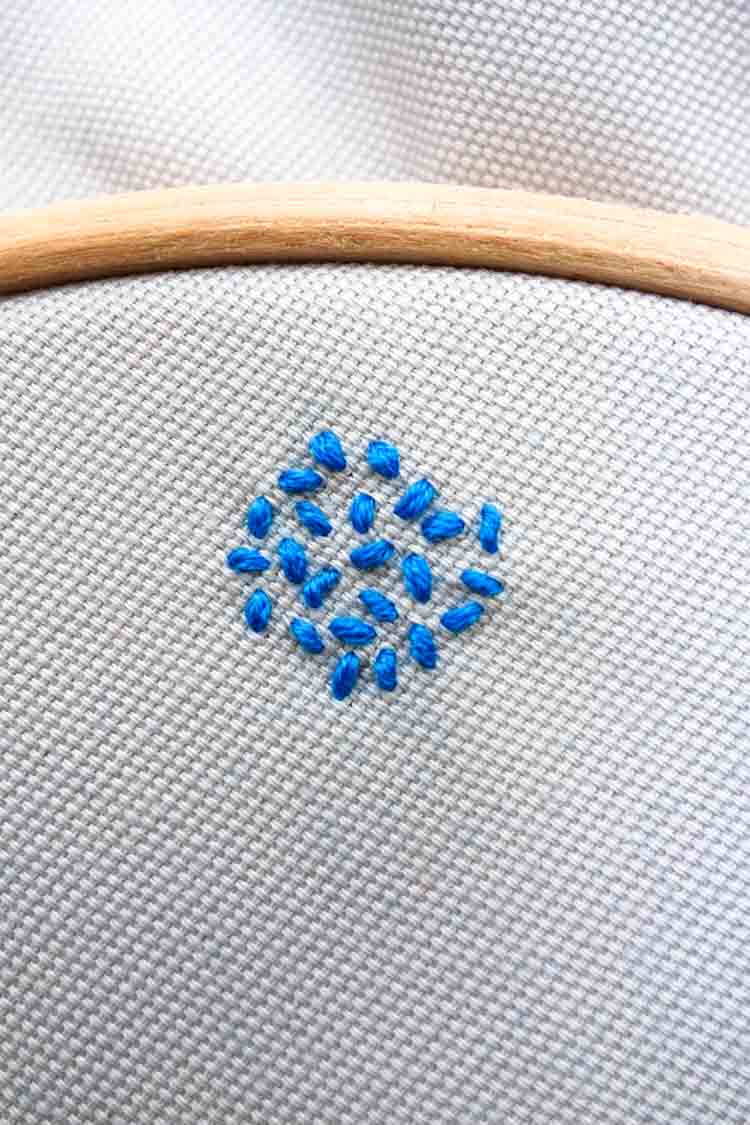
Tip: Try using our DMC colour variation floss to create some variety and depth with this stitch!
How to make a split stitch?
This stitch is really nice for a slightly more decorative outline and textured outcome. For this stitch you will need to have an even number of threads – work with 2, 4 or 6 strands of floss for the best results.
Step 1
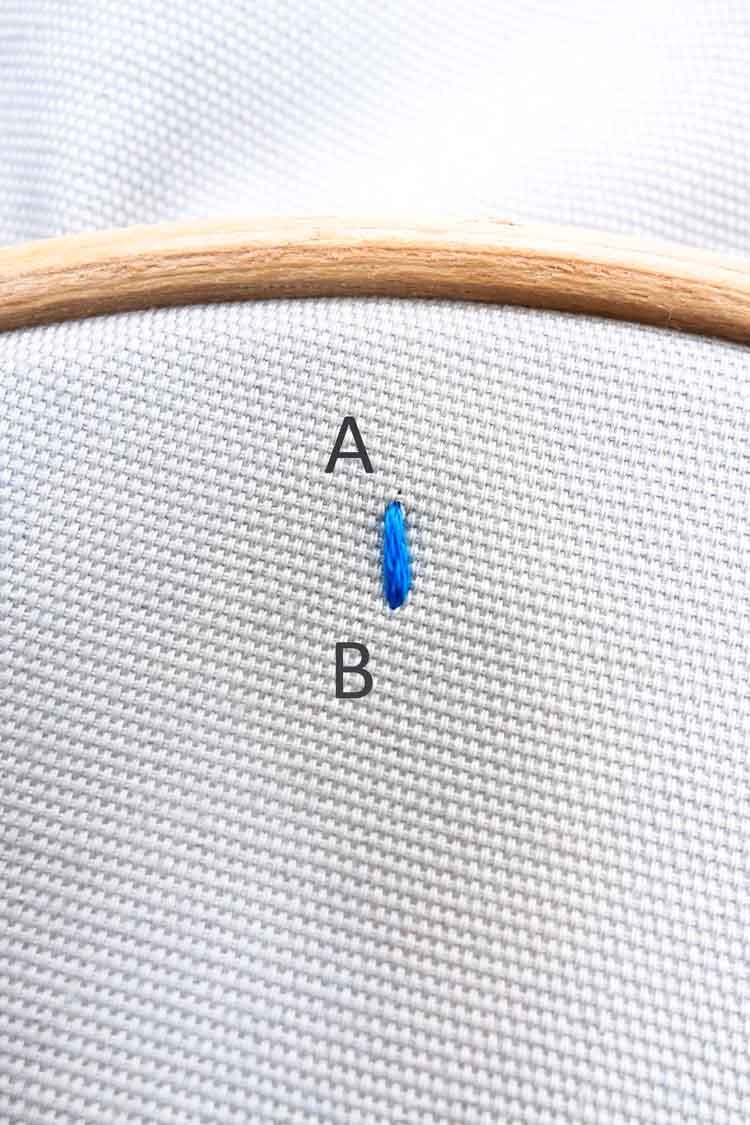
Bring your needle up through point A and back down through point B.
Step 2
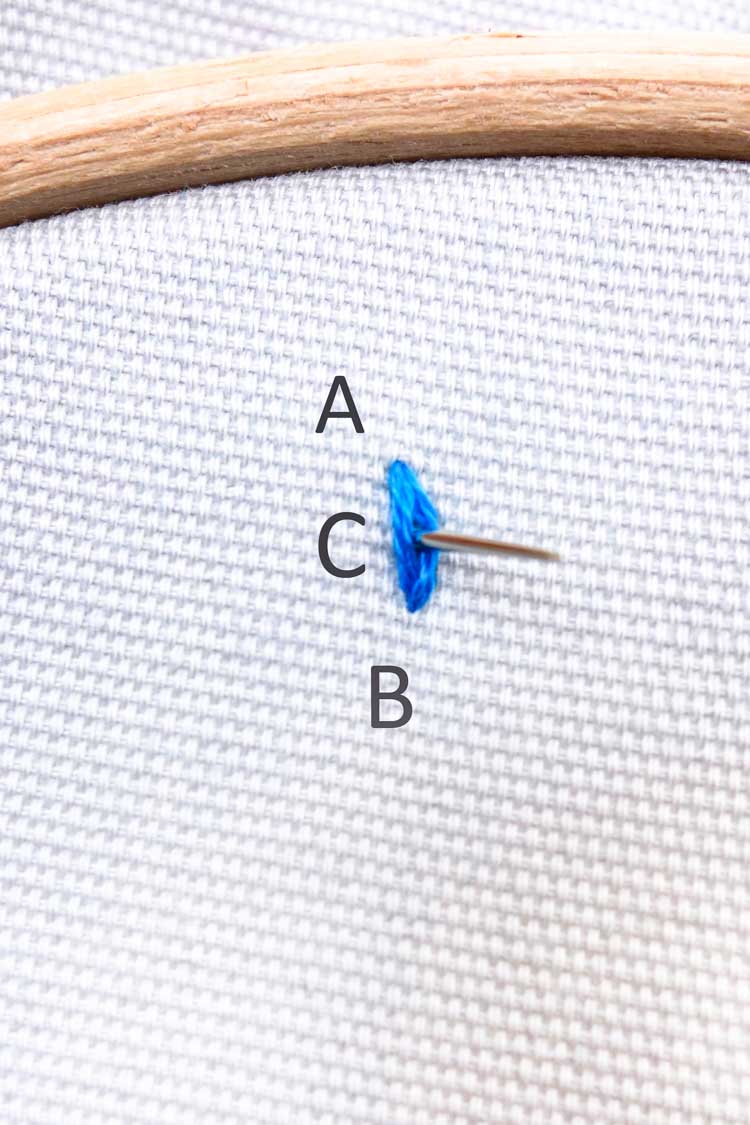
Push your needle up between A and B to create point C, so that you literally ‘split’ the first stitch. Try to split the stitch with an even number of strands on each side for a more uniform effect.
Step 3

Pull the thread carefully through and then take the needle a stitch length away down through point D.
Step 4
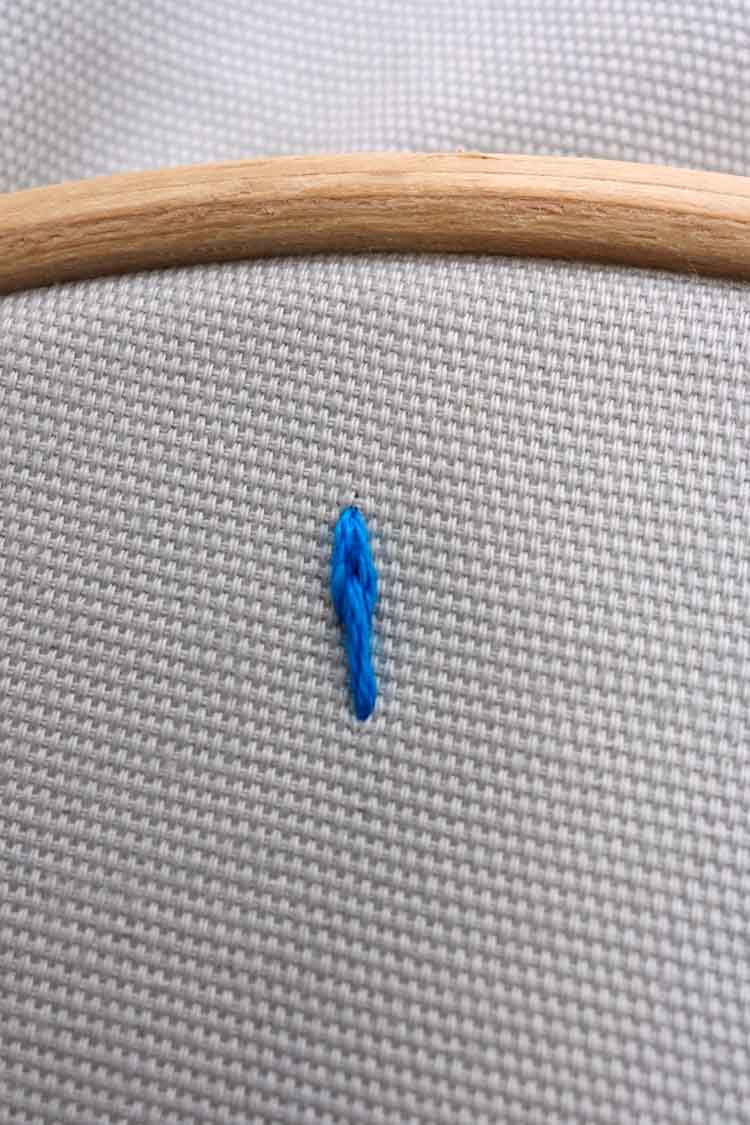
Pull the thread securely through so that the stitches are taut. Continue by always splitting the previous stitch.
Step 5
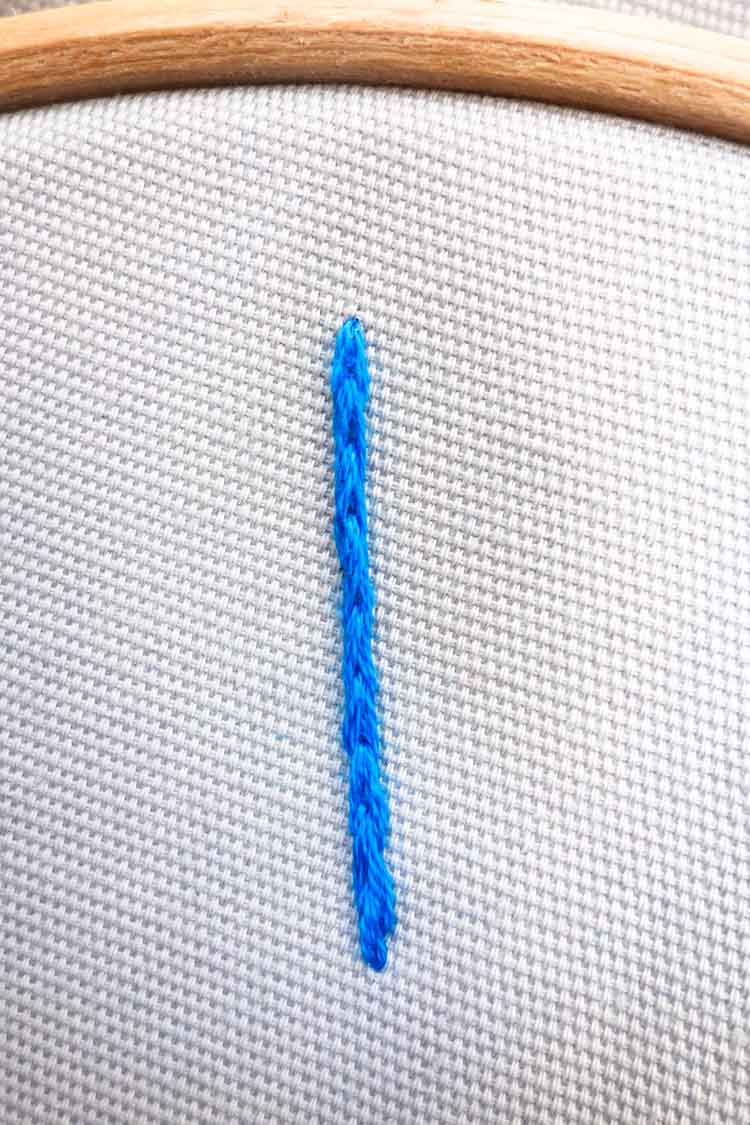
Experiment with different stitch lengths and different strand numbers to see how results vary!
How to make a stem stitch?
The stem stitch is good for outlines and particularly plant stems, hence the name!
Step 1
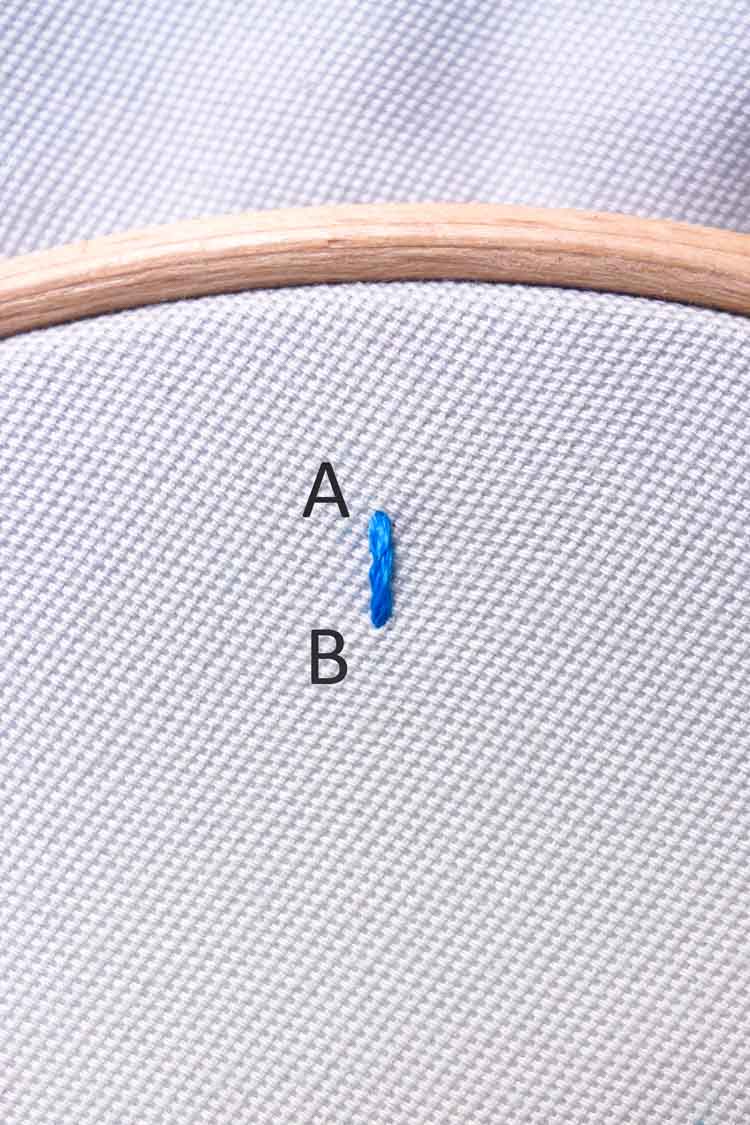
Start the same way as most other stitches, bringing your needle up through point A and down through point B.
Step 2
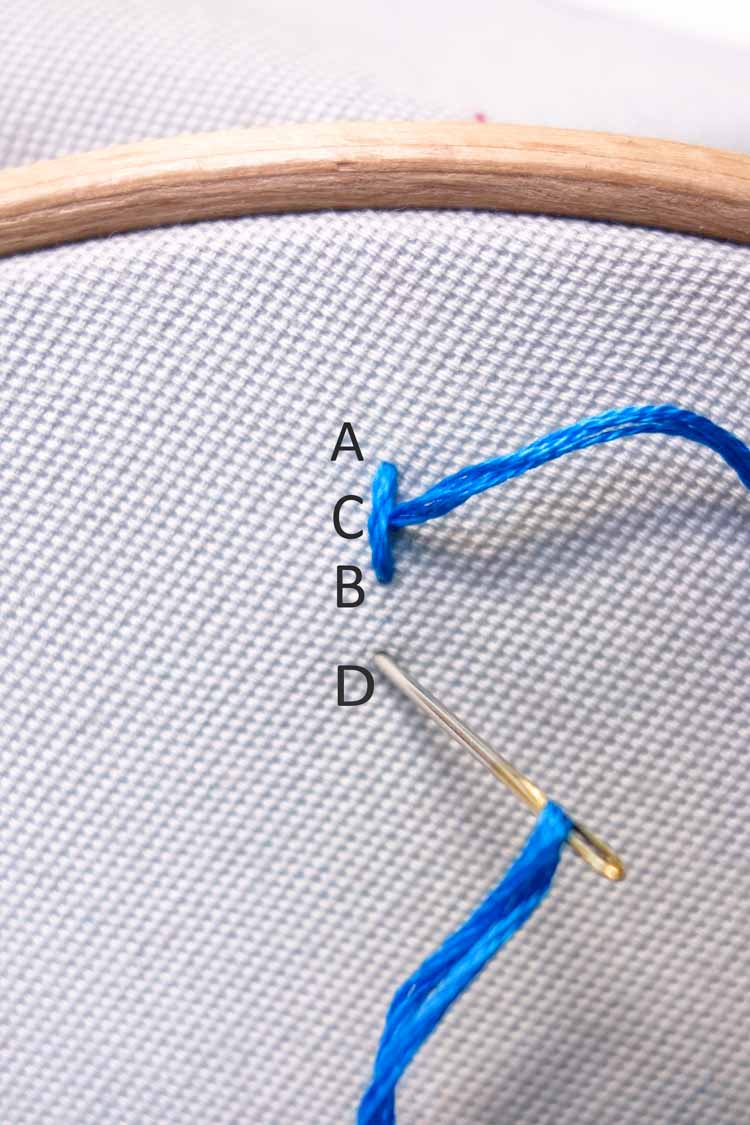
Take the needle back up through point C, which should be in between points A and B, and create the next stitch, going down through point D.
Step 3
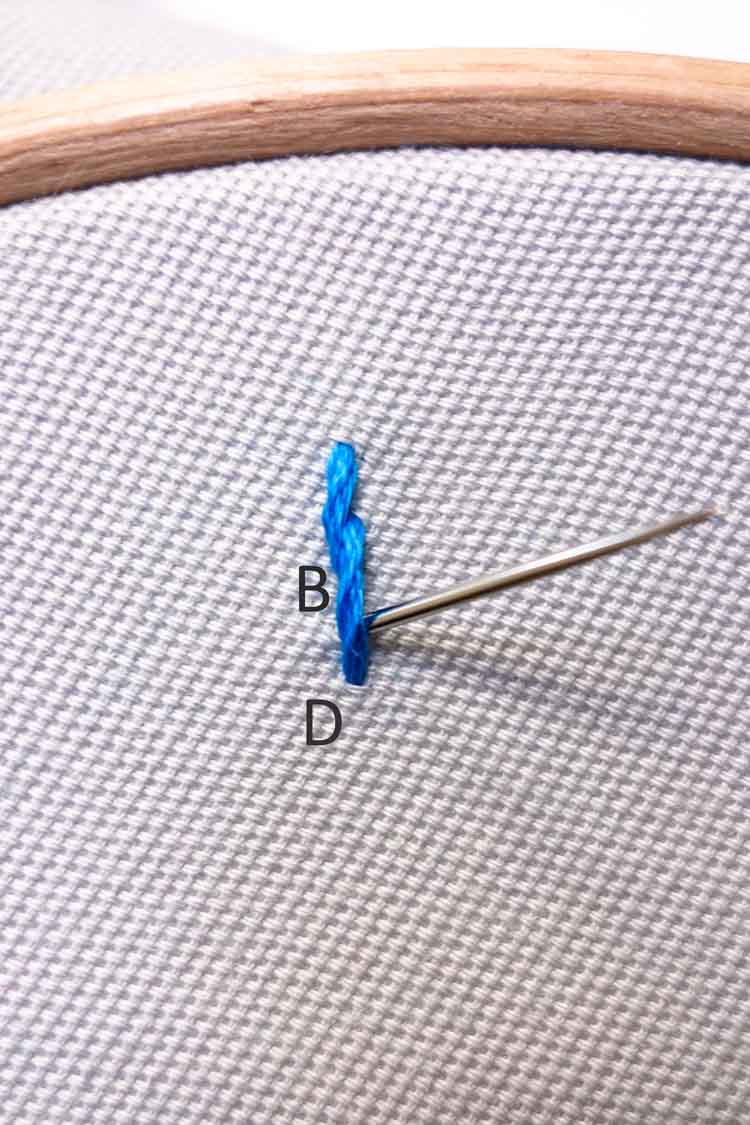
Continue along in this rhythm, with the next stitch always starting in the middle of the previous stitch.
Step 4
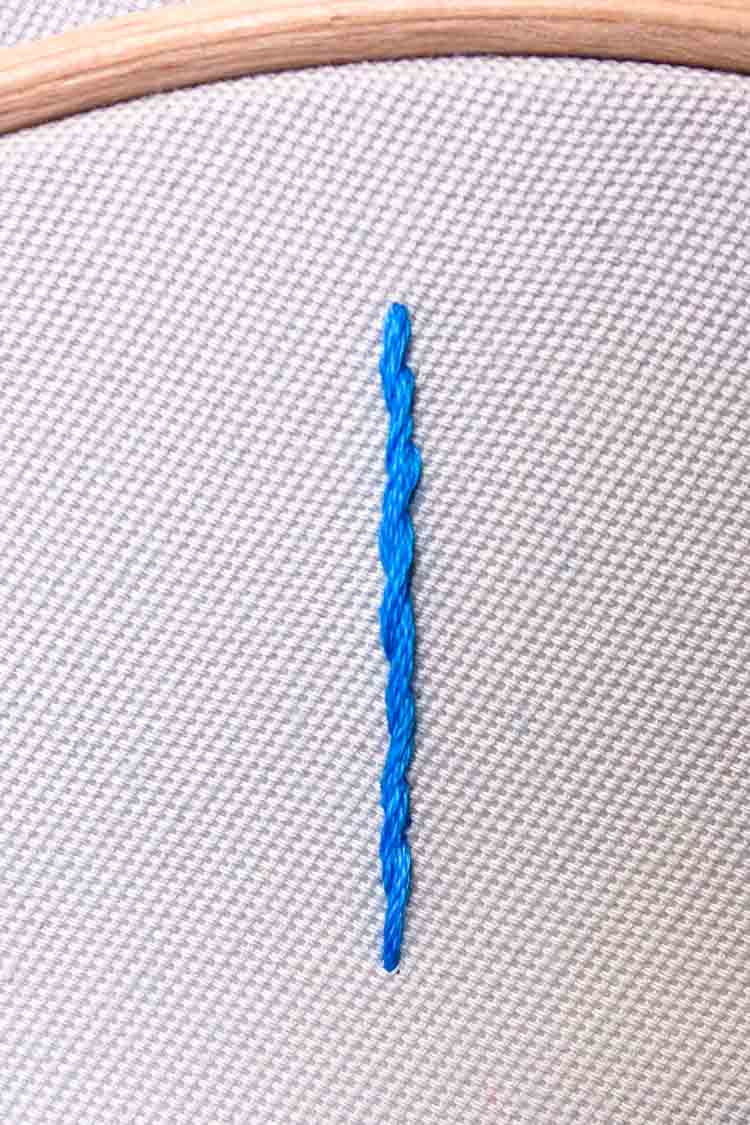
The result should be a twisted ‘stem’ look!
Frequently asked questions about free hand embroidery
Can you use normal thread for embroidery?
Yes. You can use any type of thread for stitching, including normal sewing thread. The result will be different with any type of thread that you use. But potentially you can even use thick yarn to create embroidery. The way how you make the stitches will be exactly the same. The look and feel of your stitches will be a world of difference.
Can you embroider without an embroidery hoop?
Yes, it is possible to embroider without a hoop. We prefer to use a hoop as it helps to stabilize the fabric. And that helps to create even and neat stitches. But there are embroidery artists that prefer to have a free flowing fabric. It does require experience to ensure you’ll get a nice result witouth a hoop, but it’s not impossible ;-).
How do you remove pattern markings from your embroidery?
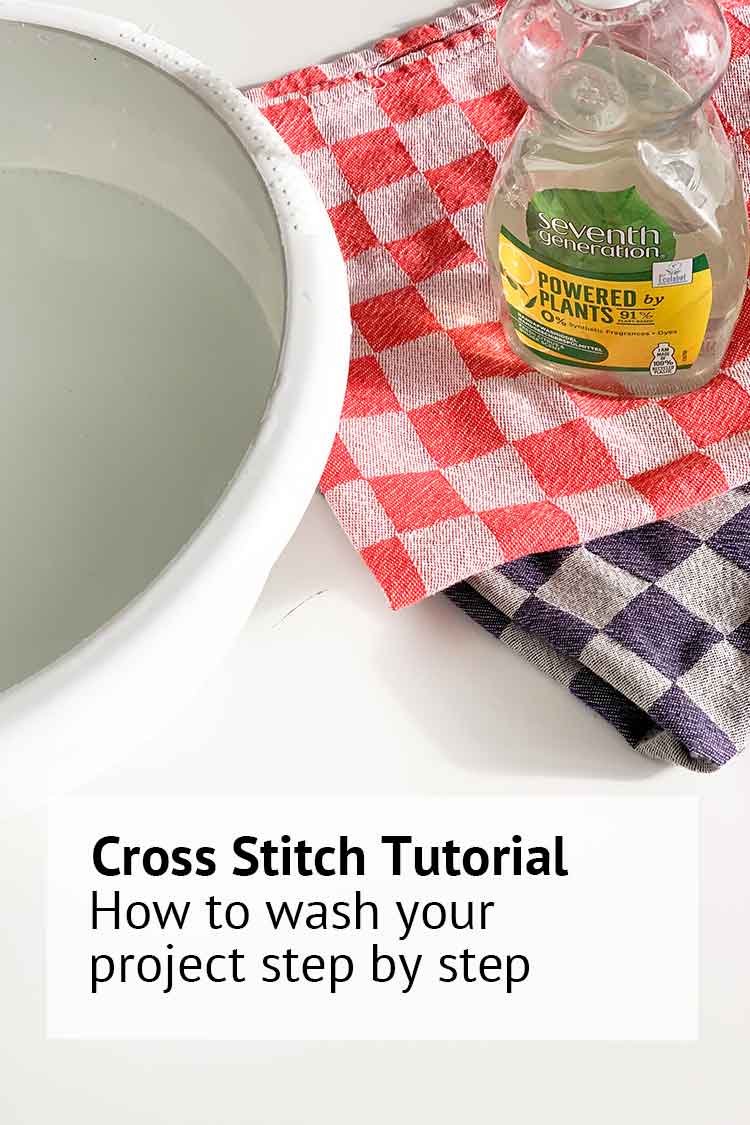
When you’re done stitching, your embroidery may need to be rinsed or soaked to remove pattern markings. This also helps remove wrinkles. Read our blog for tips on how to wash your embroidery project
How to hand embroider on T-shirts?
When you’re embroidering on fabrics with stretch it is advisable to use a stabilizer on the backside of your fabric. The stabilizer will help to ensure that your embroidery will keep it’s shape, even when washing it. So when you hand embroider on T-shirts we advise to use cotton stable on the inside. Cotton stable is soft to the skin.
How to use cotton stable to hand embroider on T-shirts?
Cut a piece of cotton stable that’s a few cm bigger than your desired embroidery. Fixate it to the backside of your fabric with a running stitch. Now stitch your embroider through the fabric and cotton stable layer. Once your finish embroidering you can remove the running stitch and any excsess cotton stable.
What is the easiest embroidery stitch to start with?
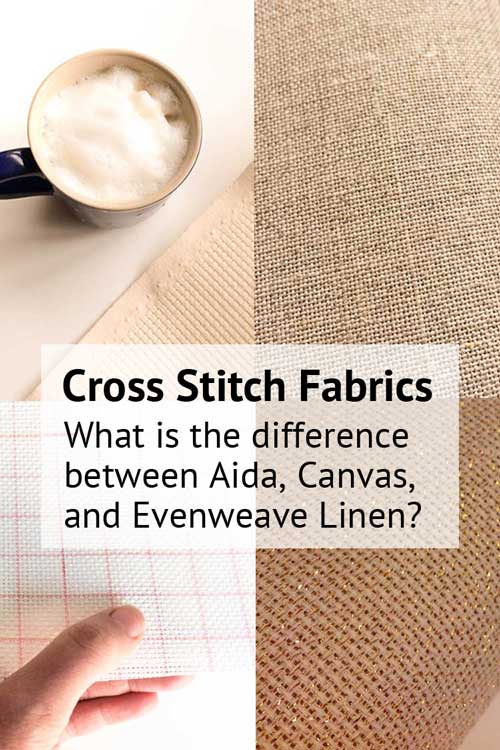
When you’re completly new to stitching you may want to start with the easiest embroidery stitch for beginners. We believe that’s the cross stitch. For cross stitching you will use Aida fabrics that has an even gridded pattern. You can learn more about cross stitching in our tutorial for beginners. We also have a lot of cross stitch patterns for beginners.
Alternativly you can also give Sashiko stitching a go. That’s made with a simple running stitch and hence very suitable for beginners.
But of course the most important thing is that you like the potential end result. Every embroidery technique has a different end result. If you’re a creative soul and you love to paint, you may appreciate to start directly with free hand embroidery.
Is it hard to embroider?
Embroidery is not hard to learn. No matter how complicated-looking the result, embroidery is remarkably easy. If you can use a needle and thread, you can embroider. Embroidery is an ancient old craft and almost all cultures accross the world use(d) one or more techniques of embroidery to make their clothes or fabrics stand out.
At our blog you can learn step by step how to master the basics of embroidery.
When subscribing you allow us to send e-mails to you. You can unsubscribe at any moment you like. Read our privacy policy here
