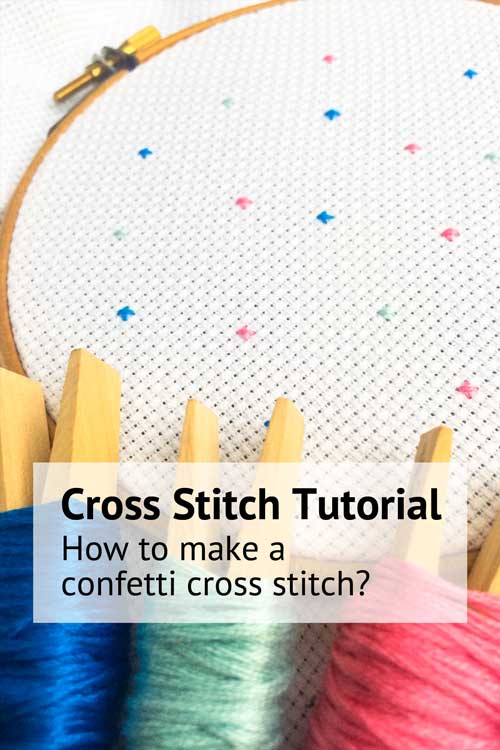
How to frame your embroidery work in an embroidery hoop
Framing your cross stitch project in an embroidery hoop is a quick and modern way to frame your cross stitch piece. An it is a very affordable way as well! There are different ways how to frame your embroidery work in an embroidery hoop. We like to do it in such a way that you can also take your work easily out when needed and replace it with a new design. This way you can change your home with the seasons :-).
As we often got asked how we frame our embroidery work in an embroidery hoop, we decided to add a short video on YouTube (see below). It is a quick timelapse of our framing process. We’re no video experts – we prefer cross stitching – so below explanation might be more helpfull.
When we frame our cross stitch project in an embroidery hoop, we always use felt on the backside of the project. As a result you will not see throug the holes of the fabric, and you`ve nicely covered the ugly backside of your project. We don’t use glue as this might leave stains, and makes it very difficult to take your piece out if you like to change it.

What you’ll need to frame your embroidery work:
- A completed cross stitch project
- Embroidery hoop
- Felt for the backside. We have handy precut pieces of felt in our shop.
- A regular needle with a sharp end
- Thick, srong yarn. We use embroidery floss
- Scissors


Steps: How to frame your cross stitch project
Step 1

Put the inner side of the embroidery hoop on your table, then lay the felt on top of it. And add your cross stitch project on top. Put the outside of the embroidery hoop on the top of your cross stitch fabric.
Step 2

Ensure that your work is nicely placed in the hoop. Somethimes you want your work to be centered (like with our stitchamap designs), but somethimes it`s more fun to see it in a corner (like with some of our animal designs). Use the screw of the embroidery hoop to fasten it in the hoop.
Step 3

Cut the excess fabric and felt, such that you keep about 1 inch (2,5 cm) on all sides of the circle.
Step 4

Now use the needle and yarn and stitch the yarn firmly on a border of the fabric
Step 5

Stitch with a running stitch around the border of your fabric (go through both the cross stitch fabric and the felt layer)
Step 6

Continue your running stitch all around the border
Step 7

Strongly pull the yarn – on the backside you will now see your fabric wrinkle in the hoop.
Step 8

Fix the end of your floss with a few stitches in the border.
Ready to hang!
There are more ways how you can frame your embroidery work – this is our favorite way – what’s yours?
Embroidery hoops are great for framing your cross stitch project
Most of our DIY kits contain embroidery hoops that you can use for stitching and framing your piece. But we also sell the hoops seperatly in our shop.
In addition to framing your cross stitch project, you can also use them to frame your favourite fabrics. Add a few different sizes to your wall and you have an easy pop of color in your home. Looking for more ideas? Read this blog for 10 alternative ideas for using your embroidery hoops