How to weave for beginners
In this tutorial you can learn the basics of weaving. From warping your loom to weaving different patterns, scroll down to learn all you need to know for your first weaving project.
Weaving on a lap loom is a trending craft technique. You can make your own kitchen towels and home textile. But you can also create stunning wall hangings with a mixture of different yarns and textiles.
What materials do you need for weaving?
1. The essentials -> weaving starter kit
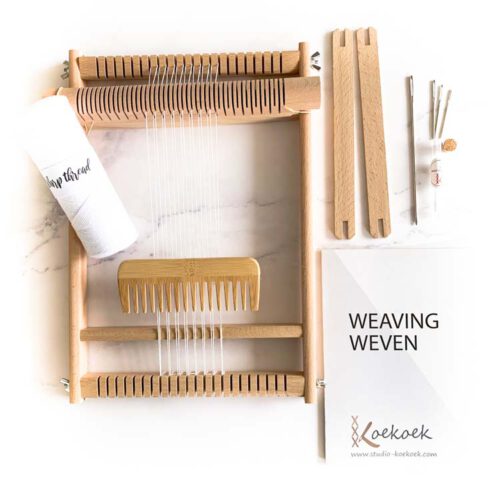
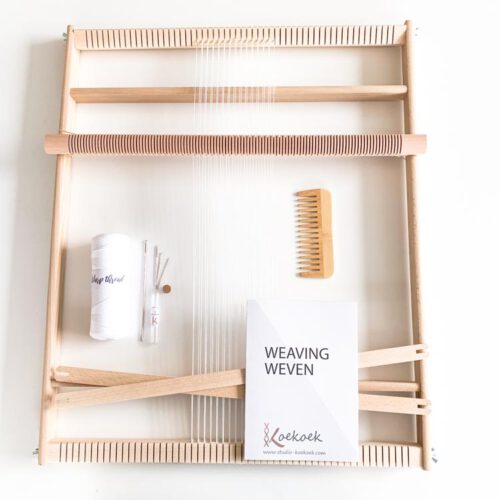
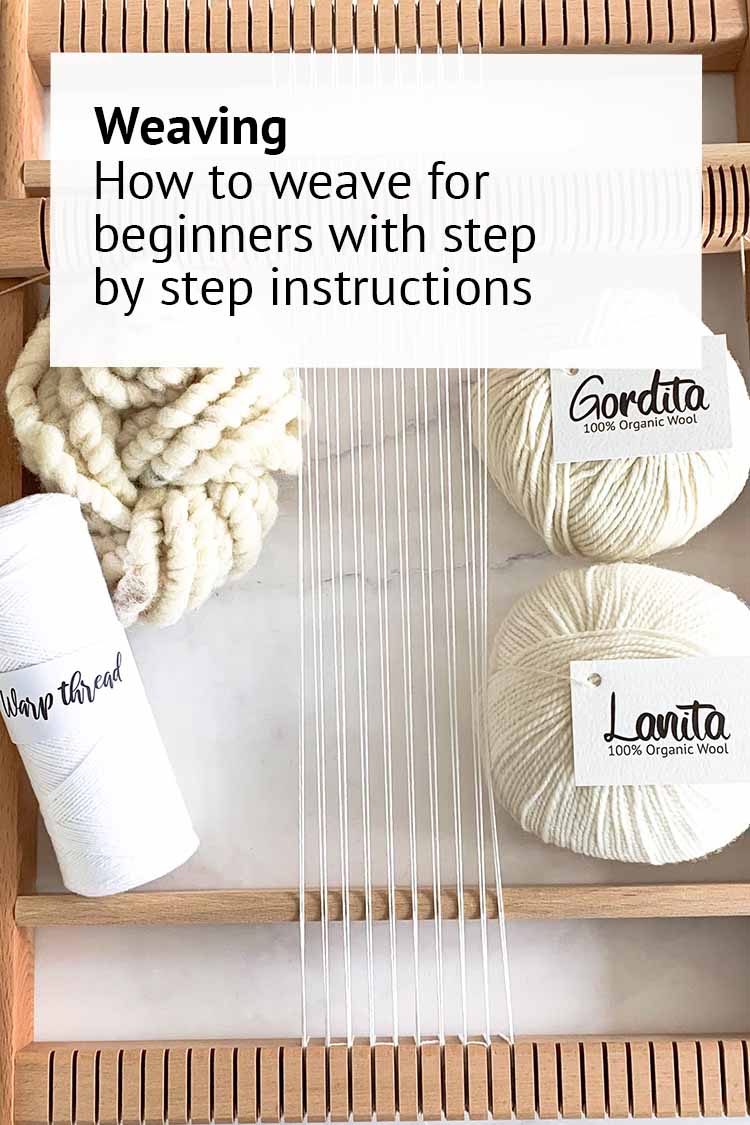
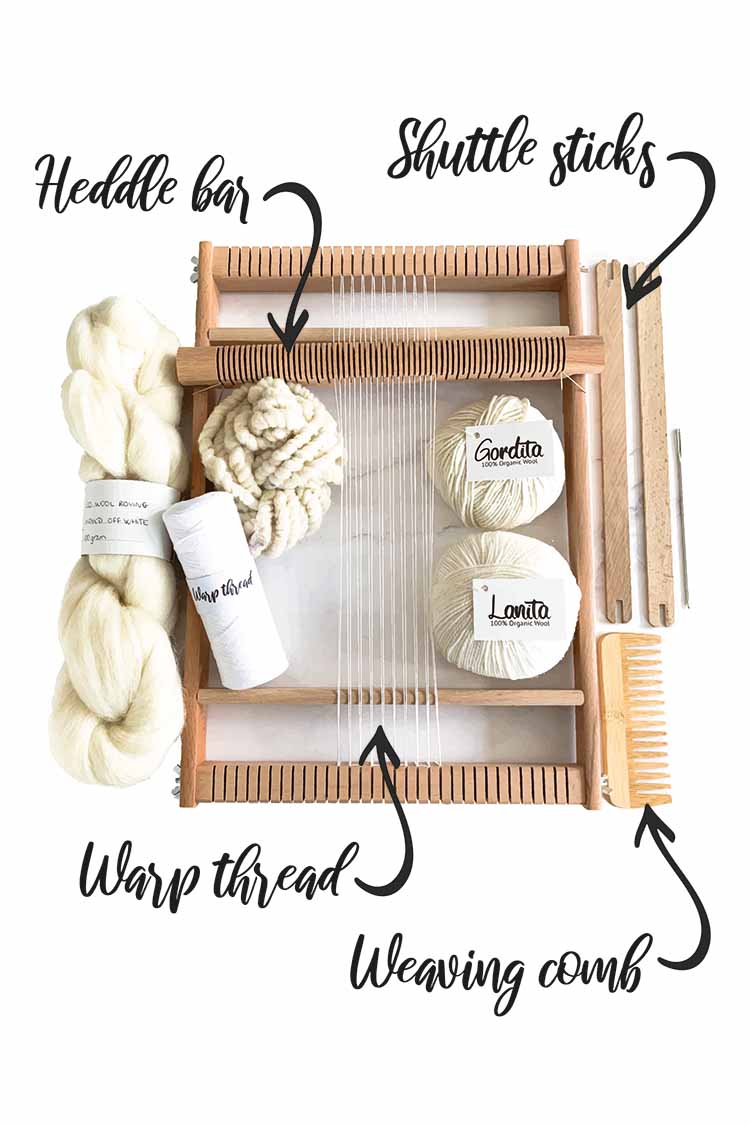
We have handy kits in our shop for beginners in weaving. Our weaving starter kits include: premium quality weaving loom, warp thread (for the vertical lines), heddle bar, weaving needle, tapestry needle and shuttle sticks.
2. Yarn for the weft threads (the horizontal lines)
You can use a large varity of yarns for the weft threads (the horizontal lines).You can check our yarn collection here.
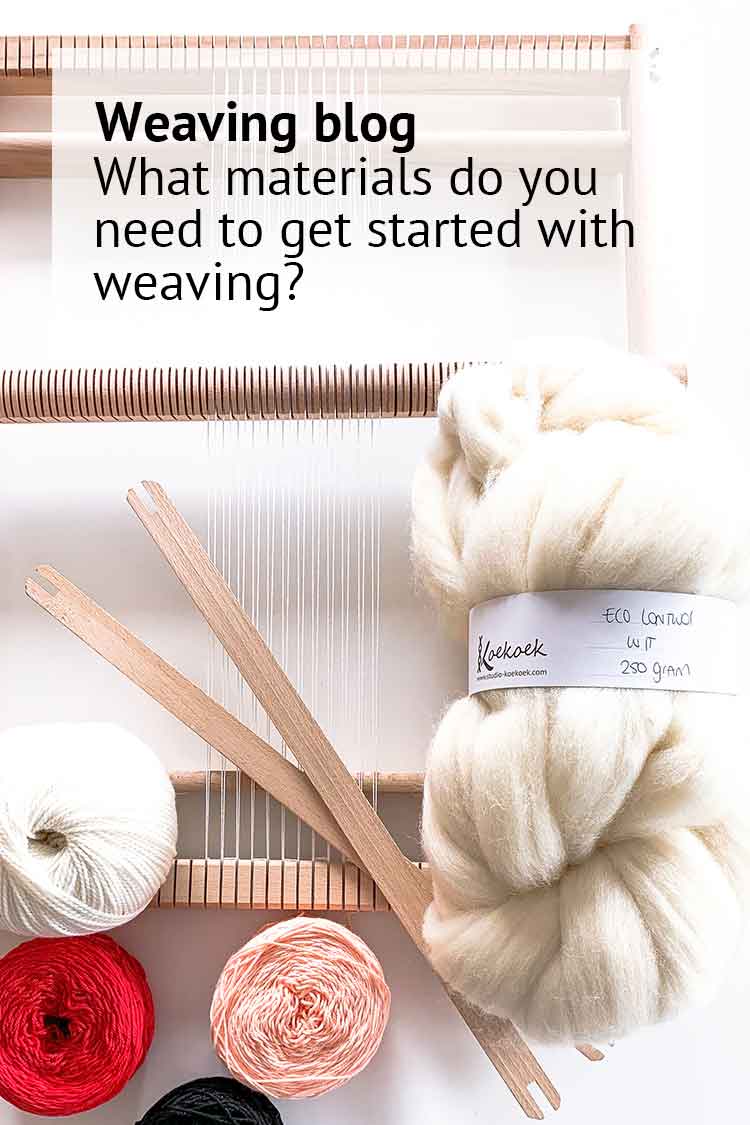
To learn the basics it is handy to start with a strong yarn. Choose for a yarn that contains multiple plys and does not break when you give it a strong pull. This can be a cotton thread or a wool like our Lanita collection. Once you master the basics you can expirement with different textures and types to get suprising effects.
3. Scissors
A good pair of scissors always comes handy when crafting. Check our scissors collection here
Read more about weaving supplies on our blog “what supplies do you need for weaving?”.
A few crucial weaving terms to know
When you’re new in the world of weaving, you may get a bit overwhelmed by the terminology used. You may like to have our weaving terminology glossary open when reading weaving instructions or patterns. We’ll also explain a few crucial terms here.
Loom
A loom is a supporting structure that is used to weave on. It will hold the warp threads for you while you are weaving. If the weave is finished, it can be removed from the loom and support itself without falling apart.
There are many different types of looms. The most common is the frame loom, which has a rectangular shape and is often made out of wood. It’s popularity mainly comes from the fact that it is the most affordable model and best to learn the basics of loom weaving. Other models you might come across are the rigid-heddle loom, lap loom, and inkle loom
Heddle bar
Our weaving looms include a heddle bar. This is the component you can find in the middle of your weaving loom that is used to shed the warp threads more easily. Each warp thread will need to go through a separate slot in the heddle bar before you start weaving.
Warp thread
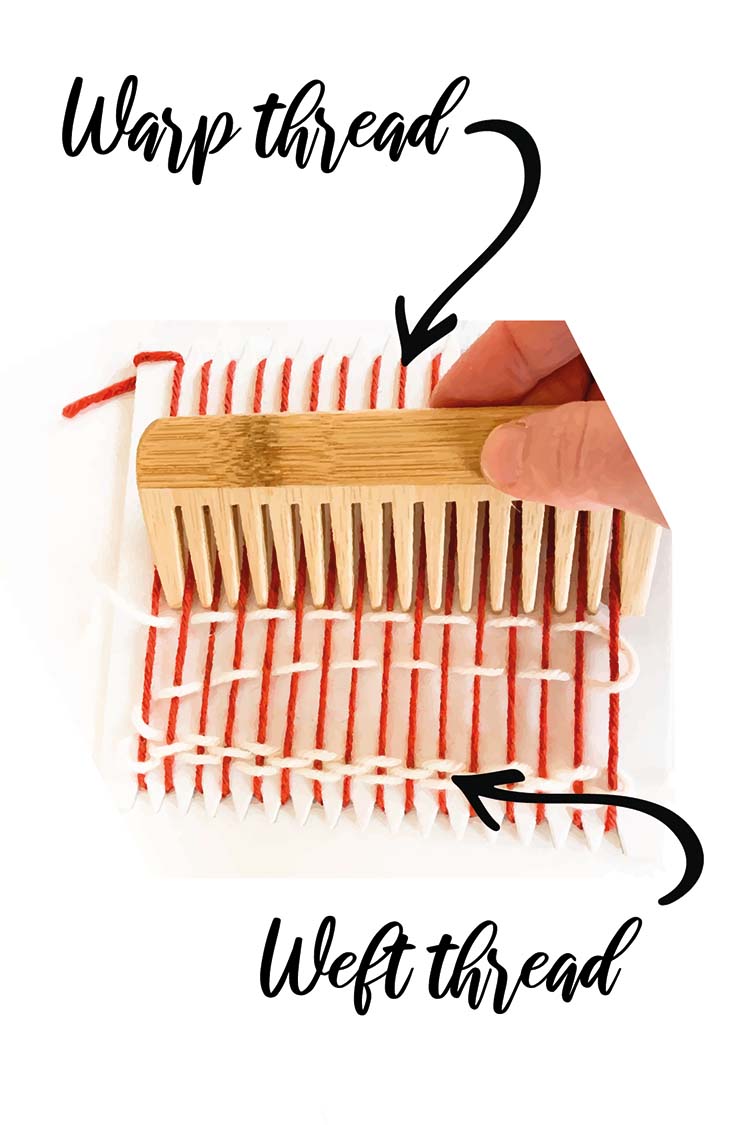
The warp thread is the thread that vertically placed on your loom. This thread holds the tension while you weave. As this thread is the backbone of your weave, it is important that this thread is very strong.
Weft thread
The weft thread is the horizontal thread in your weaving project. You weave the weft thread under and over your warp threads. It creates the pattern of your weaving project.
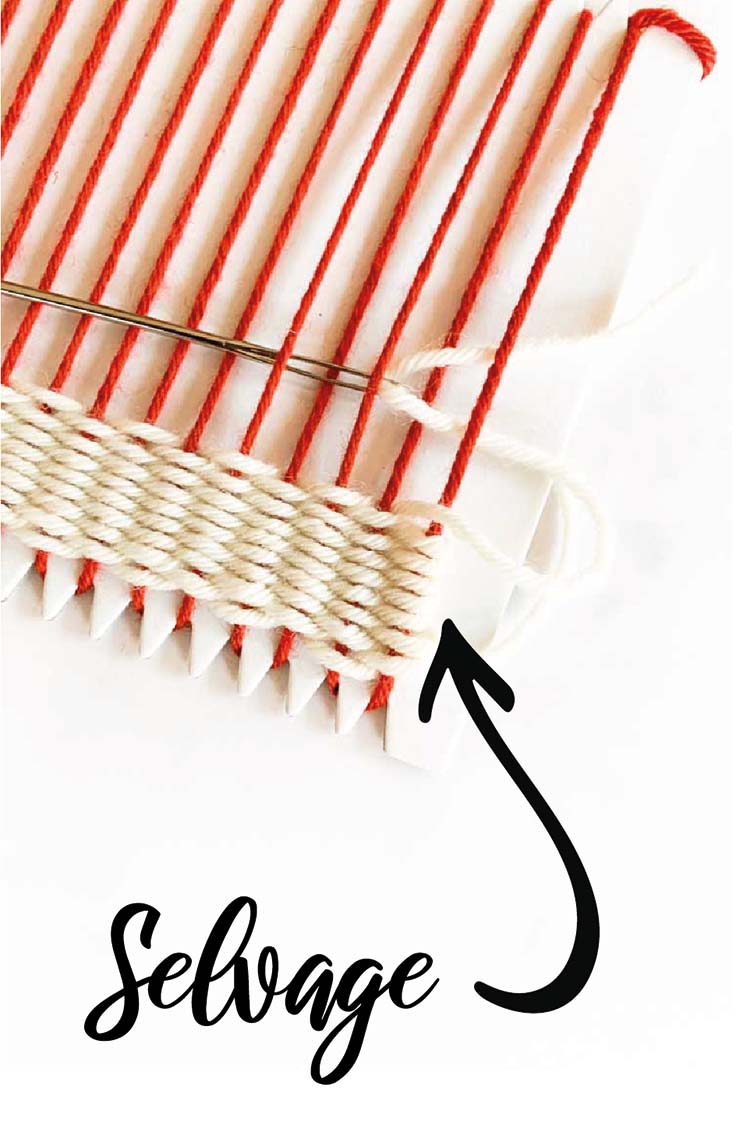
Selvage
The woven edge of a fabric is called selvage. A selvage is also called the “self-finished” edge of a piece of fabric which keeps it from unraveling and fraying. The term “self-finished” means that the edge does not require additional finishing work, such as hem or bias tape, to prevent fraying. On your weaving loom your selvage are the right and left ends of your weaving project.
Weaver’s Knot
The weaver’s knot is the smallest knot that you can make to connect two threads together. This is our preferred way to repair broken warp ends or to connect two weft threads when you run out of thread or want to change color. This knot is relatively flat, so it requires minimal attention.
How to warp your loom with heddle bar
First decide how wide you want to make your weaving. On a weaving loom you can never create a wider piece than the width of your loom, but if you want to make a smaller piece on a big loom, you can warp only part of your loom.
Second. Decide how fine you want your final piece to be. This depends a bit on the fibers you will use for the weft of your weaving project. You can choose to place one warp thread in between each notch or place the warp thread twice or four times in each notch. Your weaving project will get stronger and allows more details when you warp two threads in each notch instead of one. If you want to make a very detailed piece, and work with fine fibers, you could go for four threads in one notch.
In the below example we will show how to warp your loom with two warp threads in one notch.
Step 1
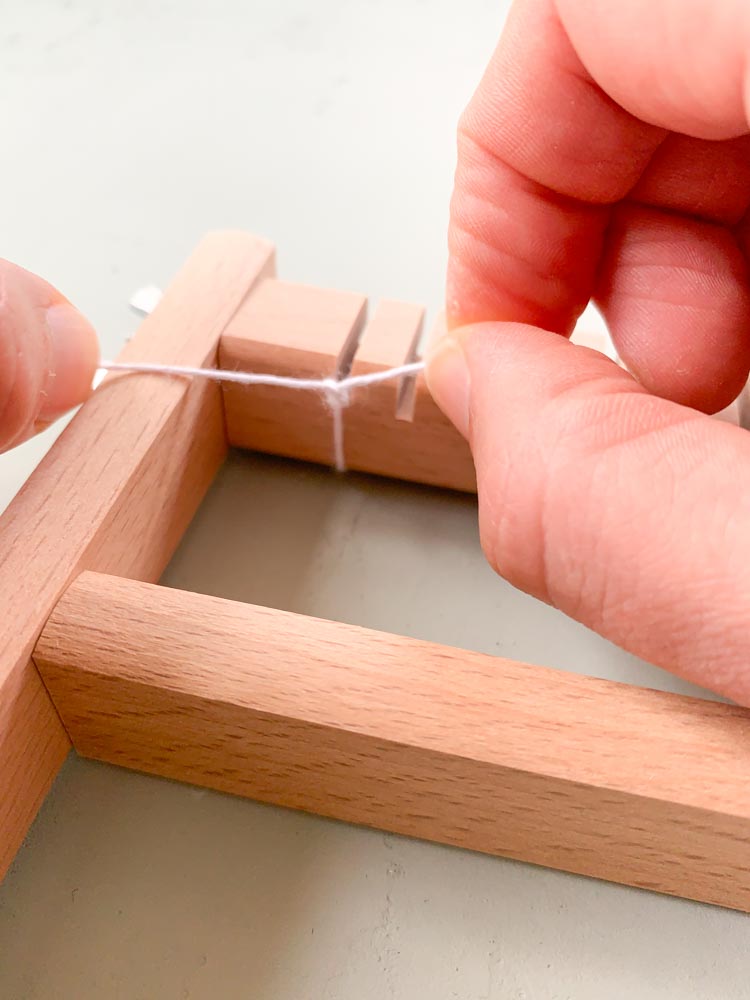
Starting on the top left corner, tie your warp thread in a double knot around a notch.
Step 2

Keep the warp thread taut when you bring it down. As you go down guide the thread through the left indent in the heddle bar.
Step 3
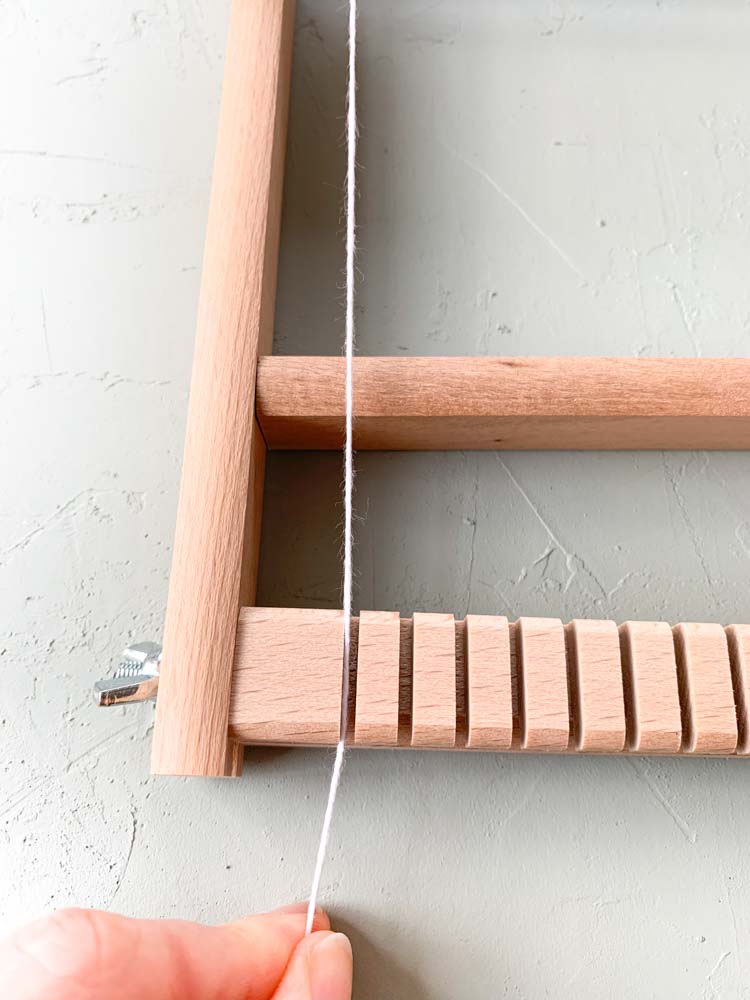
Bring the thread further down to the bottom left notch. Place the thread in the notch.
Step 4
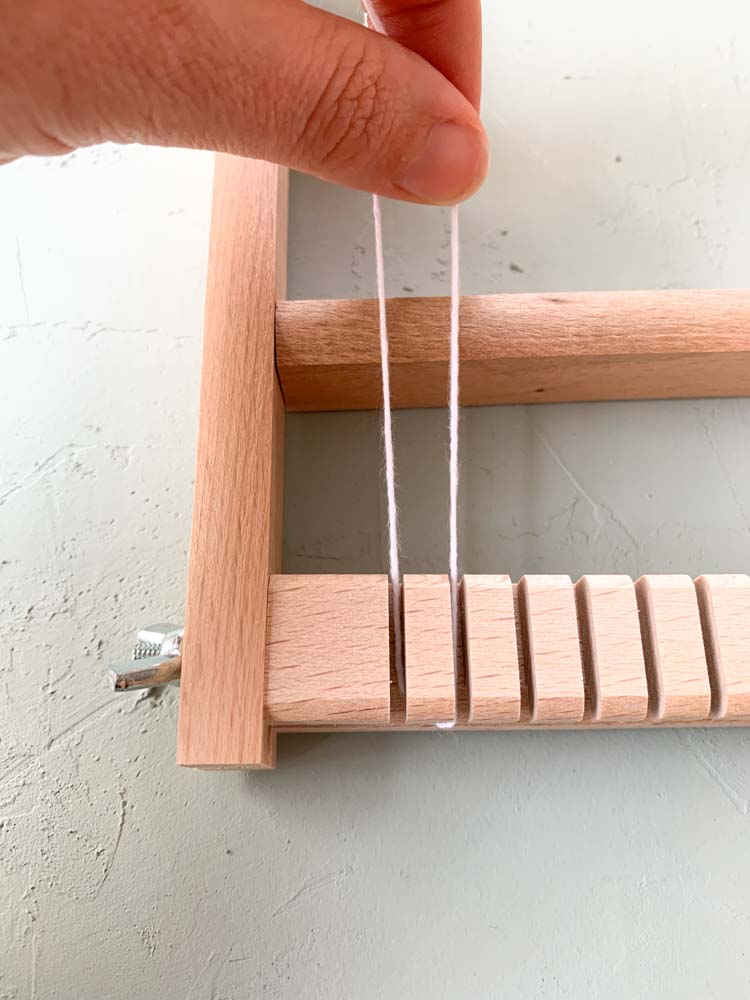
Go around the noth and bring the thread back to through the second notch from the bottom left corner.
(cont.)
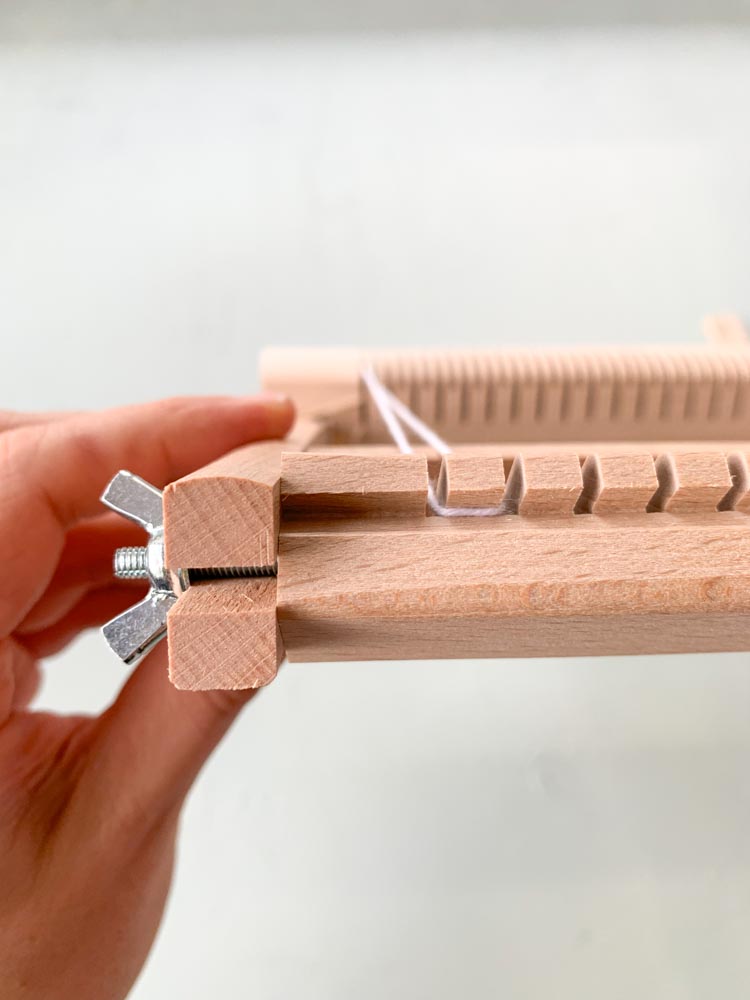
The picture shows how this looks like if you look at your loom from the bottom side.
Step 5
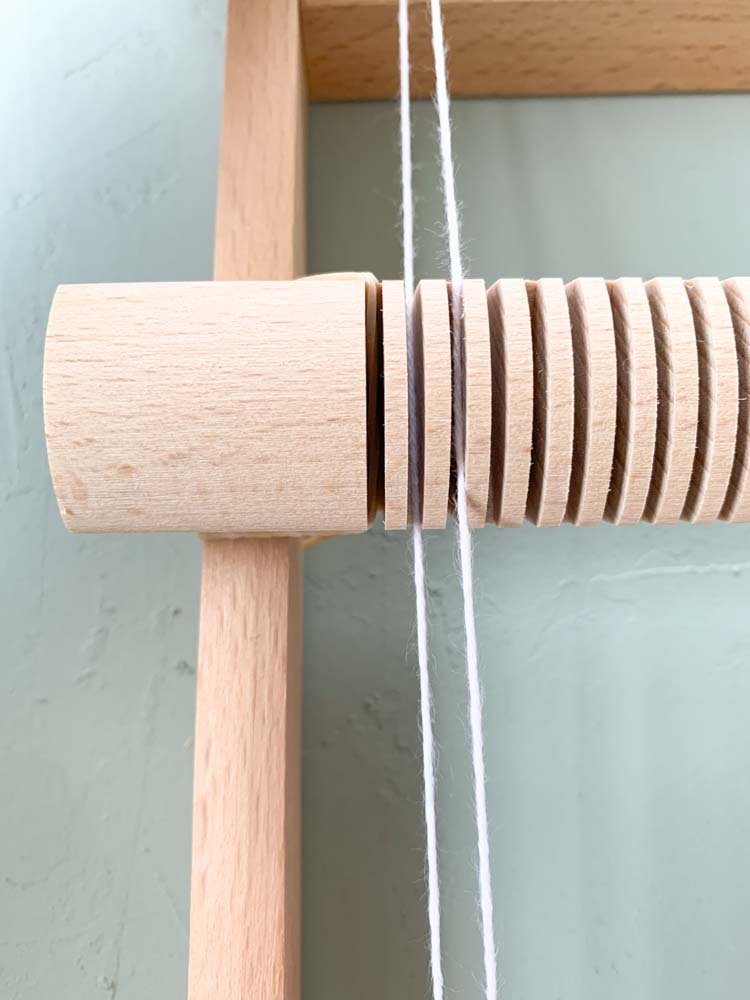
On your way up to the top notch, guide the thread through the second indent in your heddle bar.
Step 6
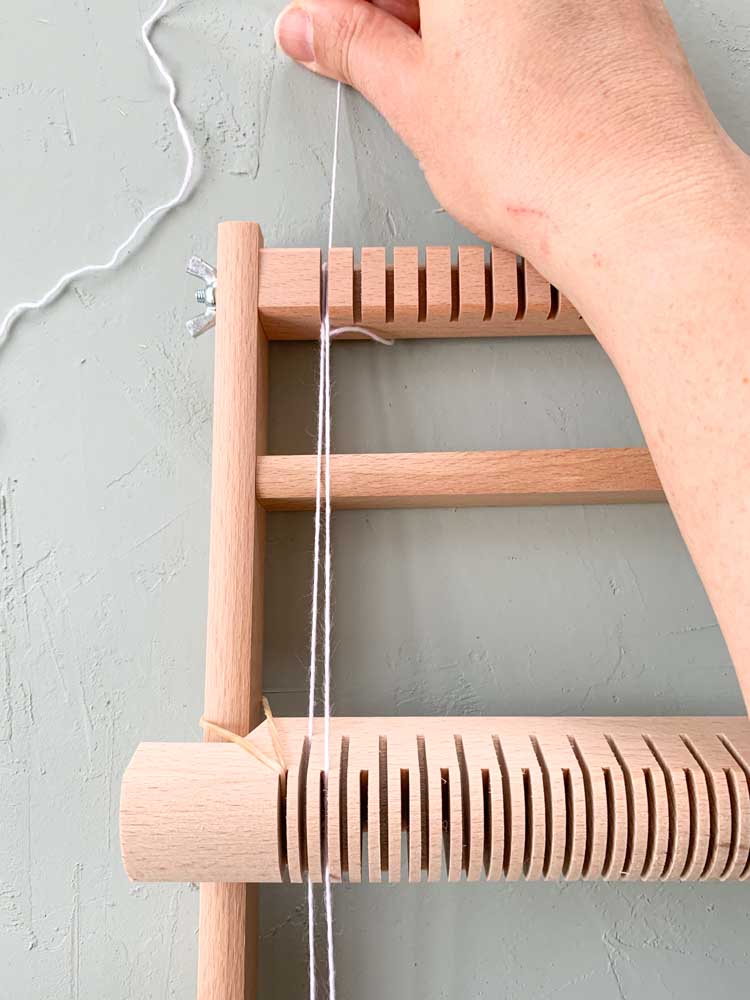
Place the thread in the top left notch where you started.
Step 7
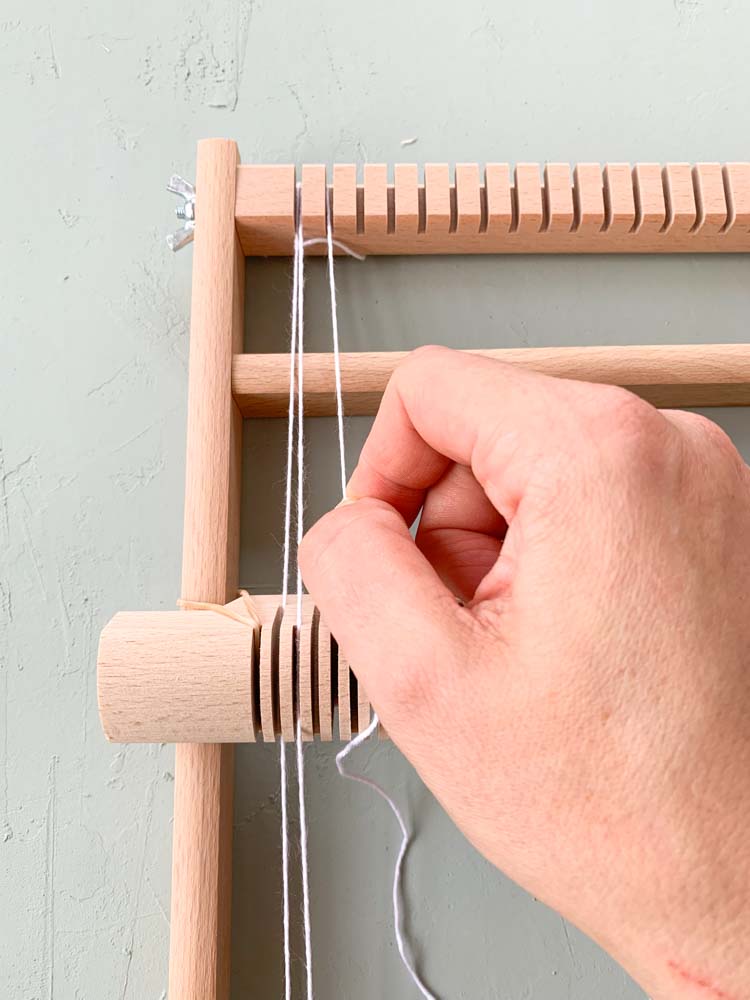
Go around the notch and bring your thread down through the second notch from the top left corner.
Step 8
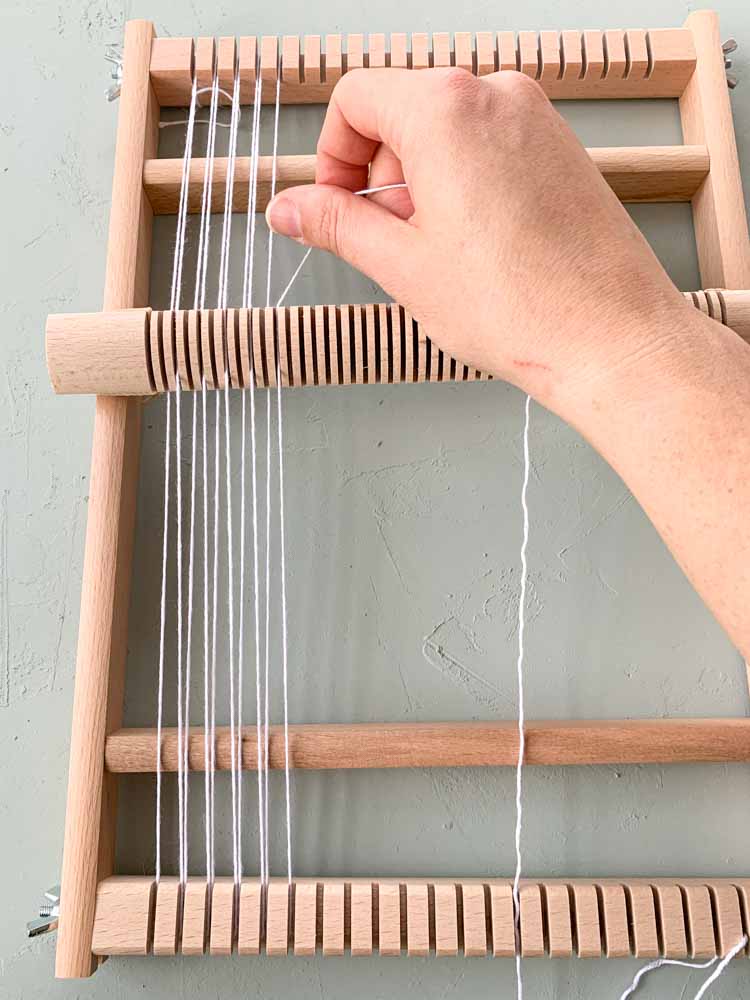
Continue going down, guiding your thread through the third indent of the heddle bar. Now bring your thread through the second bottom notch. Go around the notch and bring the thread back to through the third notch from the bottom left corner. Go up. Guide the thread through the fourth indent of the heddle bar towards the second top notch.
Step 9
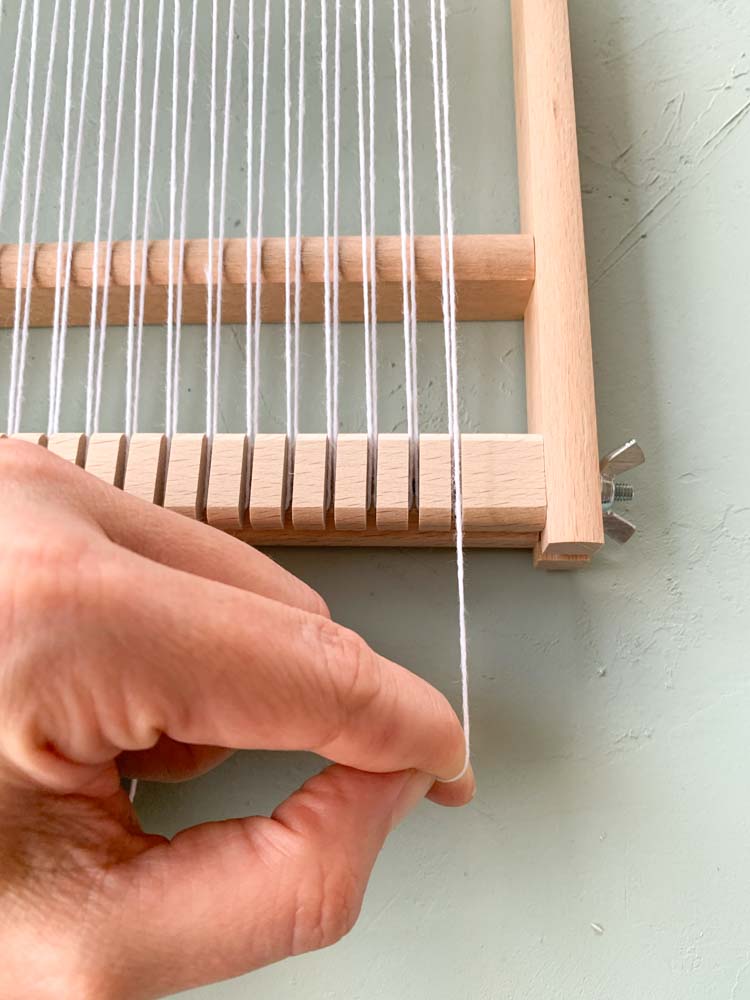
Continue warping the loom in the same manner.
Once you reach the bottom left notch, you are have to ensure the end of your thread stays in place.
Step 10
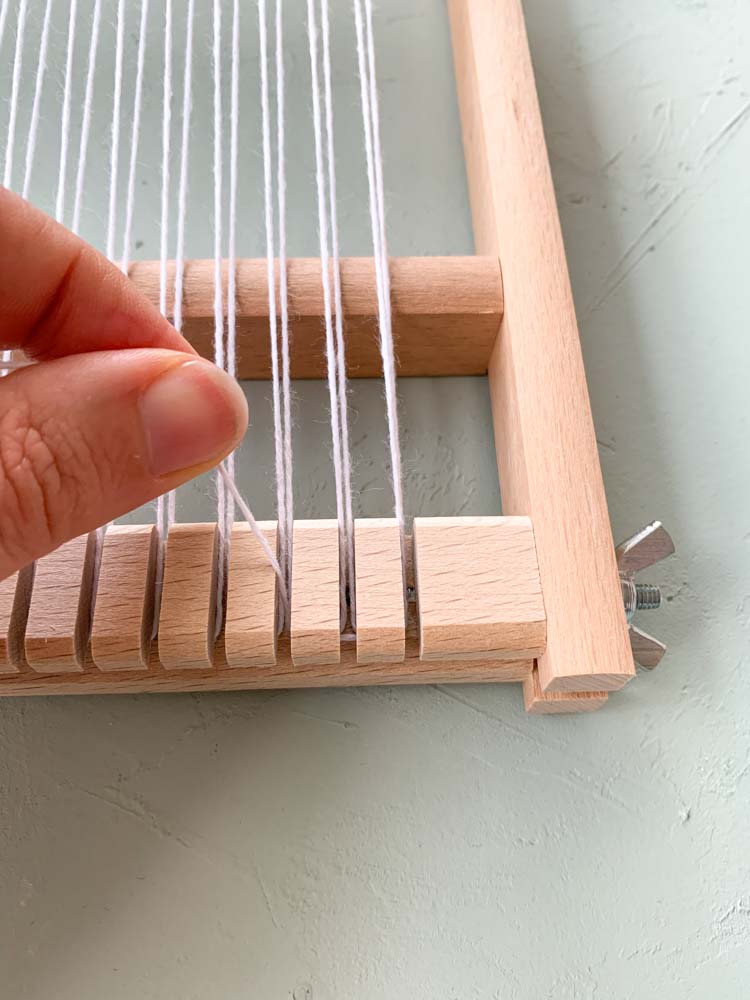
We will wrap the thread around some notches. Bring the thread up in the third notch from the bottom left corner.
Step 11
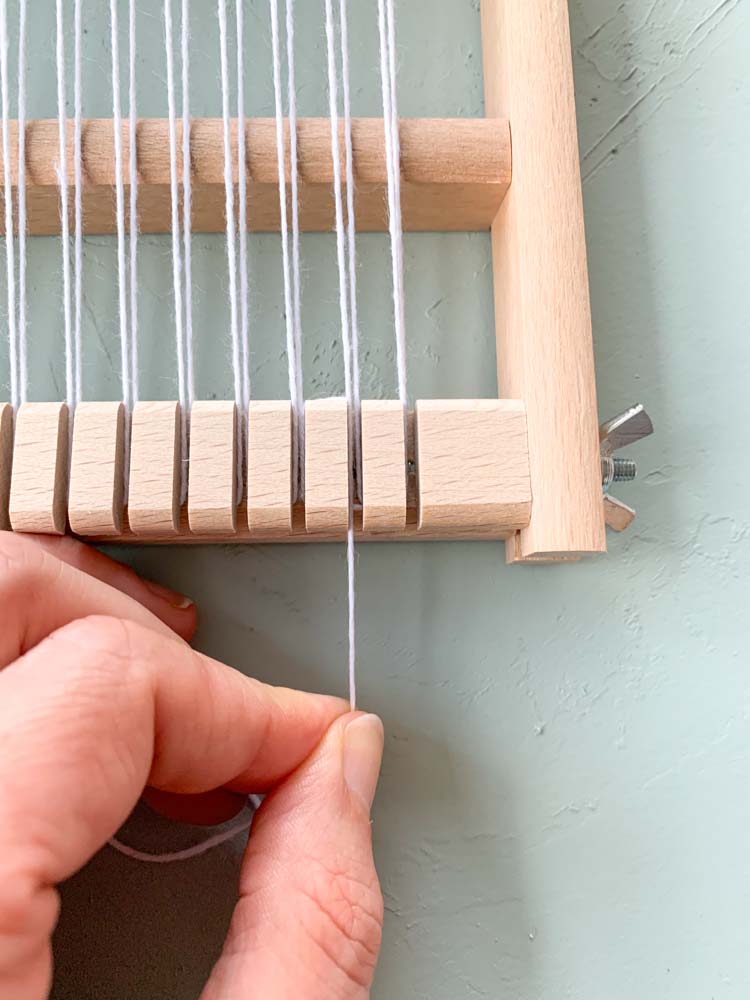
Bring the thread down through the second.
Step 12
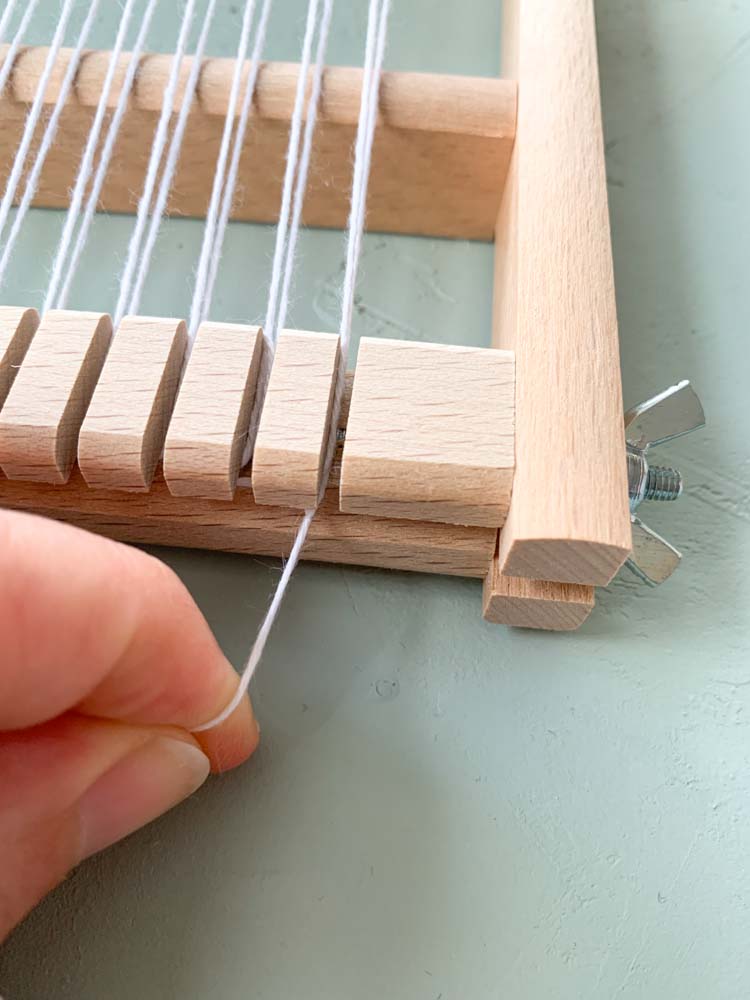
Then knot the string around the last warp thread.
Step 13
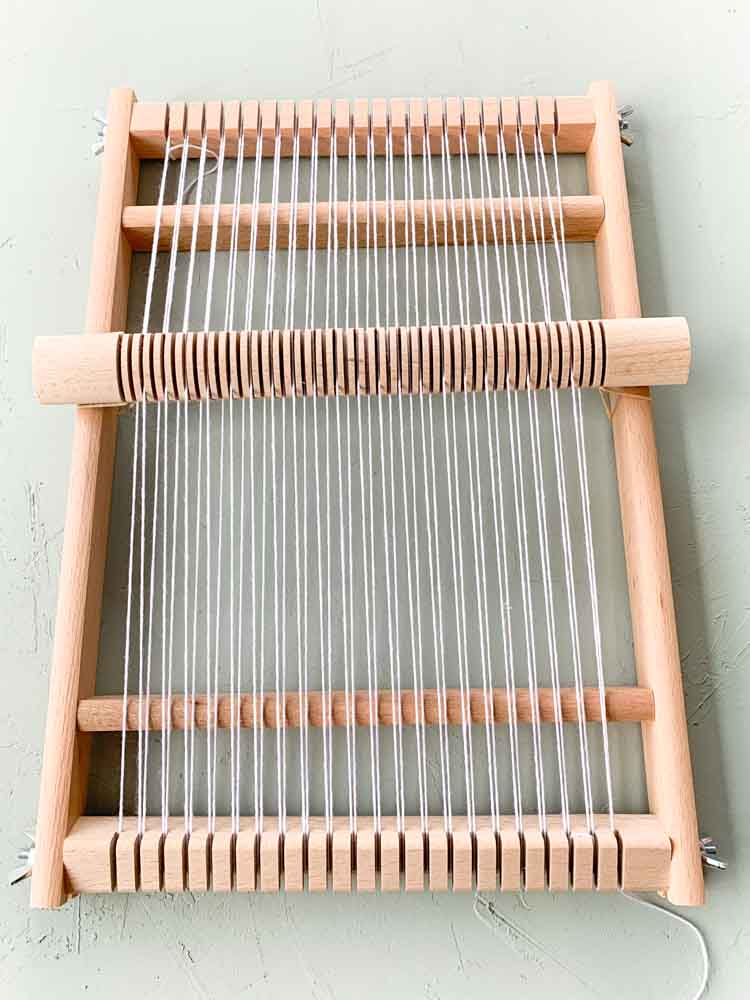
Now that your loom is warped you are ready to begin weaving!
How tight should your warp thread be?
Tighten your warp thread as taut as possible around your loom. Your warp threads will be the backbone of your weaving project and you’ll end up with a nicer looking piece if your warp threads are taut. Below steps show how you can tighter your warp threads a bit more when working on our looms.
Step 1
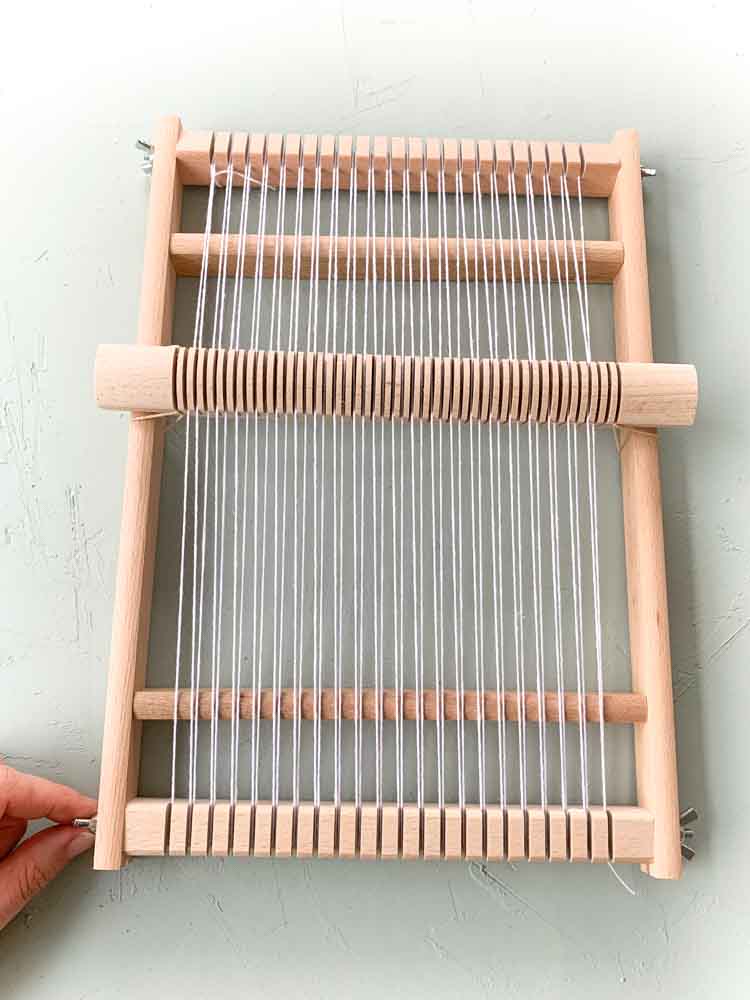
Use the wingnuts at the bottom bar to slowly loosen the bar. Do not go too quick as your warp threads might jump out.
Step 3
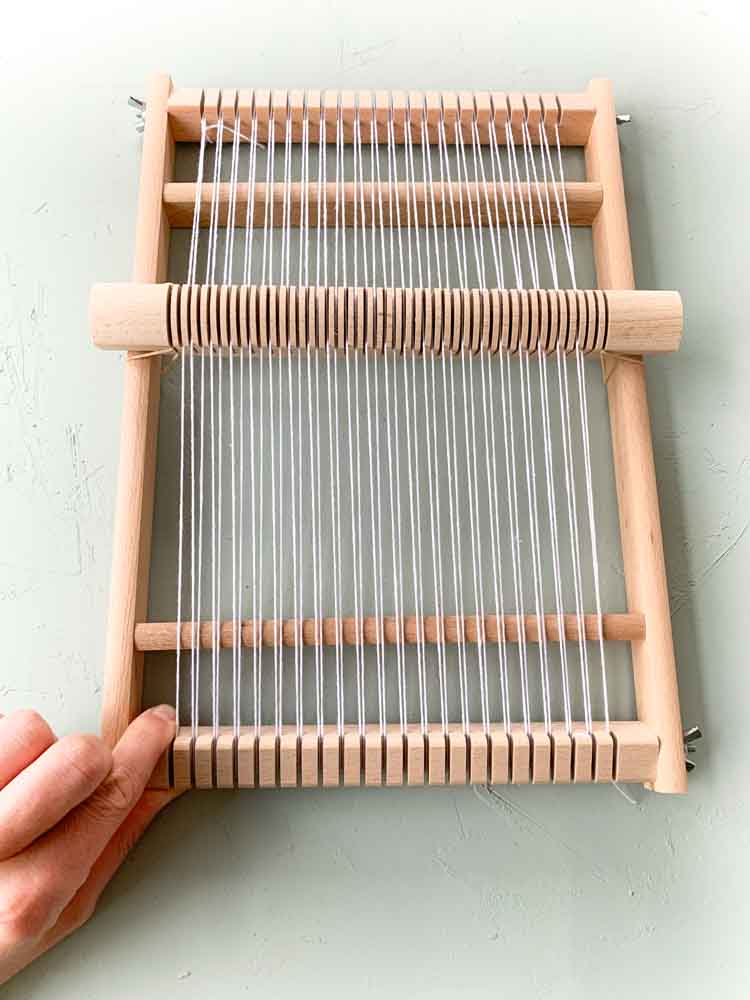
Turn the bar towards you to tighten the warp threads. Tighten the wingnuts to keep the bar in place.
Step 2
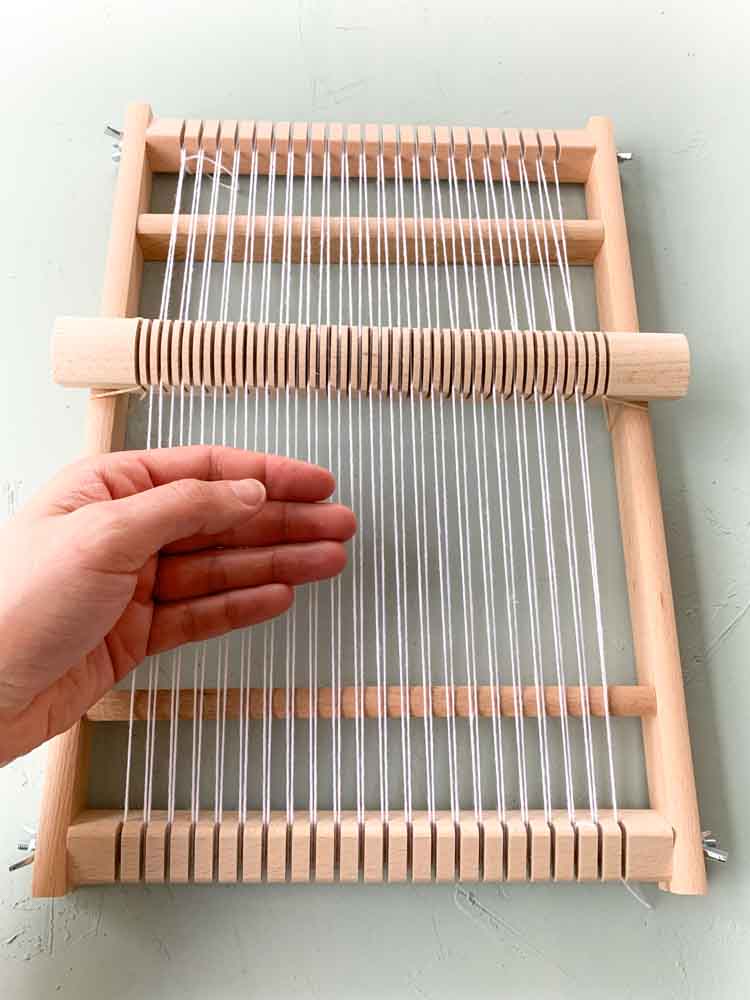
You can easily check if your loom is taut enough by placing your hand on the warp threads. They should feel under tension.
How to make the weaving heading?
We will now make the weaving heading: The first weaving rows that will ensure an even spread of the warp threads while weaving. It is often used when making rugs, placemets and tapestry’s to strenghten the edge. You can remove the heading when taking the finished weaving project from your loom.
We will use warp thread for the heading.
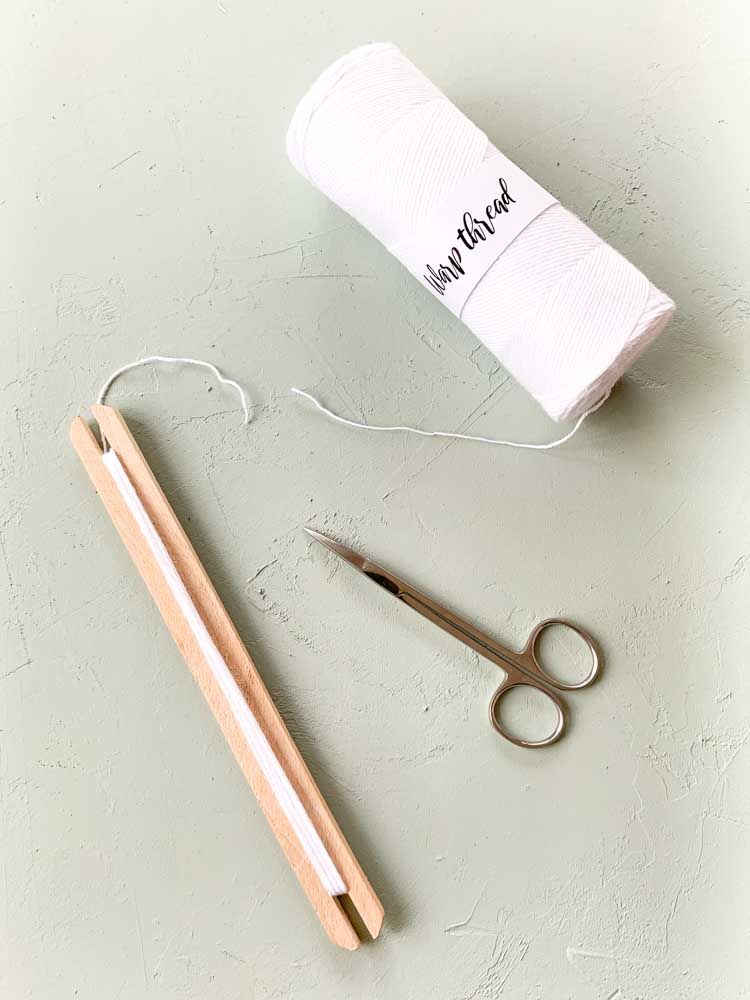
Step 1
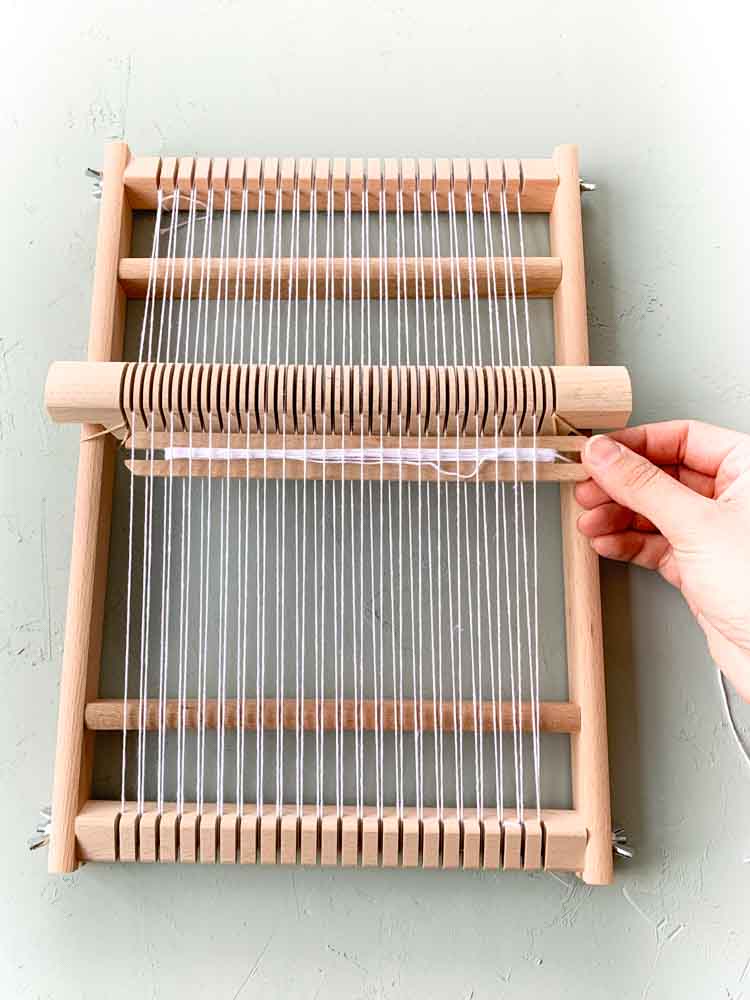
The heddle bar will create a distance in height between the even and uneven warp threads. Take your shuttle stick from right to left through the gap in between the warp threads. This is easier if you’re closer to your heddle bar.
Step 2
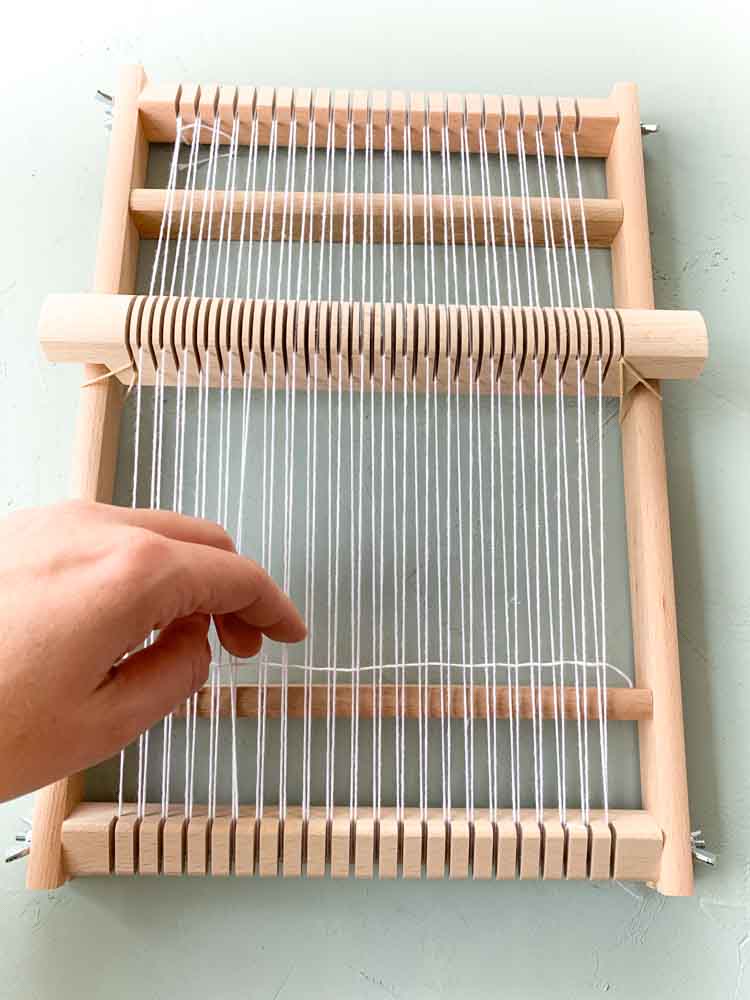
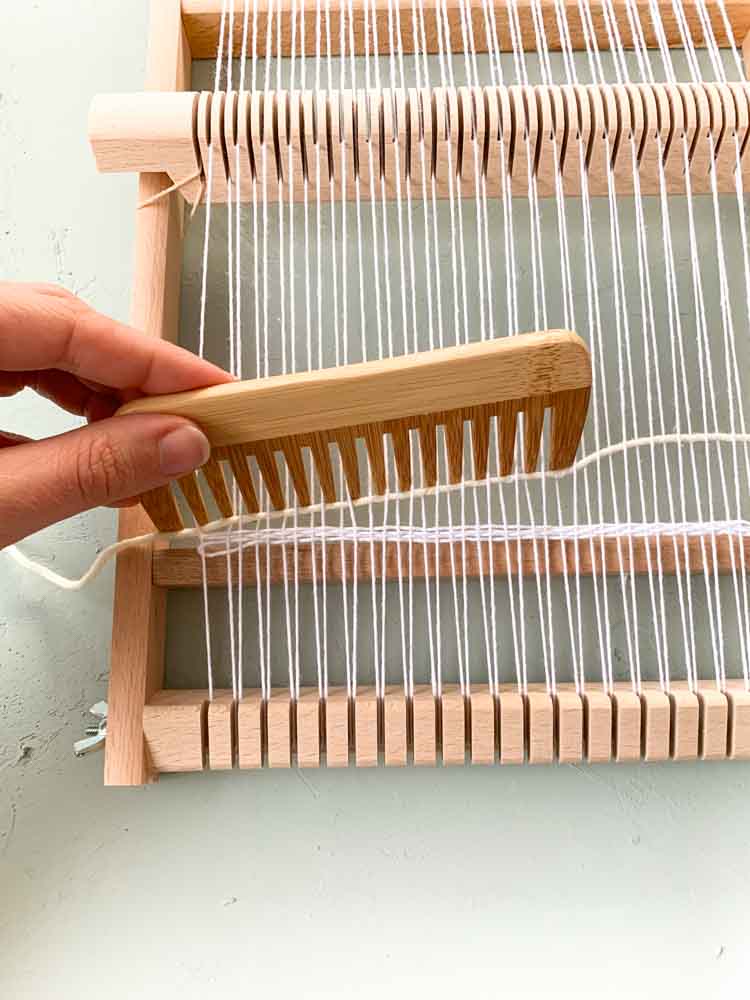
Push the woven thread down with your vingers or use a weaving comb.
x
Step 3
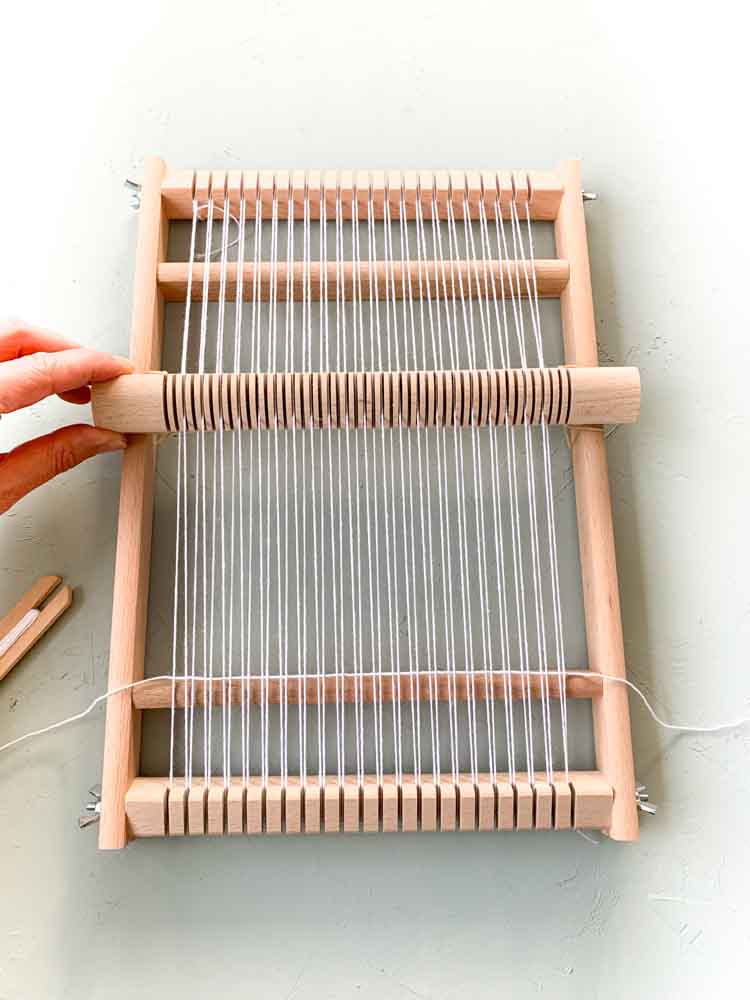
Turn the heddle bar so that the warp threads that used to be lower are now the higher warp threads.
Step 4
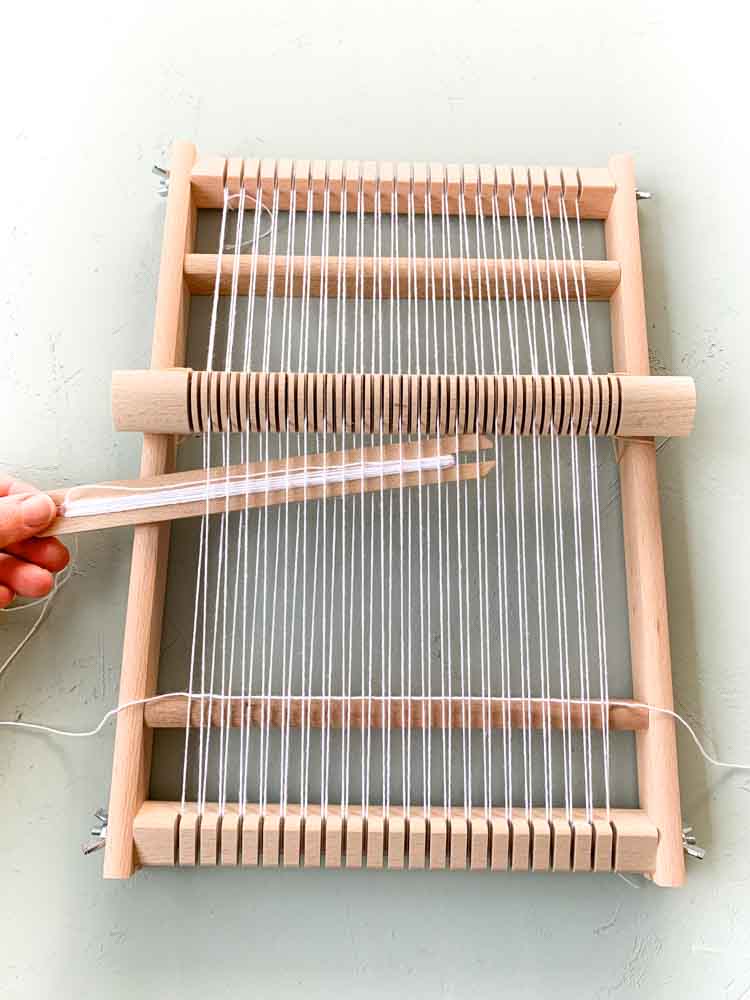
Bring your shuttle stick from left to right through the gap in between your warp threads.
Step 5
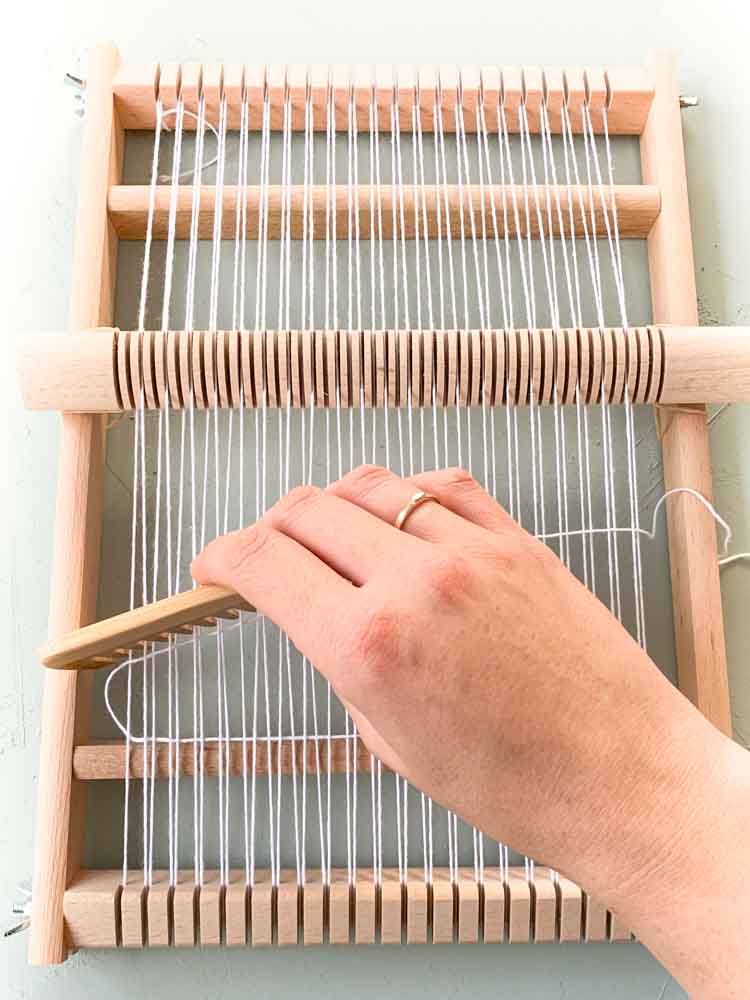
Use your fingers or a weaving comb to beat down the second weft row to touch your first row.
Step 6
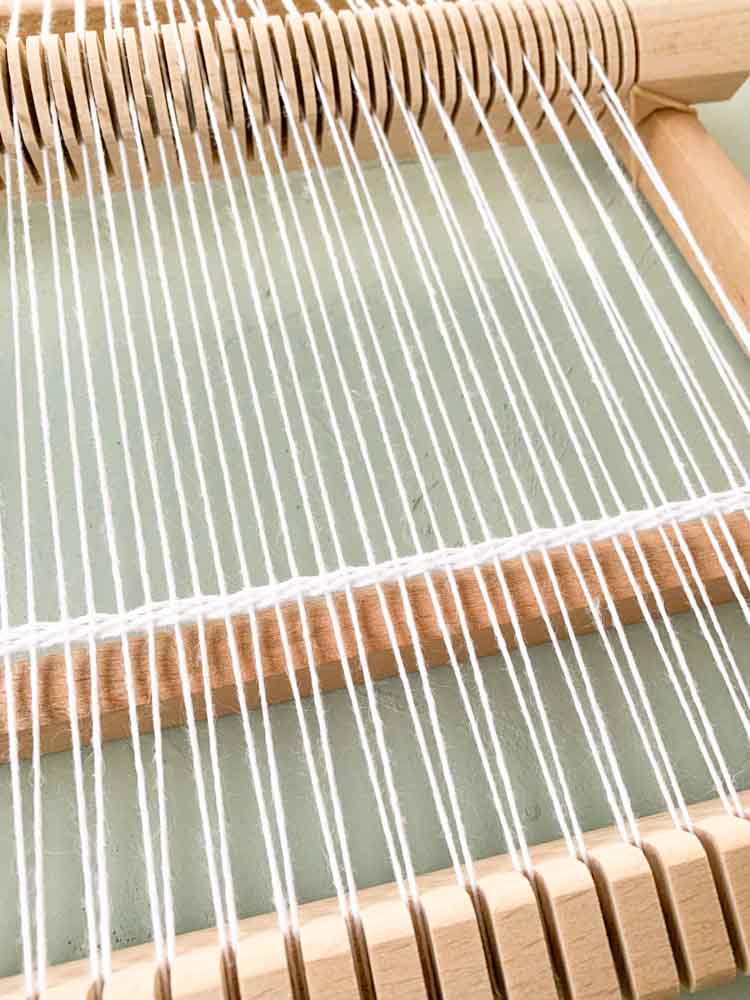
Continue in the same way until you made 4 rows. You’ve finished your heading.
How to make a plain weave?
A plain weave is the easiest weave to make. Especially on a loom with heddle bar.
Step 1
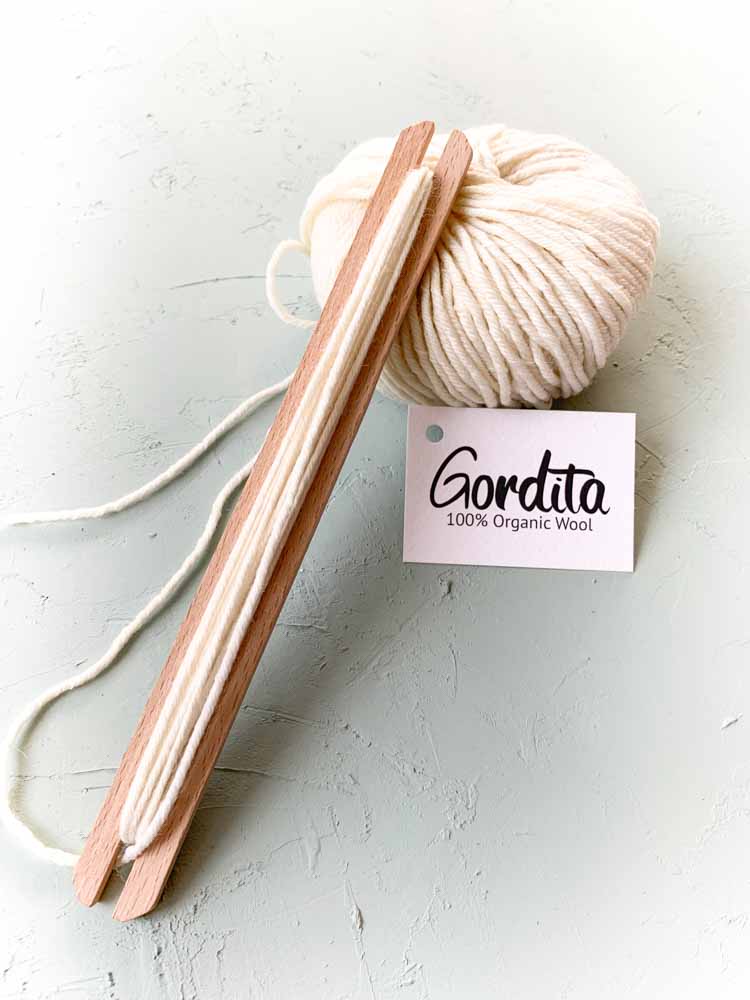
Wrap a bit of weft thread around a weaving shuttle. Or thread a weaving needle with a lenght of yarn.
Step 2
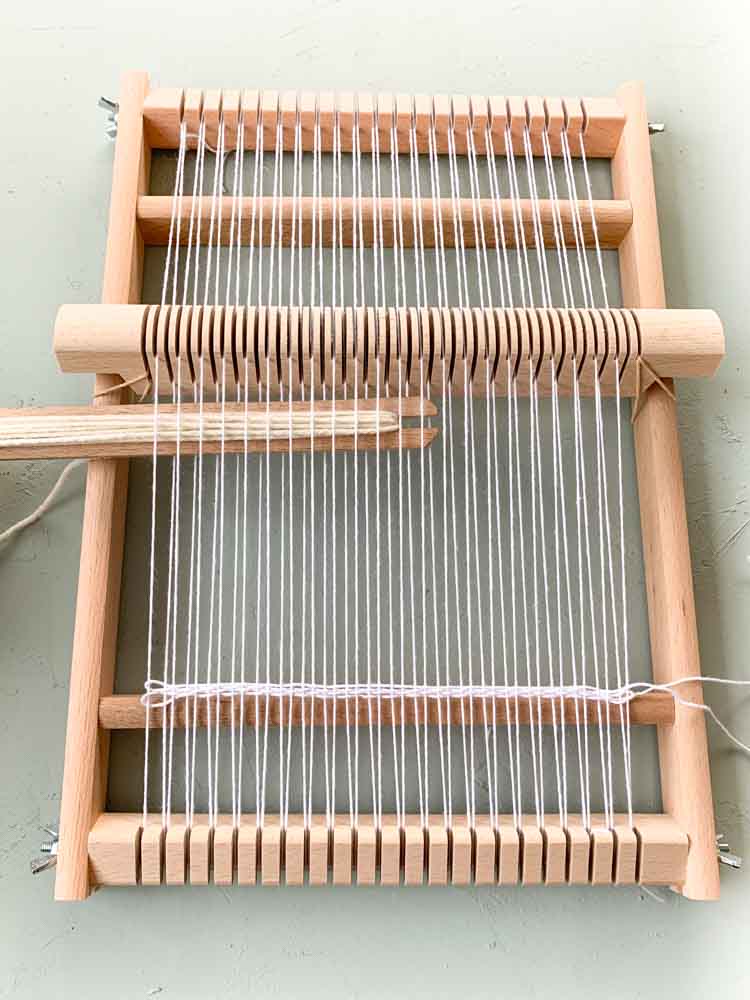
Pull the the weft thread (horizontal thread) over the first warp thread (vertical thread), then under the second warp thread, over the third, and so on until you get to the end of the warp threads.
With a heddle bar this is even easier as the heddle bar will already push half of your warp threads up and the other half down. So you can simply push your shuttle stick through the opening in between the warp threads.
Step 3
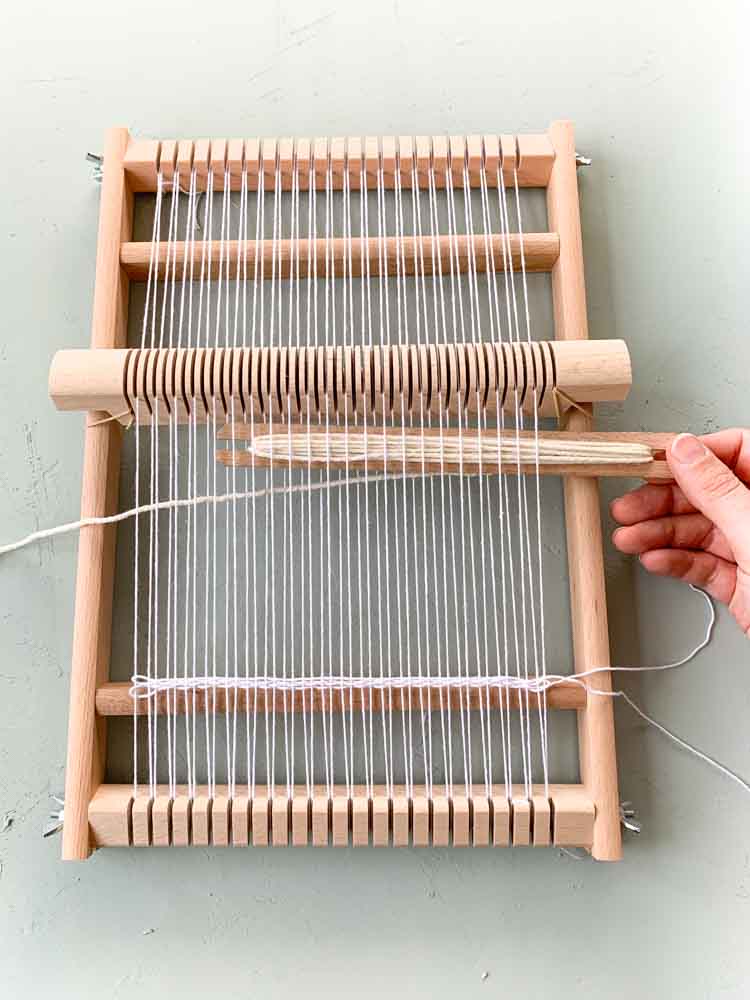
Gently pull your thread as you weave. If you pull too strong you may pull your selvage inwards.
Step 5
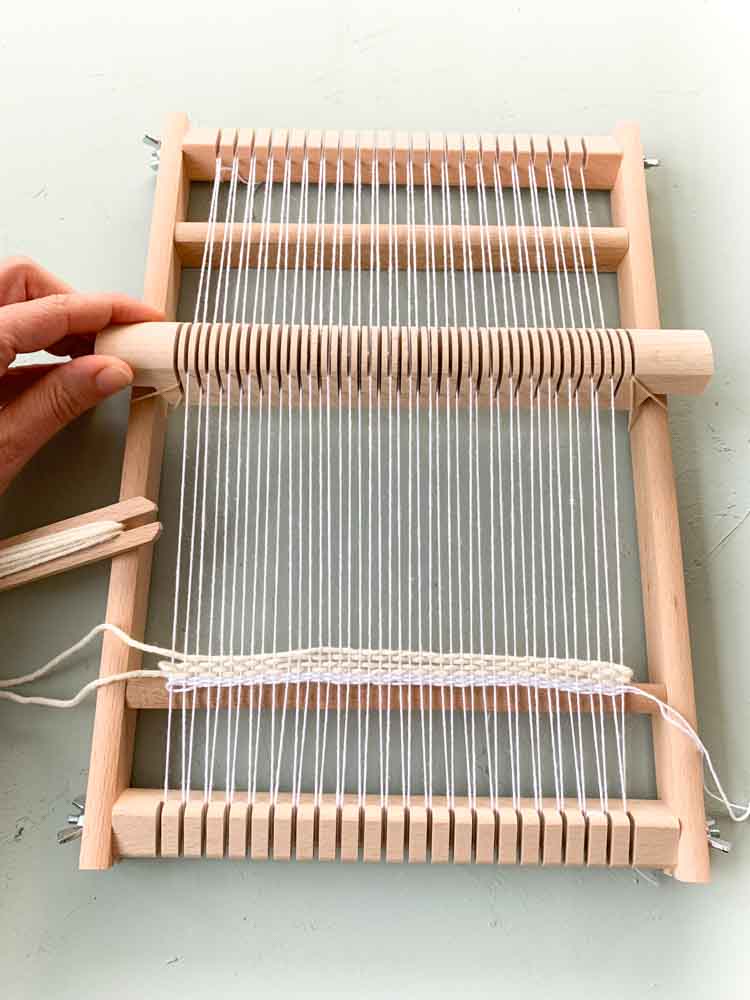
Turn your heddle bar such that the warp threads which were the lowest are now the highest and visa versa.
Step 6
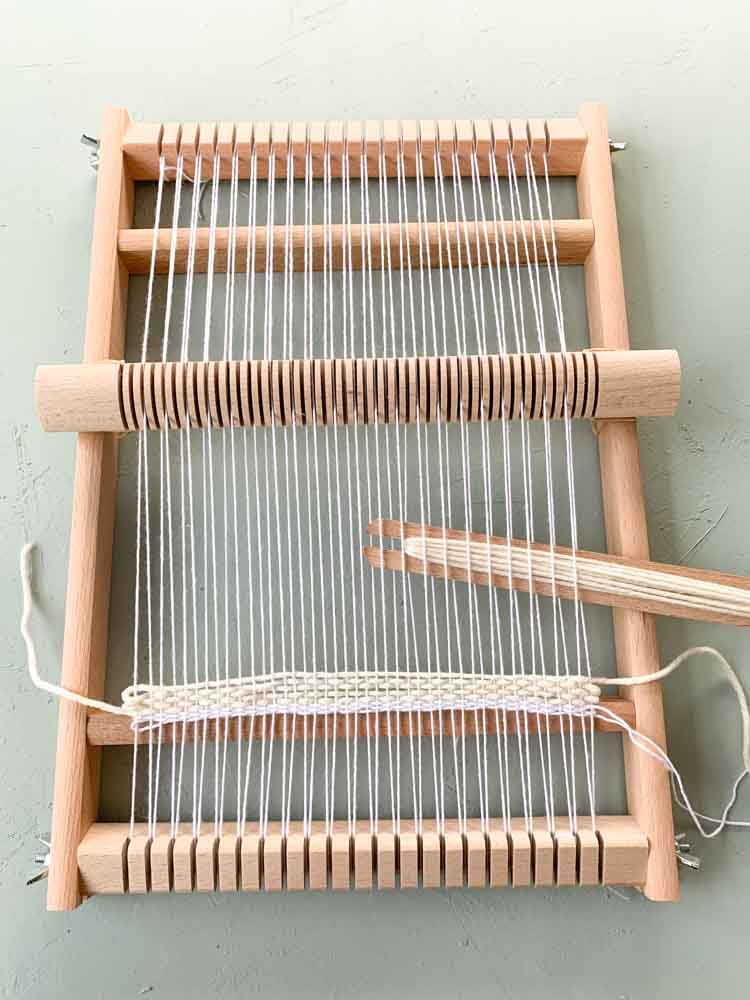
Push the shuttle stick from the right to the left side up and down through the warp threads. Push the threads down.
Step 7
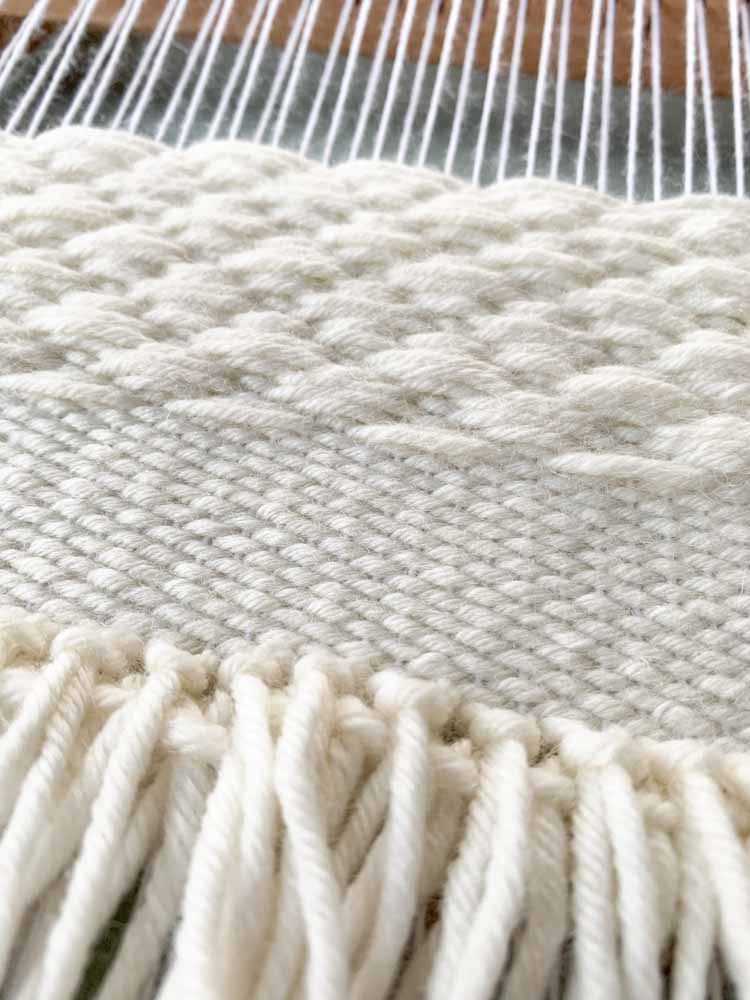
Repeat these steps and you’ll get the plain weave structure as shown on the picture.
How to make fringes?
Fringes are a fun and easy way to add texture to a wall hanging.
Step 1
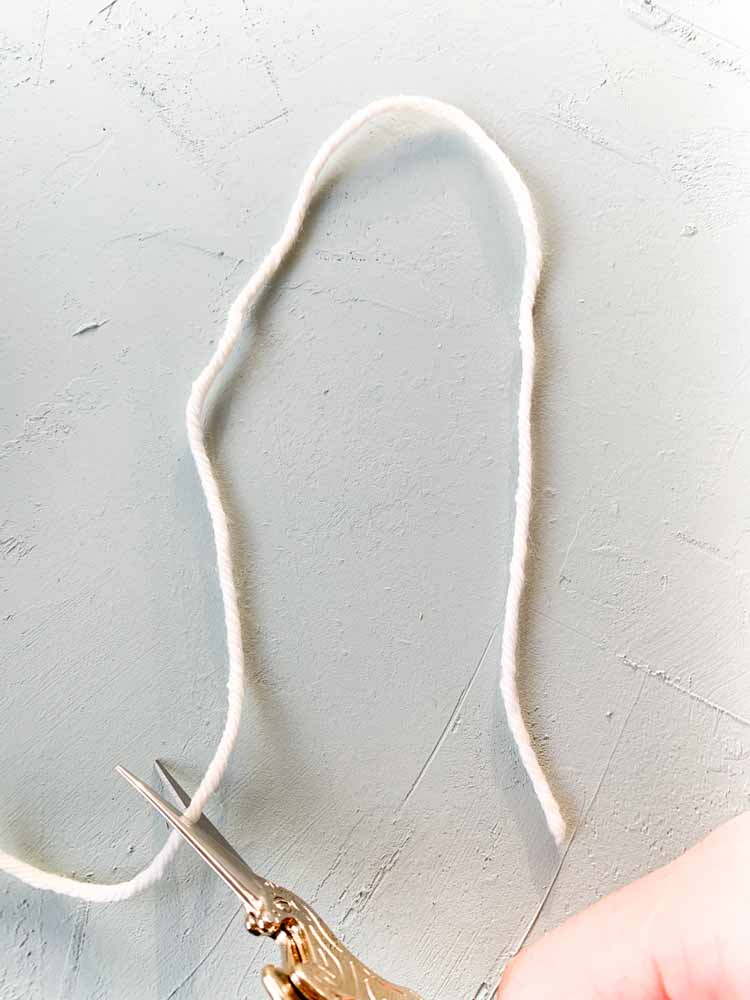
Cut a lenght of thread and fold double.
Step 2
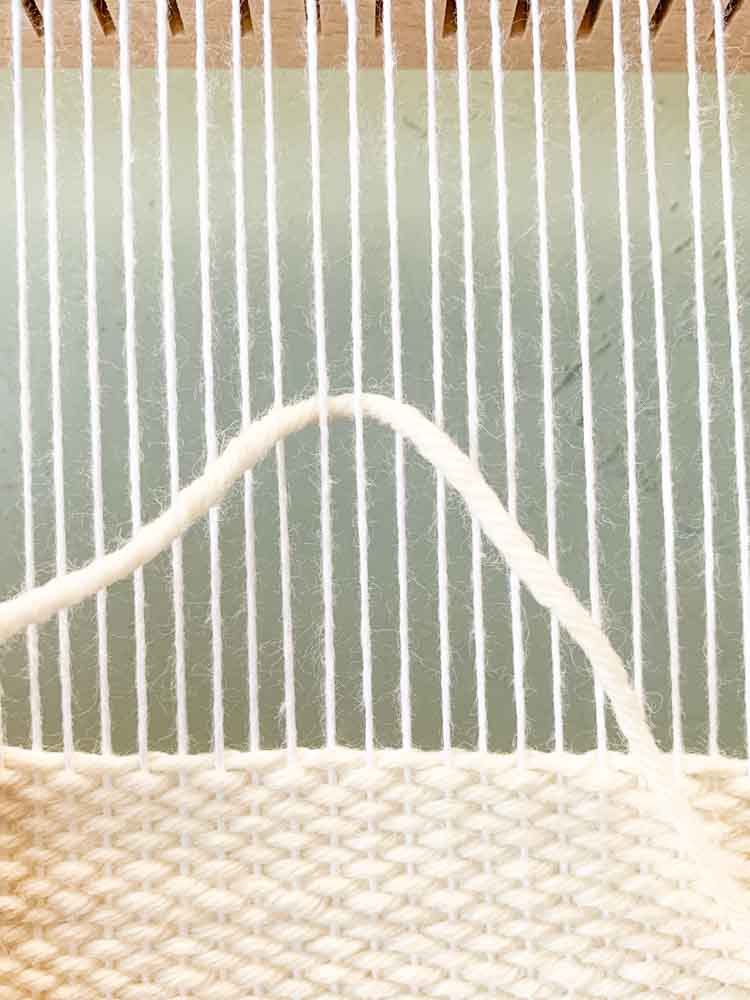
Loop the yarn around two warp threads as shown on the picture.
Step 3
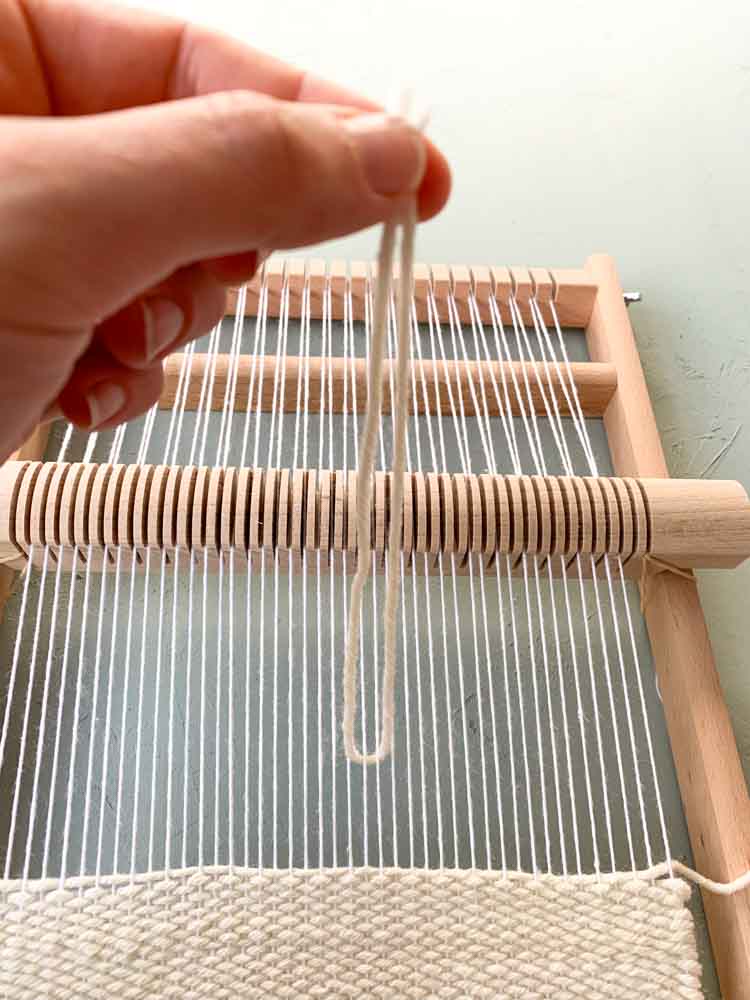
Pull both ends of the yarn to allign them at the same lenght.
Step 4
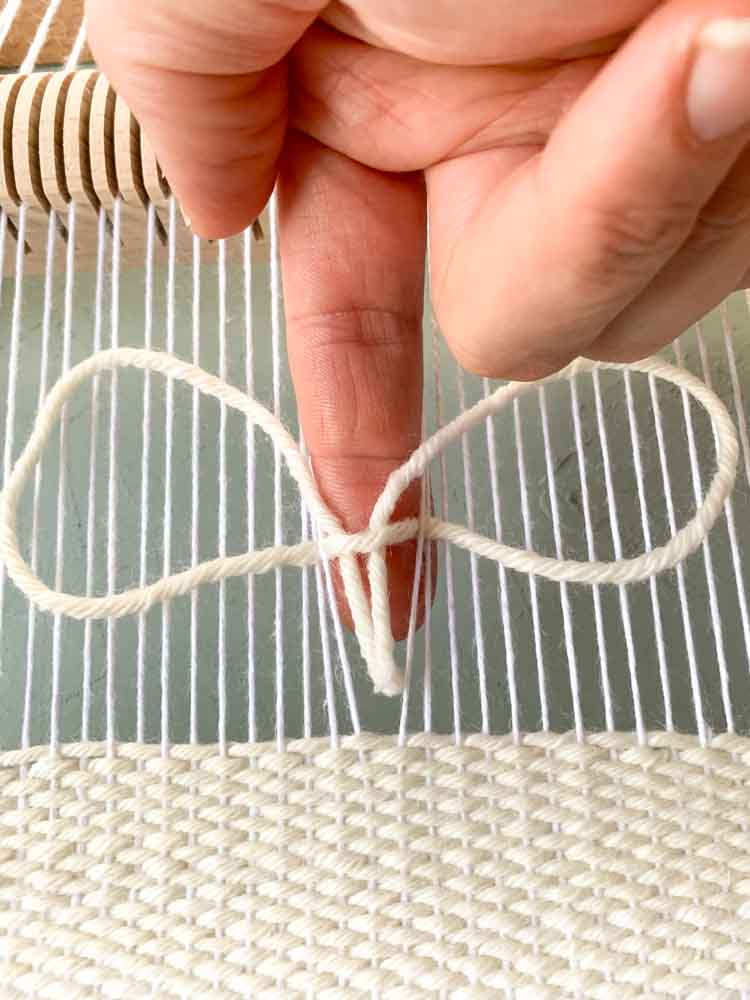
Take both ends and pull them under the loop you made as shown on the picture.
Step 5
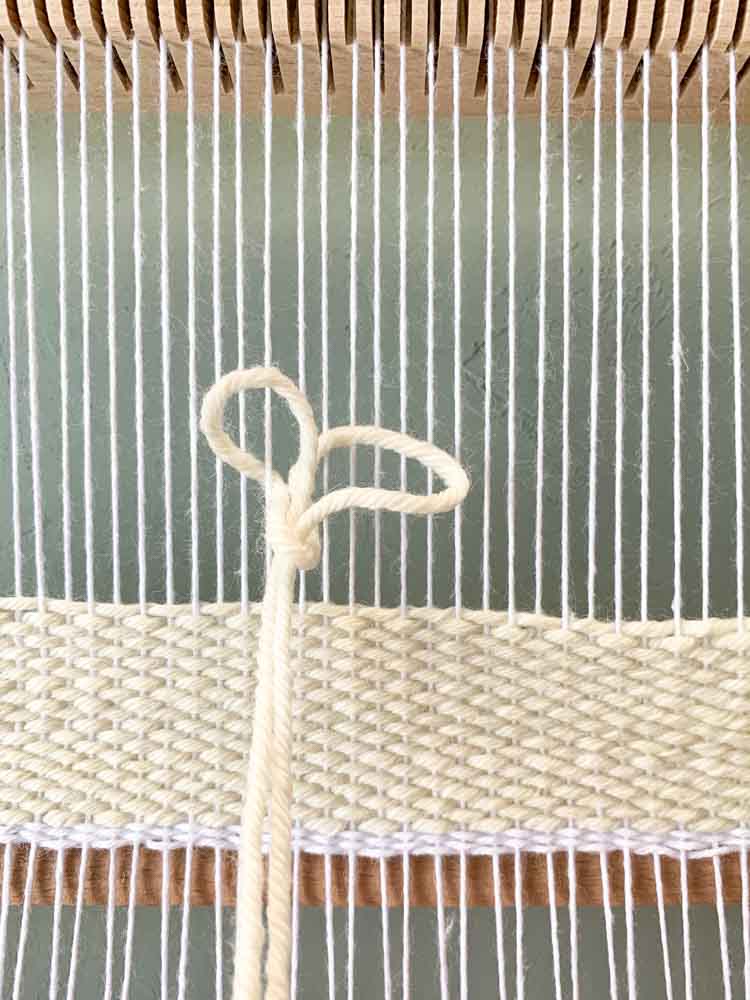
Pull both ends of your yarn in between the two warp threads to the front and then down.
Step 6
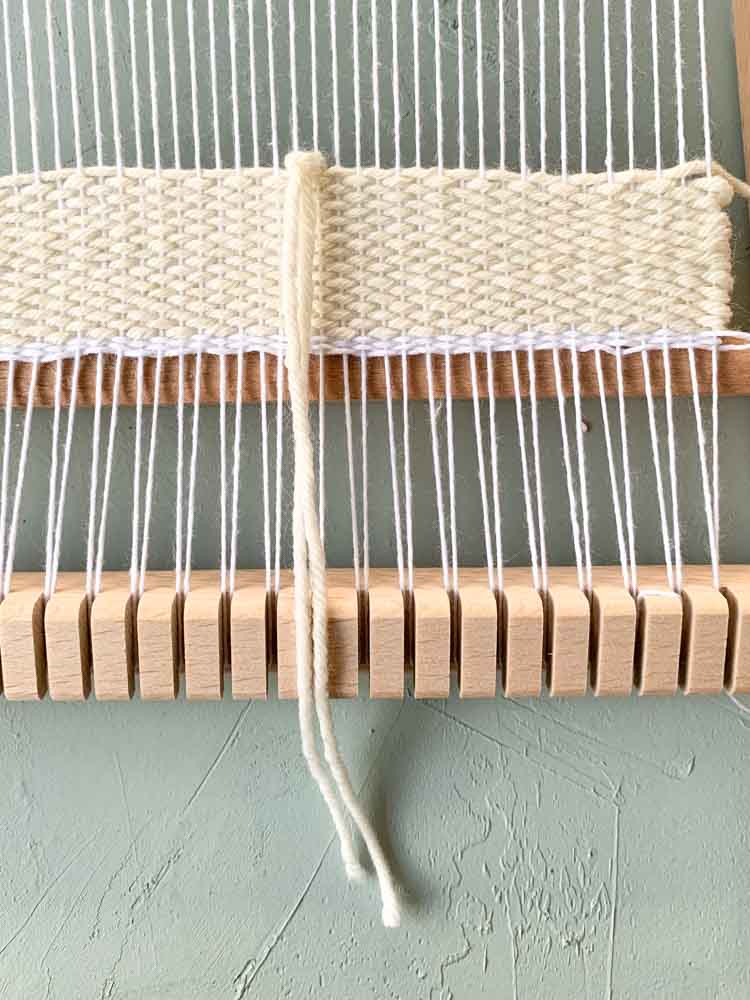
Voilá you made some fringe!
How to clean up the loose ends of your weaving project?
When you’re done weaving it’s time to clean up the loose ends of your project.
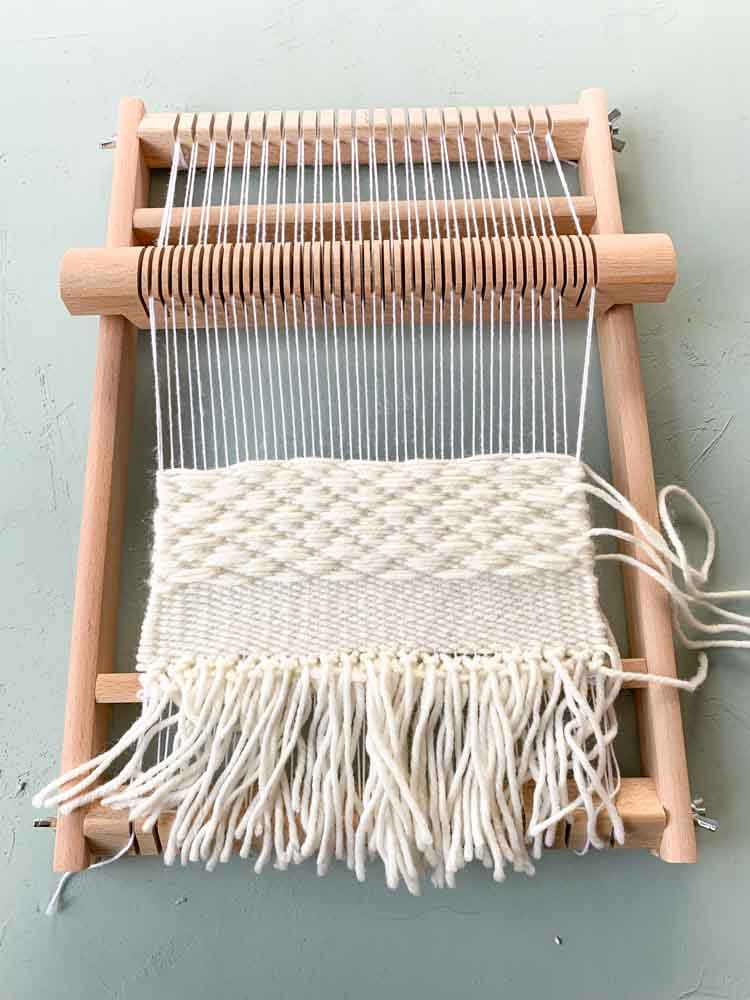
Step 1
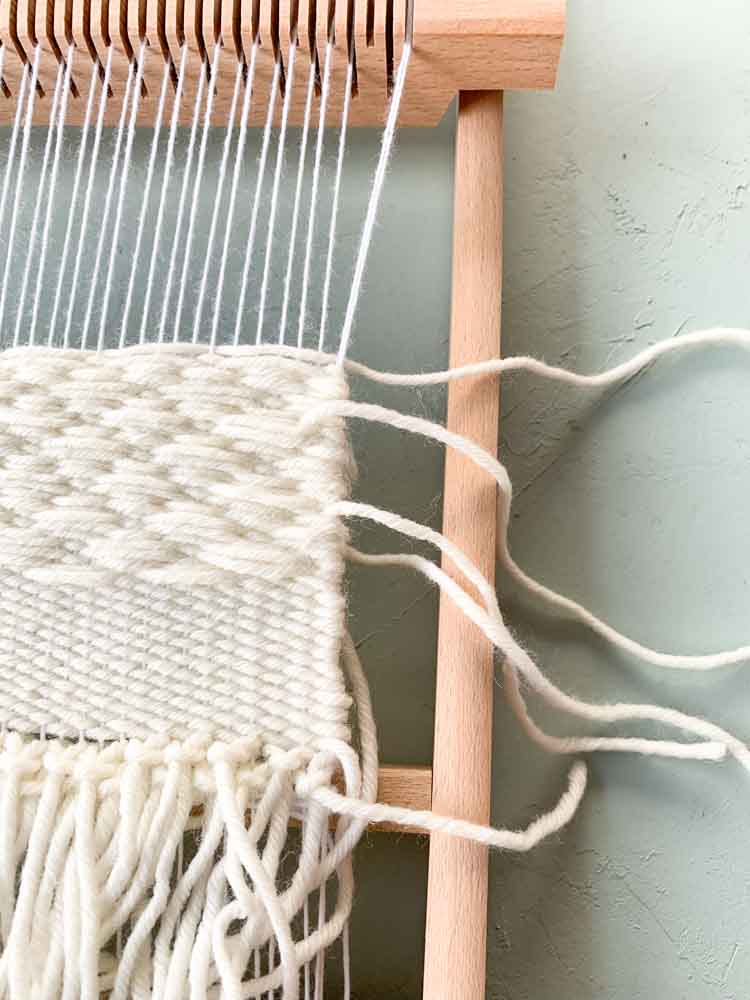
Take a close look at your weaving project to detect any loose threads.
Step 2
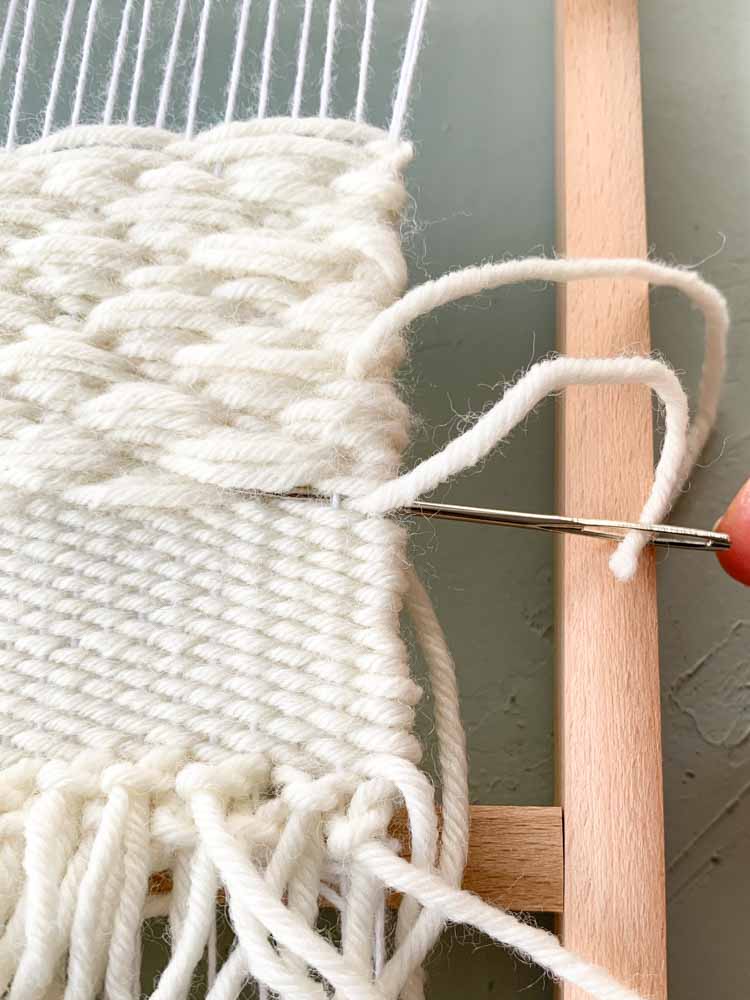
Thread loose ends with a tapestry needle (wool needle).
Now guide the needle up and down through your warp threads to secure the thread in place.
Step 3
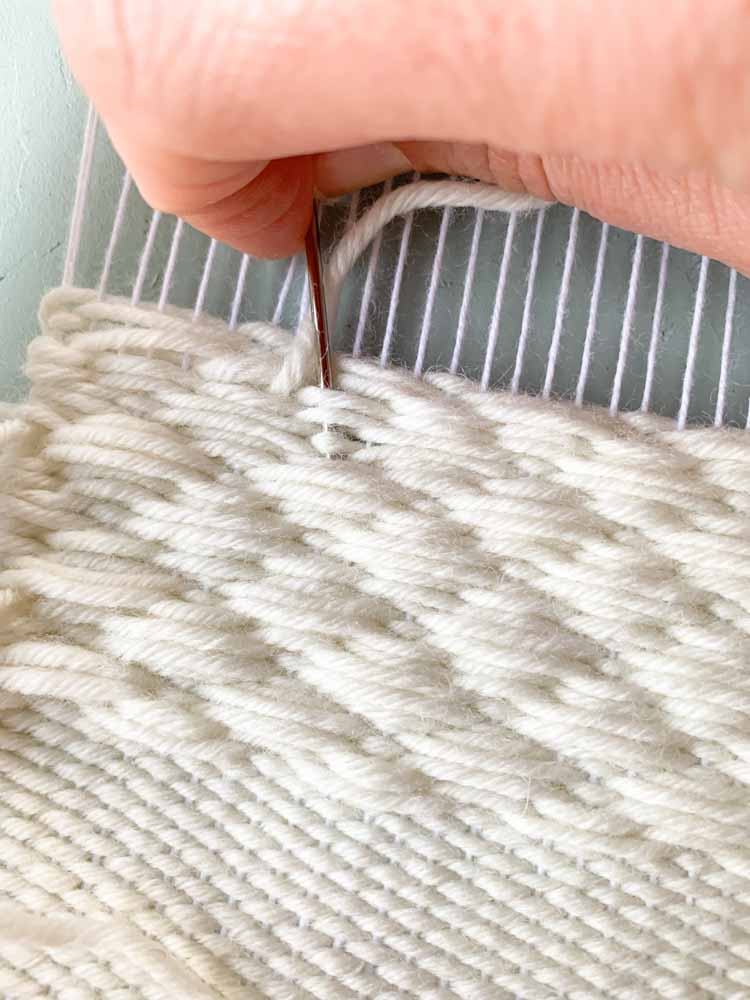
Ensure you do not distort your weaving pattern. The most important part is that the thread is secured by going under and / or over a few threads.
In this picture we share an example where we secure the thread vertically as we did not want to distort the pattern.
Step 4
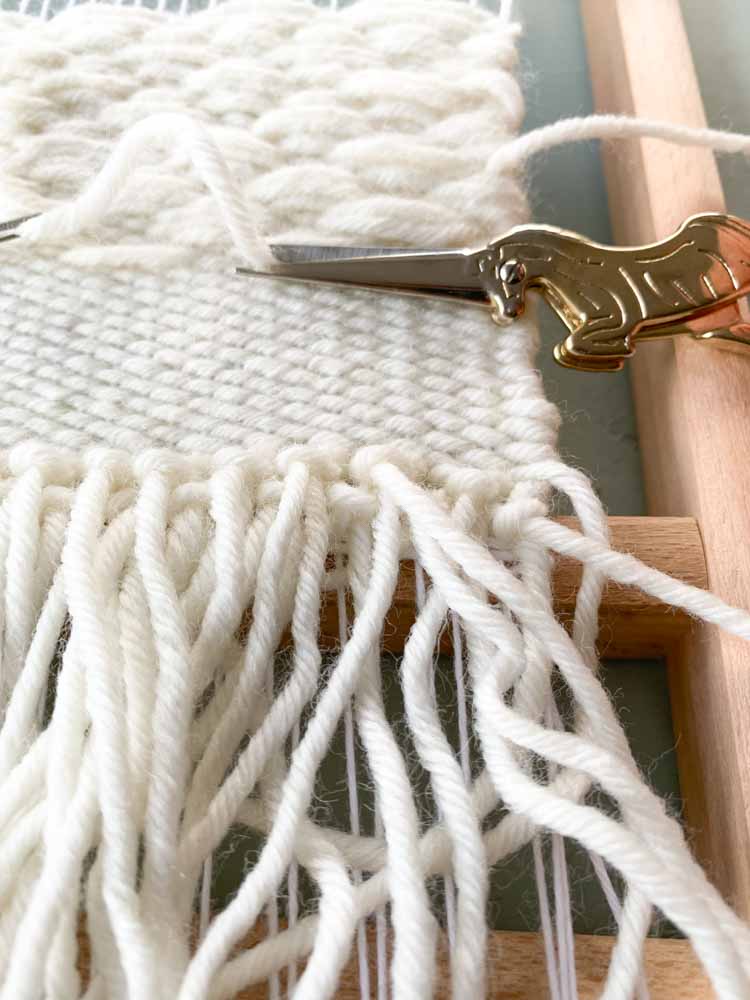
Cut the thread close to your weaving project. Take care not to cut any other threads (been there – done that 😉 ).
Step 5
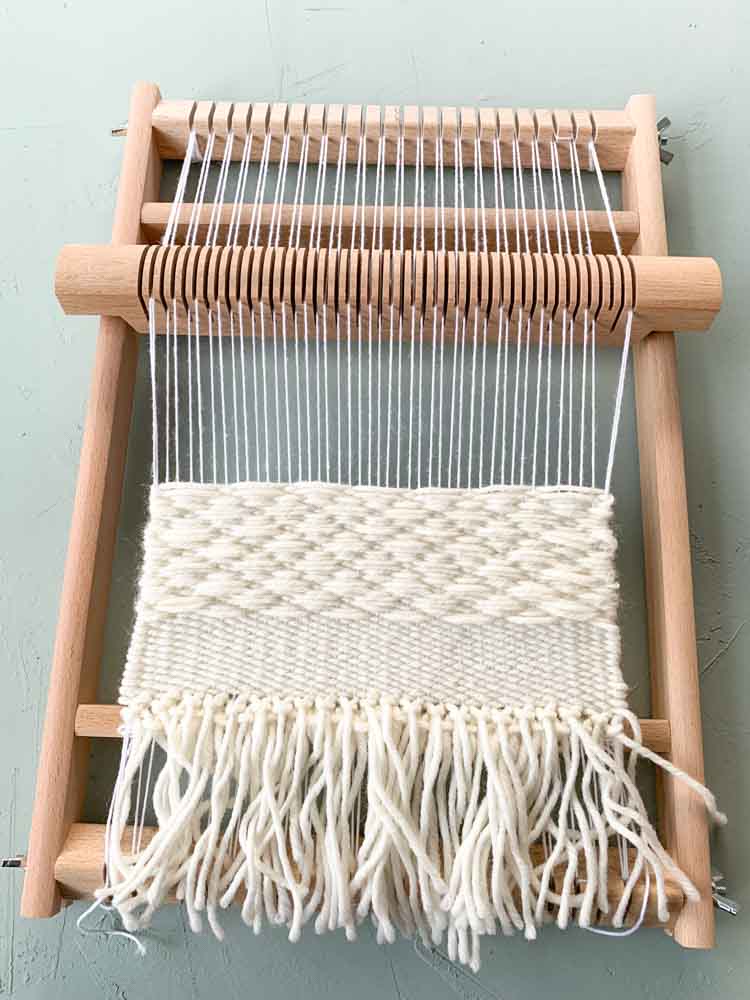
Voila, no more visible loose ends.
How to take your finished weaving project off from the loom?
Step 1
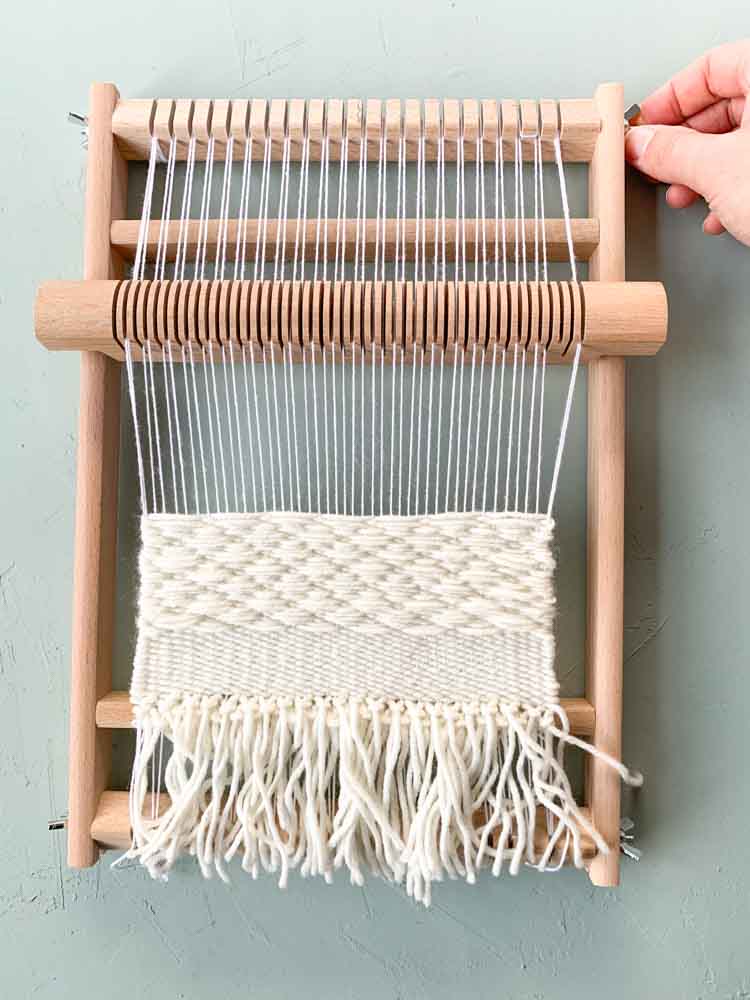
Lay your finished weaving project flat on the table.
Loosen the wignut of your top bar on both sides.
Step 2
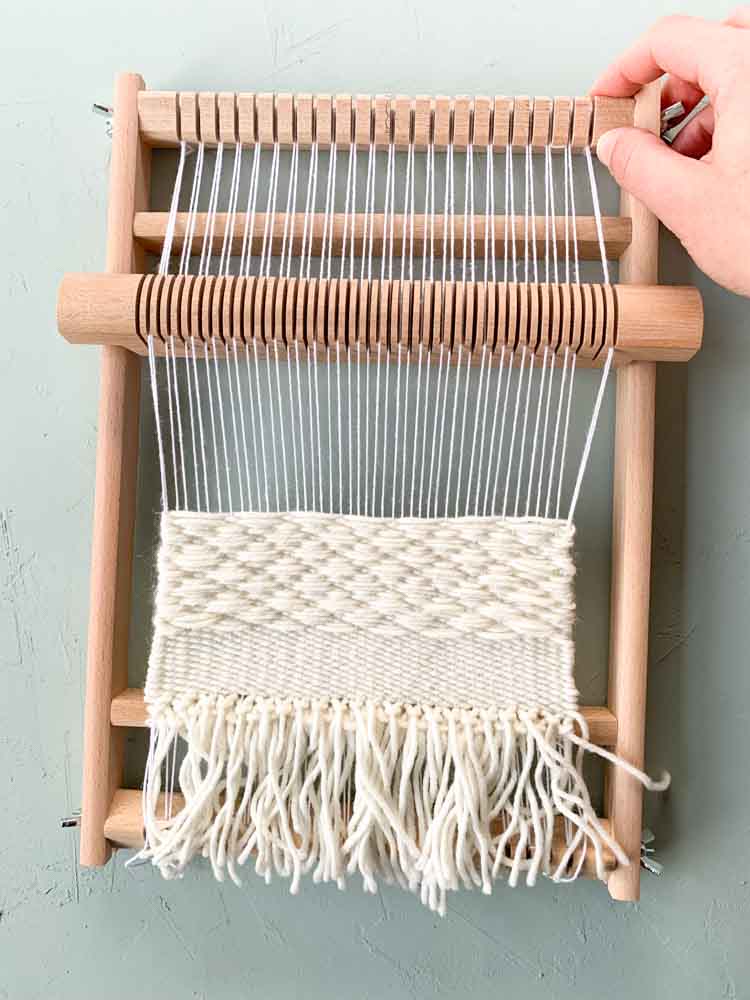
Pull the bar towards you.
Step 3
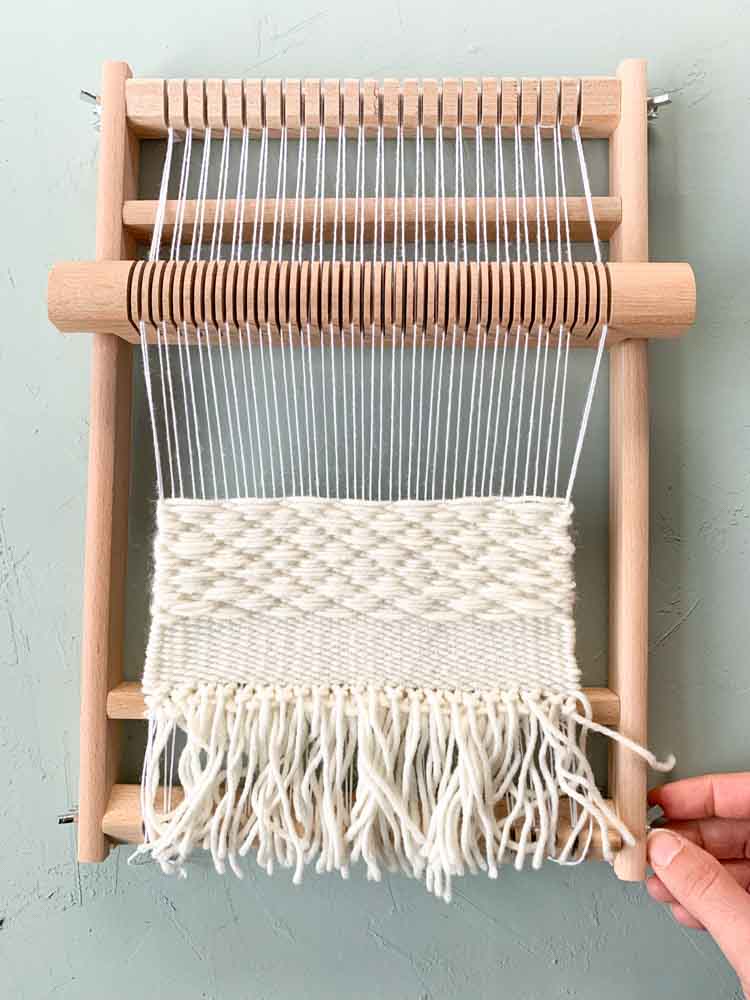
Repeat the same steps for the bottom bar. This will loosen your warp threads. Some may already plop from your loom.
Step 4
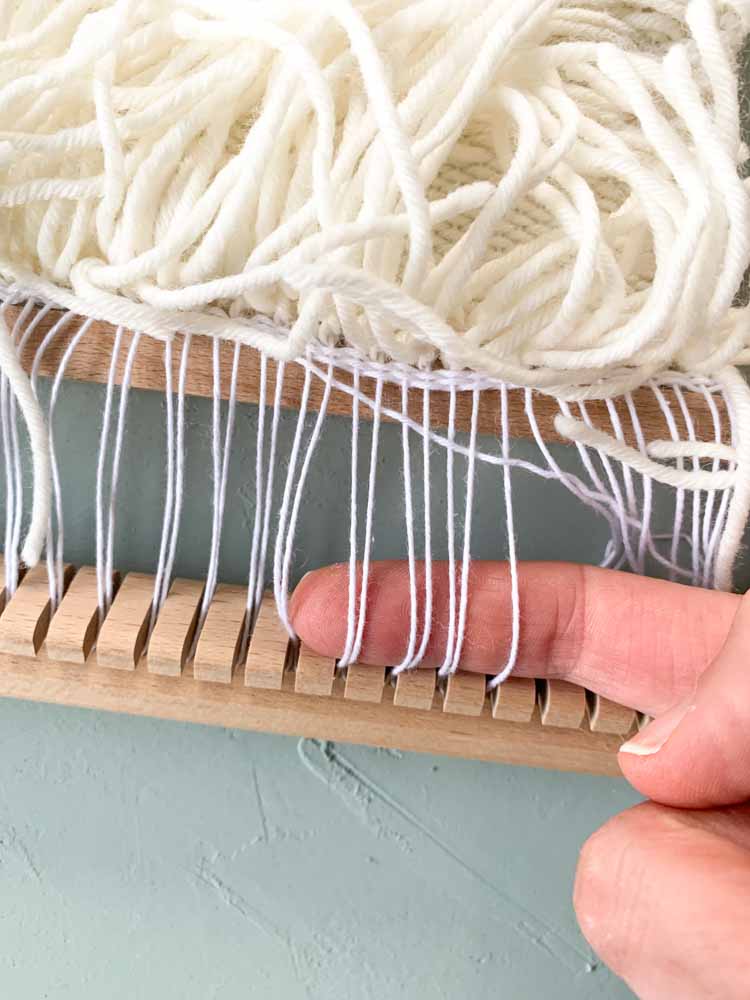
Use your fingers to carefully pull the warp thread from the loom.
Step 5
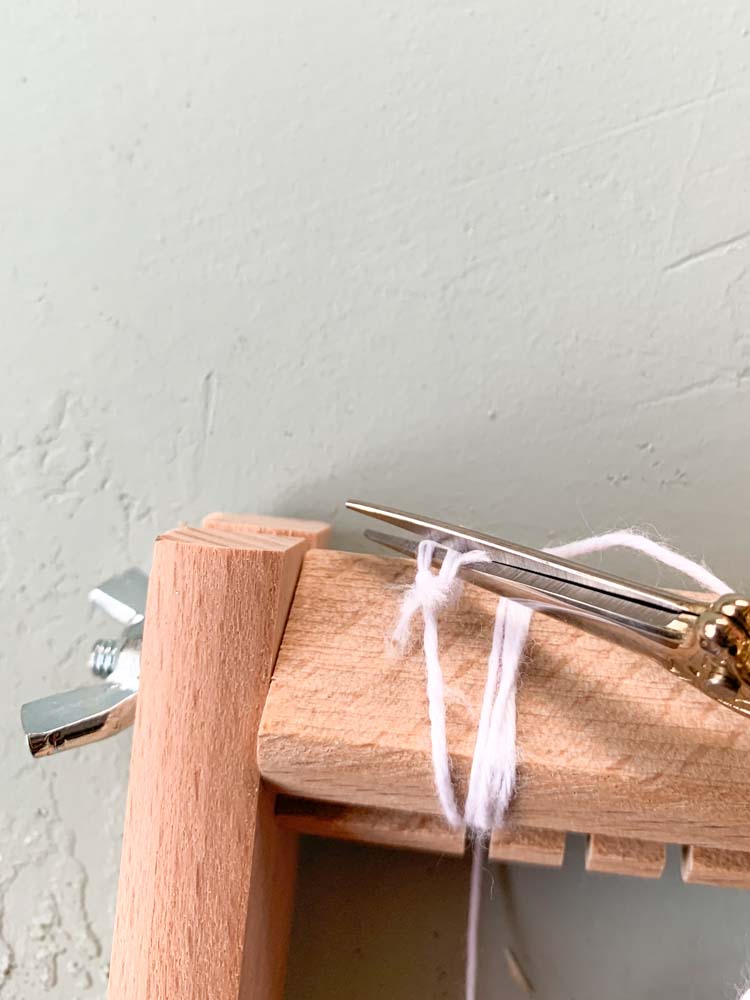
At the start and end point of where your warped your loom you may need to use a scissors to cut through the knot in your warp thread.
Step 6
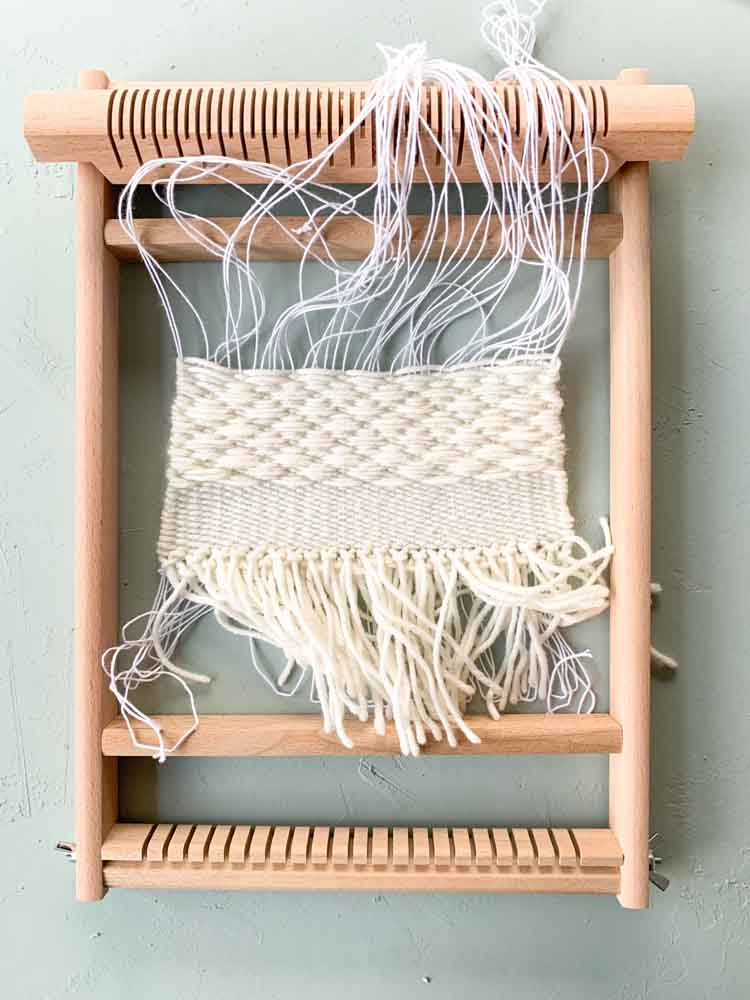
Your finished project is now loose from the loom.
Step 7
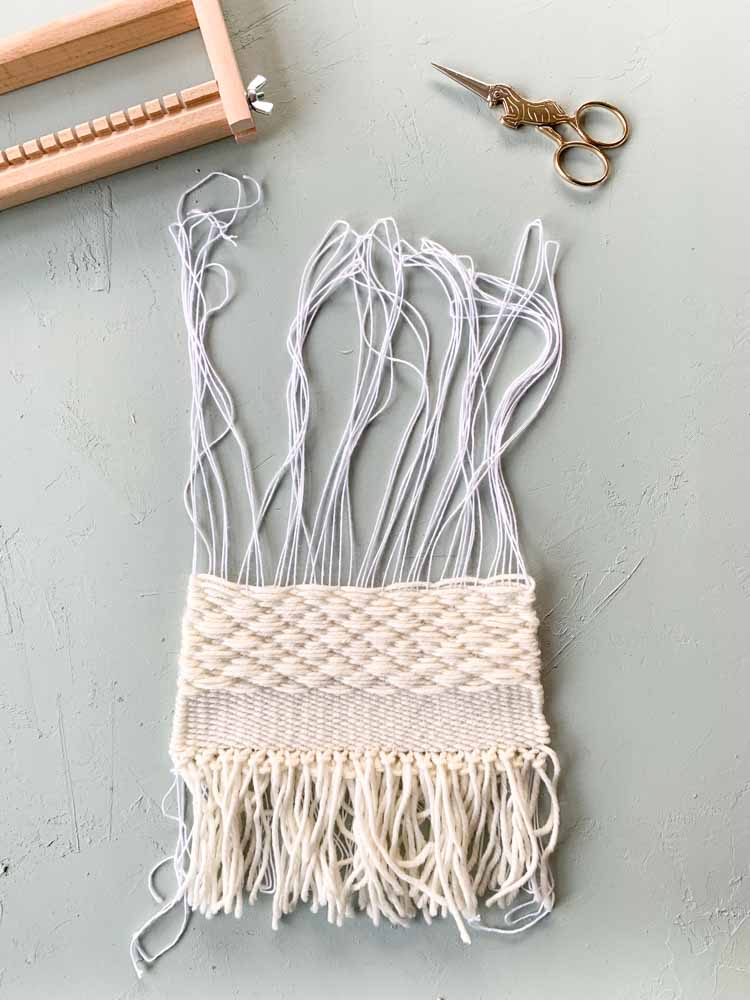
Carefully remove the loom from under your weaving project.
Step 8
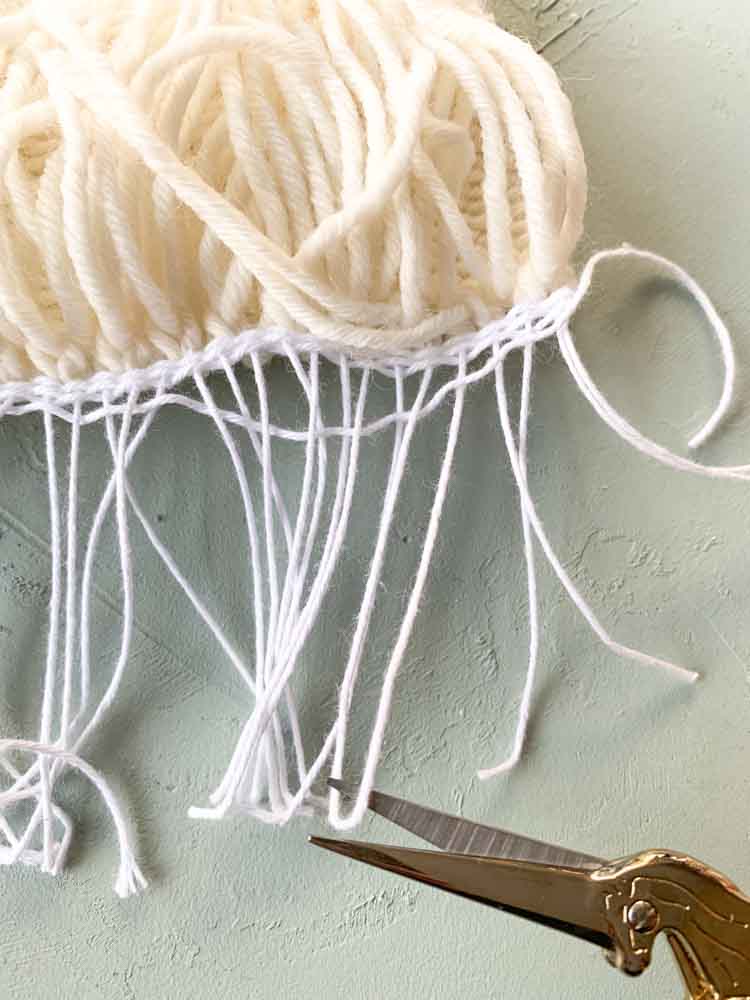
This is the moment when you can decide to carefully remove your header.
In this sample we kept the header as we started our weaving project with some fringes and we the header will help to keep the fringes in place.
Cut through the ends of your warp thread.
Step 9
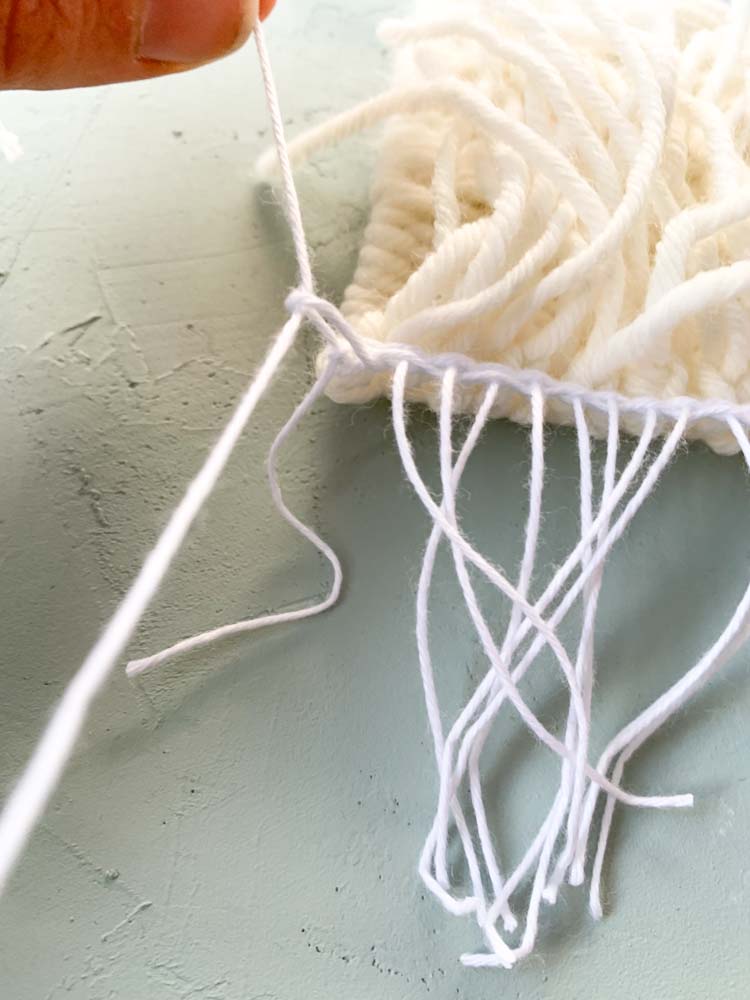
There are different ways to secure your warp threads. We’ll explain the easiest way: using a double knot. You can also finish it with a overhand knot or a hem stitch.
Take two warp threads and make a double knot close to your weaving project.
Step 10
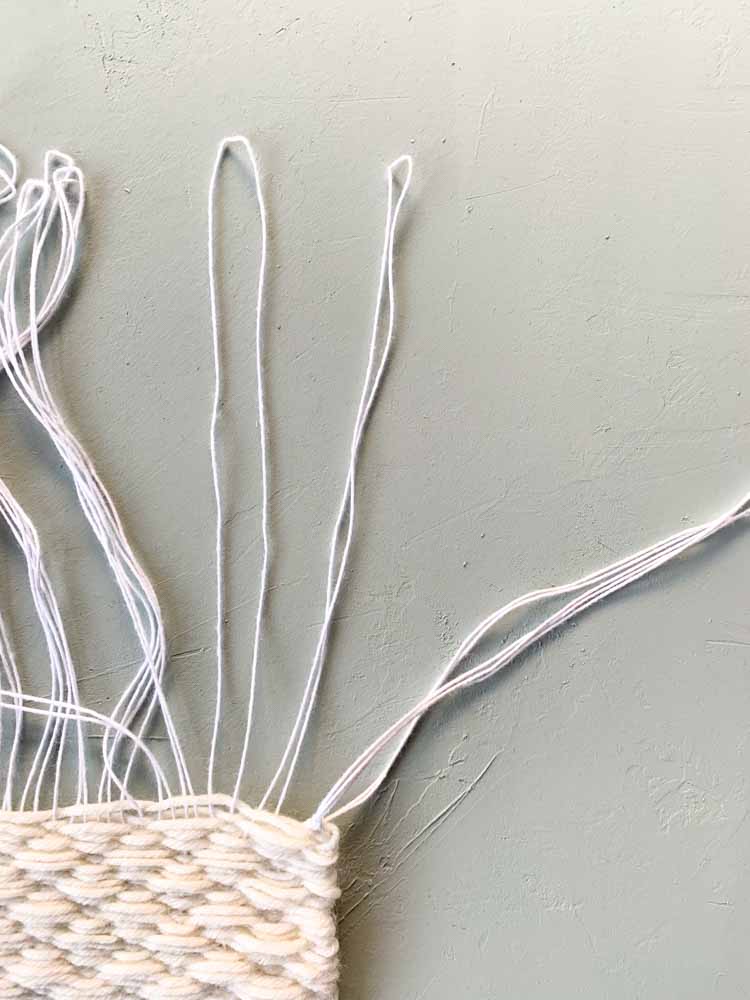
On the top of this piece we’re bundling warp threads. To do this you take two double pieces of warp thread.
Step 11
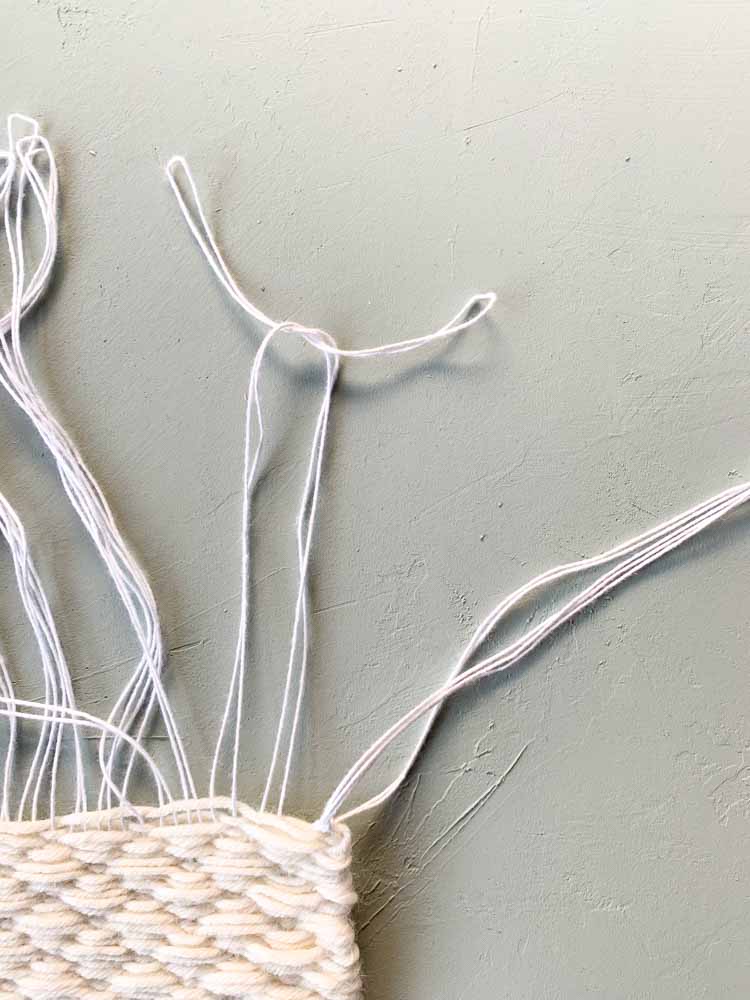
Make a knot using both double warp threads.
Step 12
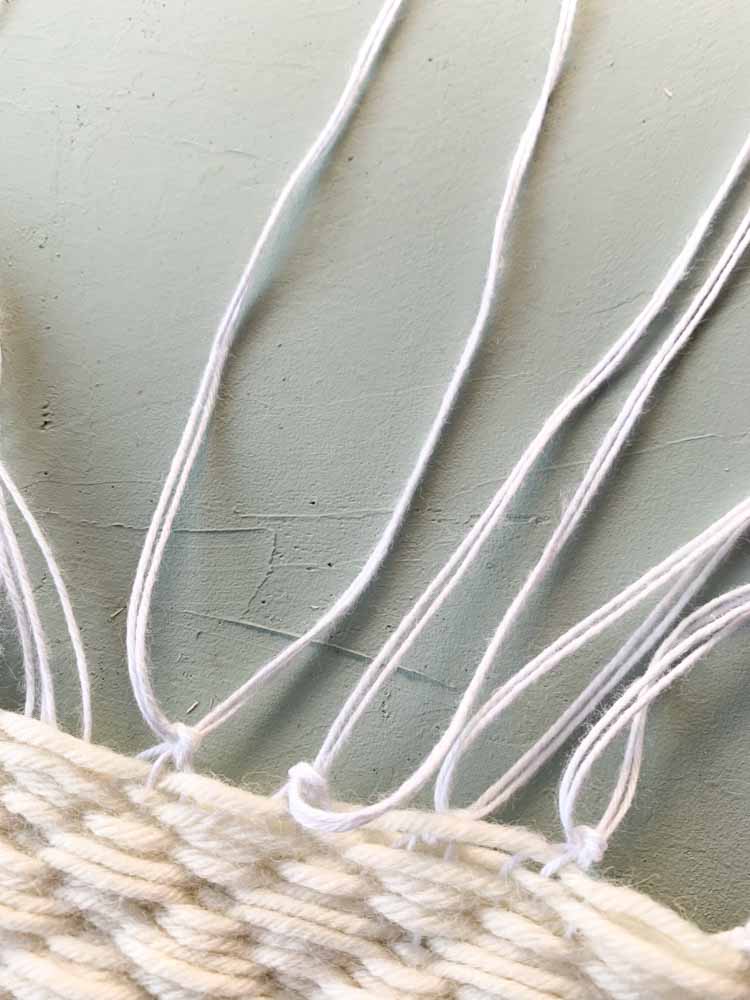
Ensure the knots are tightened close to your weaving project.
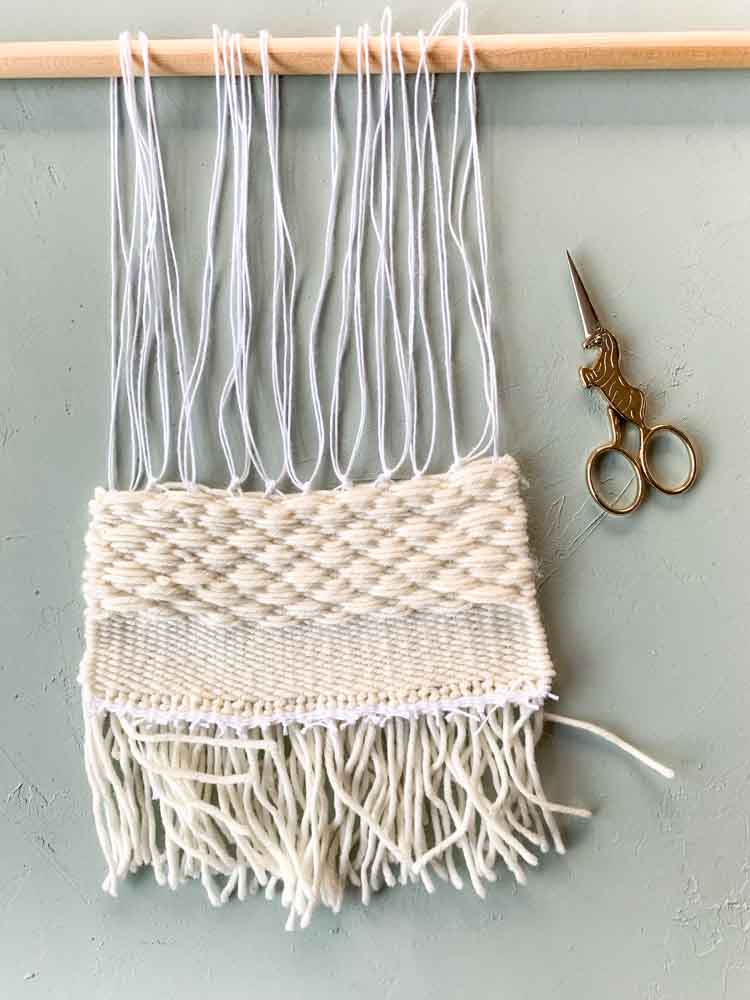
On the backside of our work you can still see the knots at the bottom part.
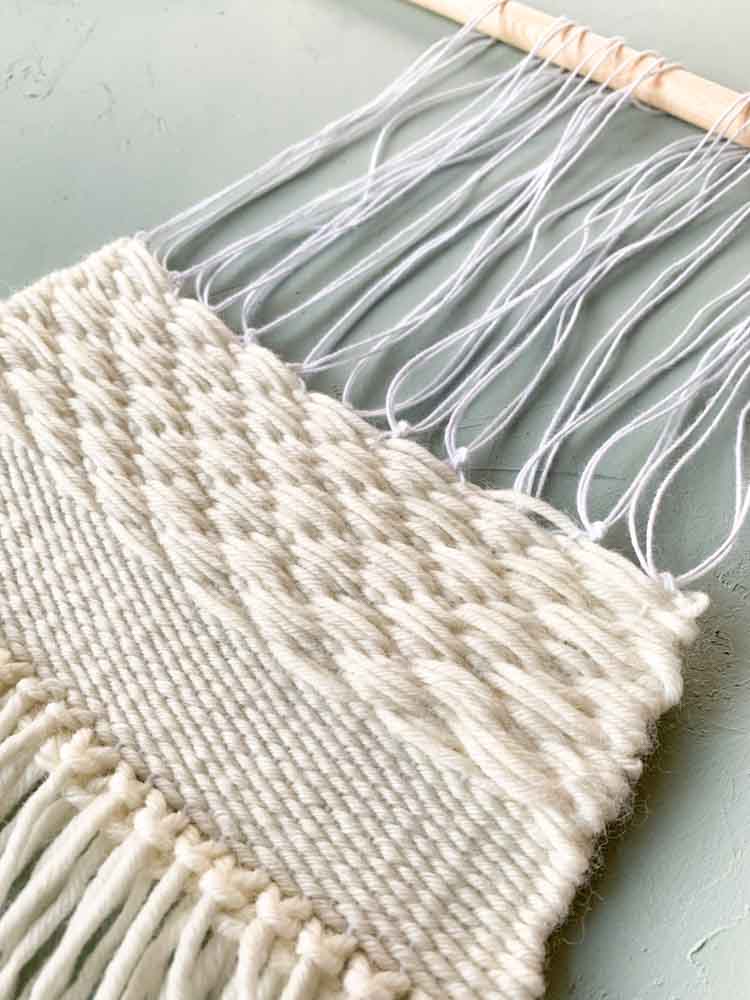
But on the front side they are hidden under the fringe.
We’ve decided to hang this piece on the top warp threads.

