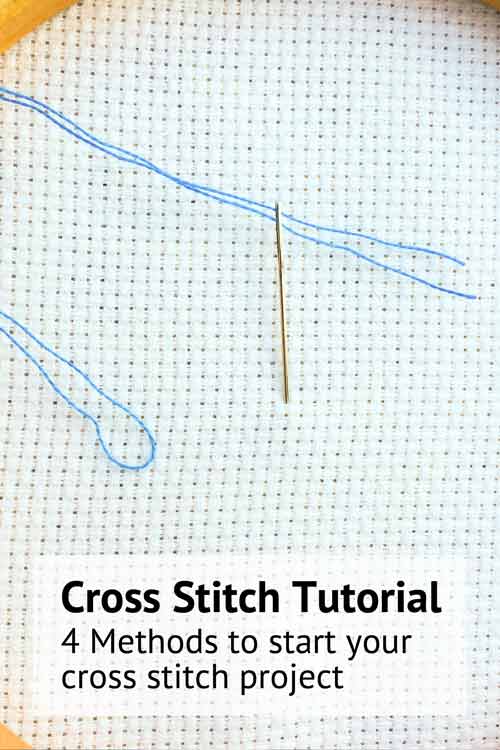
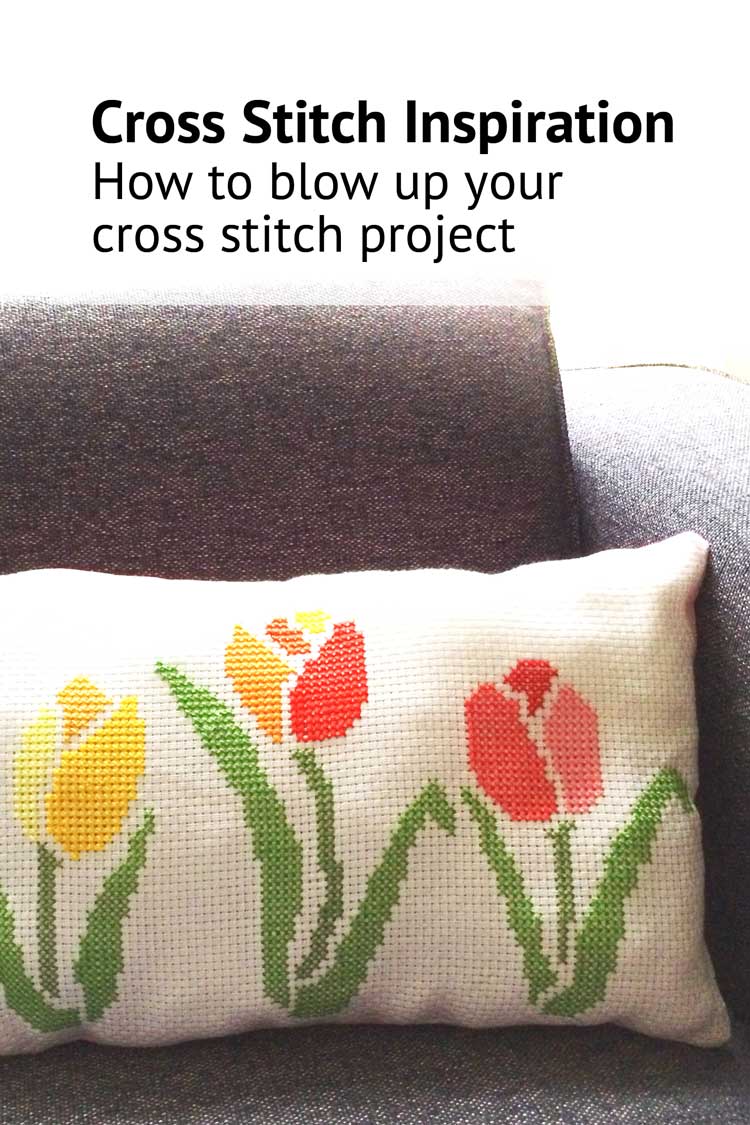
Different ways how to start your cross stitch
This blog post explains multiple ways how to start your cross stitch project. If you are new to cross stitch you might like to know the easiest way to start cross stitch for beginners. If you prefer a little challenge, read the section where we explain how to start cross stitch with a loop.
The best way to start your cross stitch project depends on the number of strands you use, how experienced you are and the contrast between your floss and fabric color. For beginners we recommend to start your cross stitch project with a waste knot, and then continue adding colours with a burried start. For intermediate cross stitchers we advise to start with a loop when stitching with an even number of strands.
How to start cross stitching without a knot or with a knot, that’s the question ;-).
Best choice for your situation
| Experience level | Beginner | Intermediate |
|---|---|---|
| Even Number of Strands | Waste Knot | Loop Start |
| Uneven Number of Strands | Waste Knot | Waste Knot |
| Even Number of Strands + Big contrast between color floss & fabric | Knot | Loop Start |
| Unven Number of Strands + Big contrast between color floss & fabric | Buried Thread | Buried Thread |
How to start cross stitch with a knot
This is the quickest and easiest way to start your cross stitch project. Yes with this method you will end up with a knot at the backside of your project. We believe one knot is acceptable, but opinions differ, so please don’t blame us :-). If you want your project to be completly knotless we recommend to use the buried thread or loop start.
This method only works when stitching with an even number of strands. Gleefully most of our designs are made to stitch with 2 or 4 strands.
This method is not recommended if your work will need to be washed frequently, as the knot might get loose.
Step 1
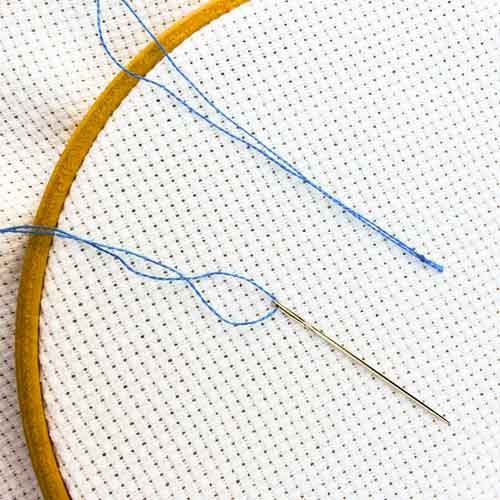
Thread your needle with about 1 meter (or 1 yard) of embroidery floss and half the number of strands your pattern indicates (so if your pattern indicates you need to use 2 strands you will take 1 strands, when you need 4 strands you will take 2, etc. ).
Step 2
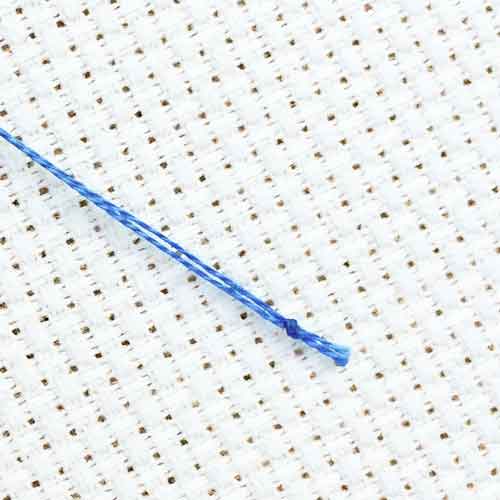
Align both ends of your strands and make a simple knot. Cut off any excess thread behind the knot.
Step 3
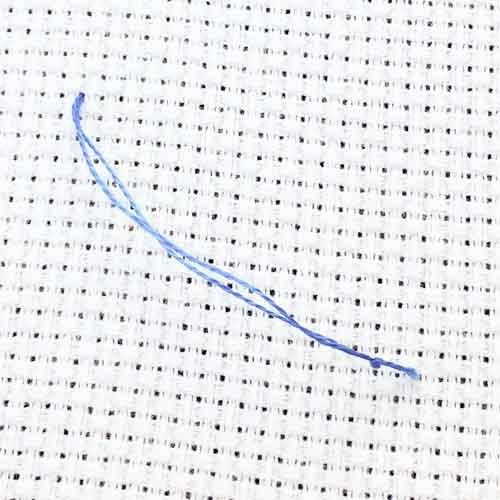
Start on the backside of your fabric and pull the needle to the front. Leave about 5 cm thread with the knot on the backside. Don’t pull taut yet, as it might bring the knot to the frontside.
Step 4
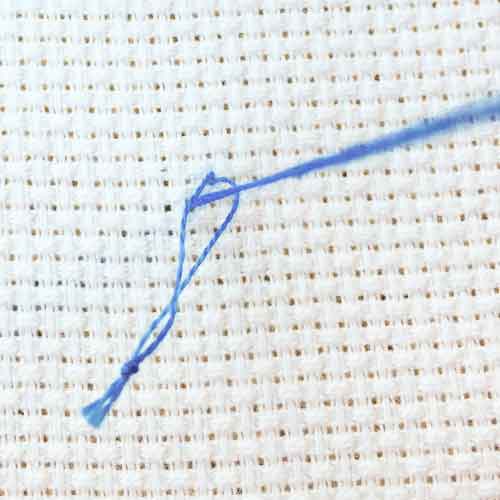
Make the first leg of your cross stitch on the frontside. Bring the needle to the backside and glide your needle in between the strands of floss that end with the knot.
Step 5
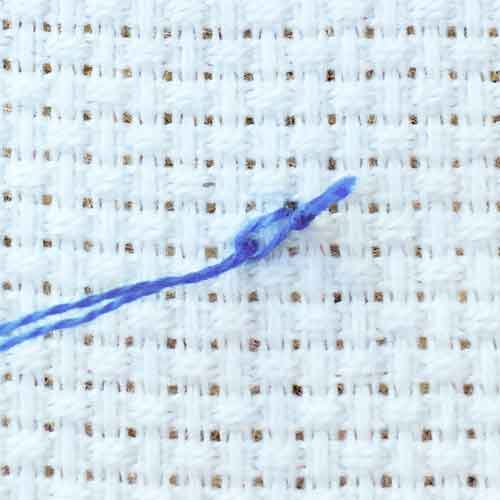
Pull the thread taut so that your first leg is nicely placed on the front, and the knot is secured on the backside of your work.
Step 6

Continue making cross stitches on the front side of your fabric.
How to make a waste knot
This way to start your cross stitch has knot in the name. But as you cut off the knot when you have secured the thread it is actually a knotless start. This is the easiest way to start your cross stitch project withouth ending with a knot. It works with any number of strands.
Avoid using this method with black thread on light cross stitch fabric, or white thread on dark cross stitch fabric. If your thread has too much contrast with your fabric it might leave a shadow or mark on the fabric.
Step 1
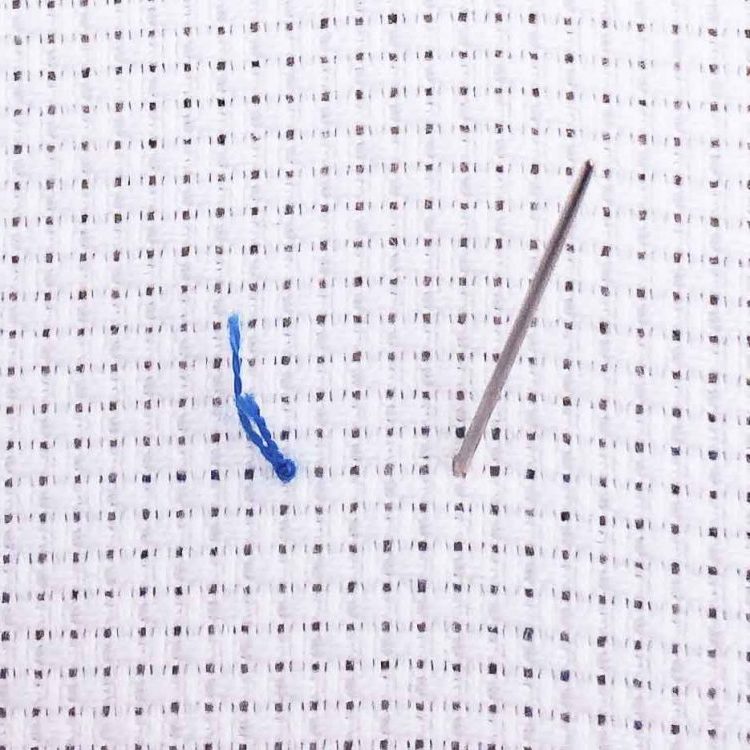
Thread your needle and make a knot at the end. Take the needle and thread through from the front of the fabric to the back and come up again about 4- 6 blocks away from the knot.
Step 2
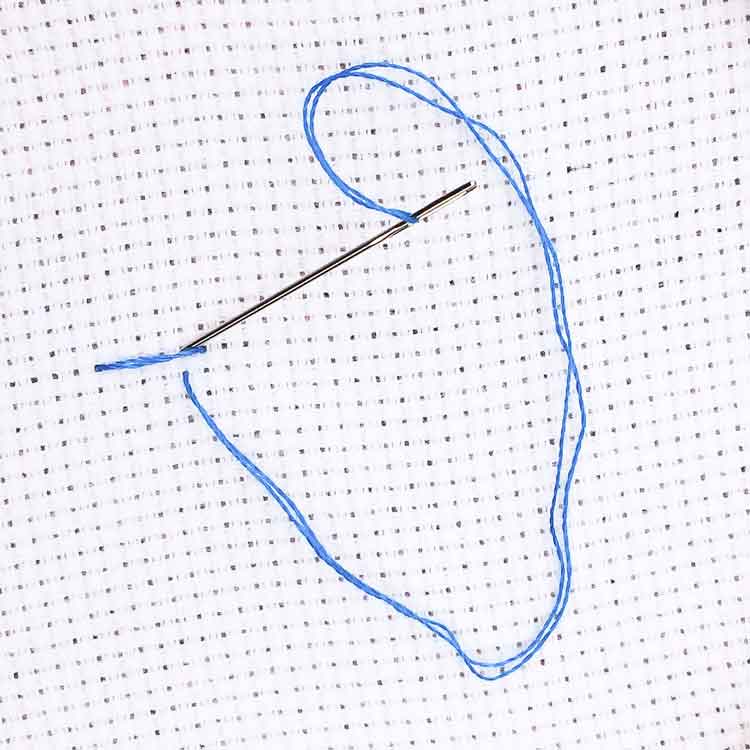
Now begin cross stitching, make sure that you bury the thread under your new stitches.
Step 3

Work towards the knot
Step 4
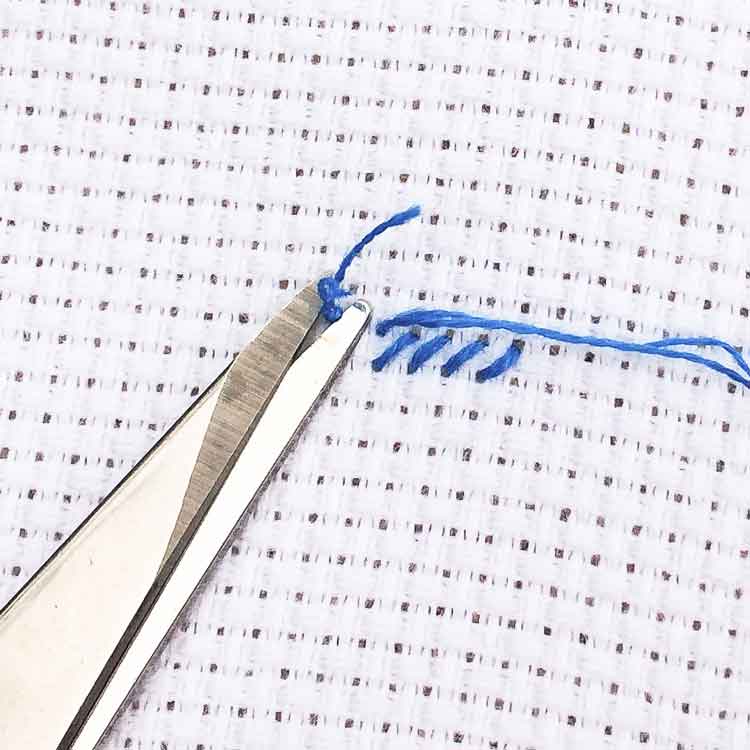
On the frontside of your fabric cut off the knot as close as possible to the fabric. Watch out that you don’t cut through any cross stitches.
Step 5
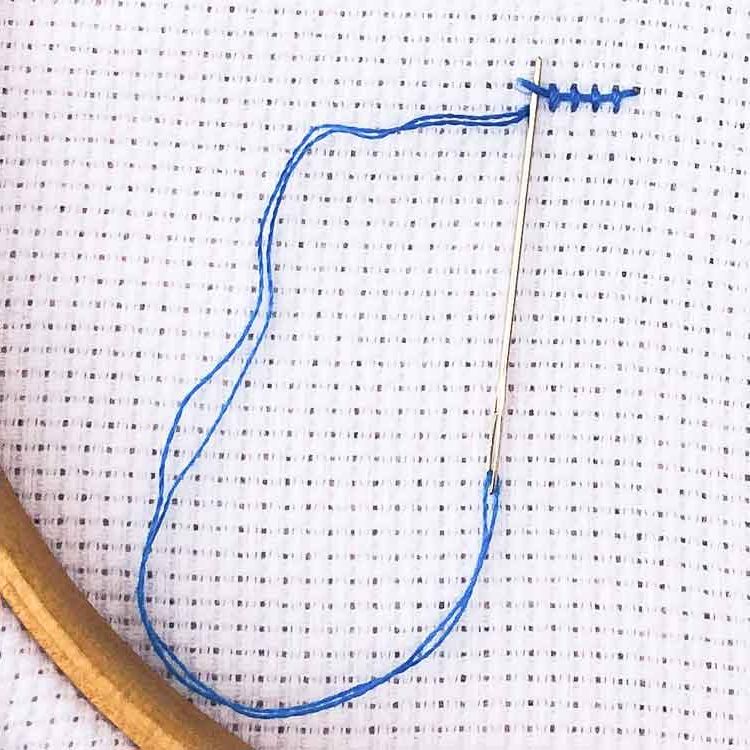
Use your needle on the backside of your fabric to pull the end of the thread to the backside.
Step 6
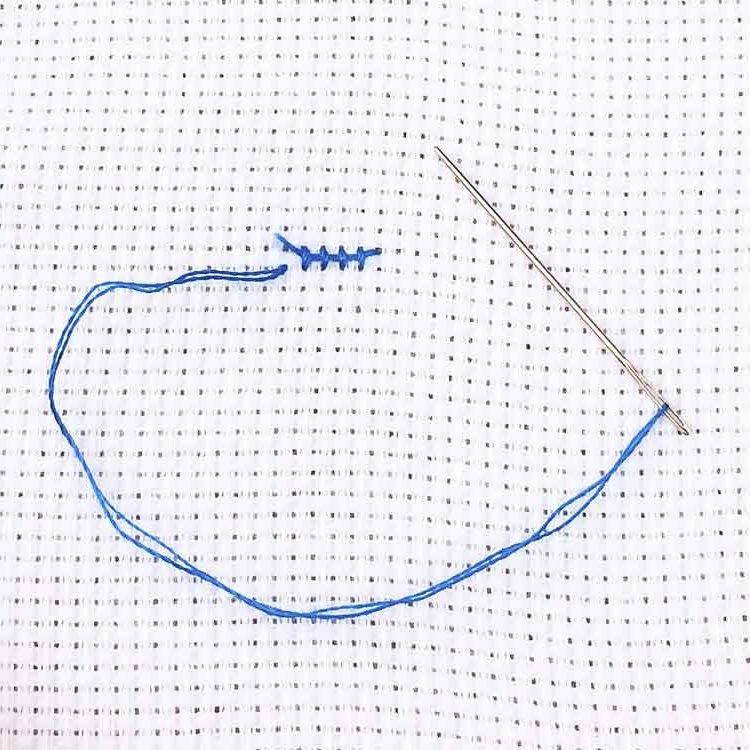
Your backside will look like this. You are now ready to to continue with your cross stitches!
How to start cross stitch with a Buried Thread
If you want to avoid making any knots for your cross stitch project, starting with a buried thread might be the easiest way to go. It is a great alternative for a waste knot in case you are stitching with a floss color that has a big contrast with your fabric. This method can be used with any number of strands, even or uneven. It is called a Buried thread as you bury the loose end of your embroidery floss under your first stitches. Be careful in pulling your first stitches, as with this method the thread easily slips to the front side.
Step 1
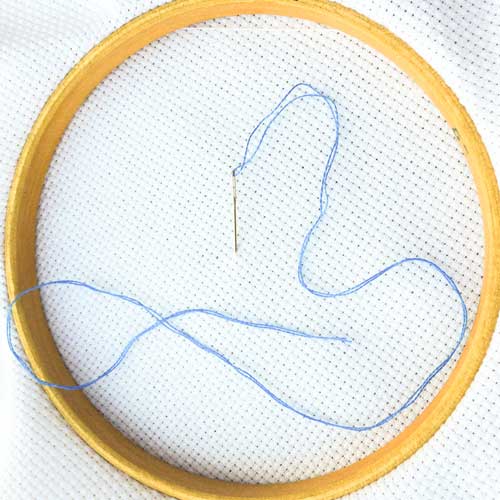
Start your embroidery without a knot in your thread.
Step 2
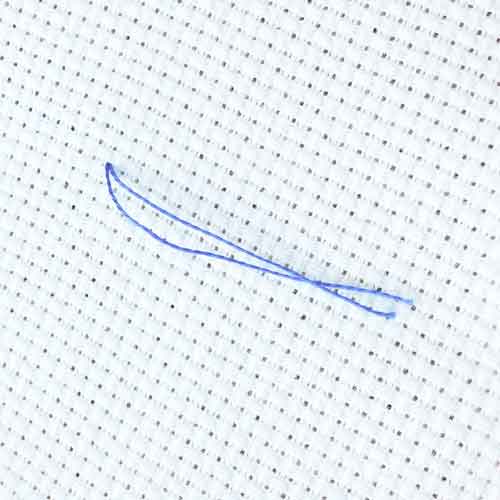
Leave a bit of wire hanging on the back of your work.
Step 3
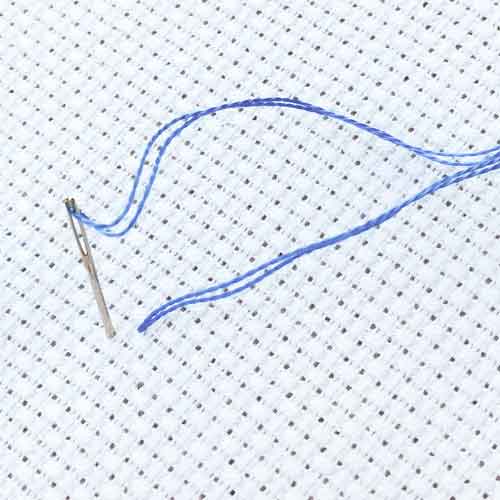
Bring your needle to the frontside of your project and make the first leg of your cross stitch
Step 4
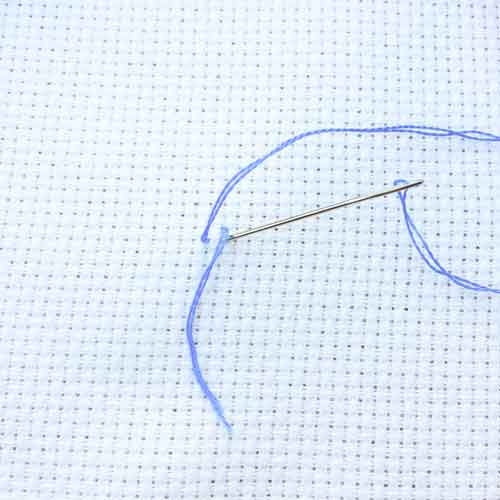
After the first leg, your needle will be on the backside again. Bring it back to the front in such a way that you secure the loose end under your stitch.
Step 5
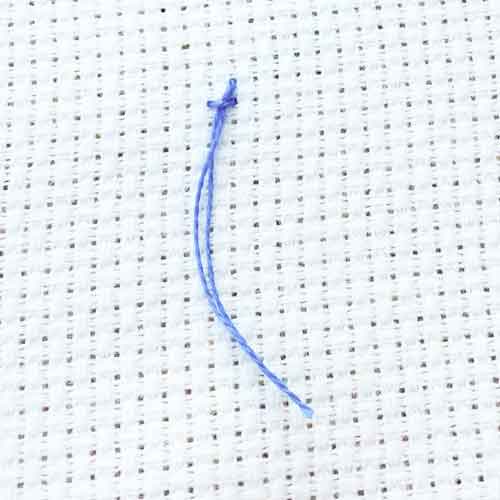
Pull your thread taut on the front of your project. On the backside it will now look like the picture
Step 6
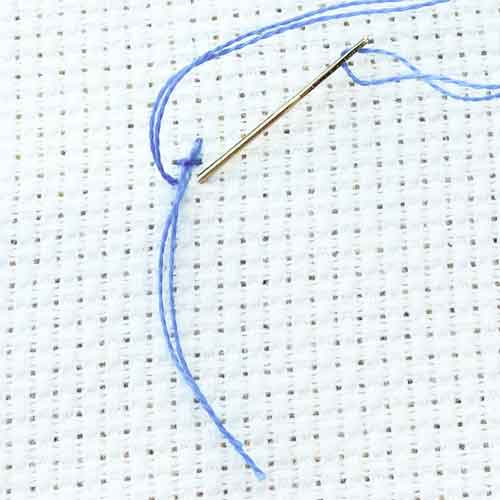
Bring your needle to the front side of your fabric. Again, ensure that the loose end is stuck under your stitch
Step 7
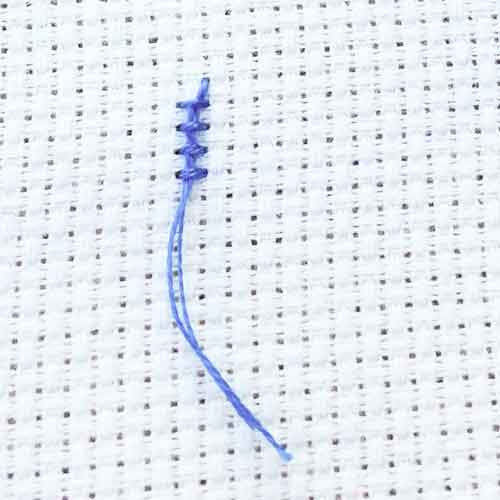
Continue to make cross stitches and keep tucking the loose end under your stitches on the backside
Step 8
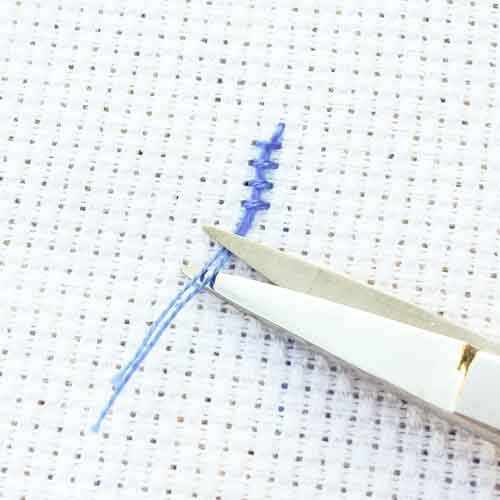
After securing the loose thread under 4-6 stitches you can cut of any excess loose end of your embroidery floss
How to make a Loop Start
A loop start is the neatest way to start a cross stitch project. And it looks more difficult then it is. It can only be used when stitching with an even number of strands. Gleefully most of our patterns call for 2 or 4 strands of floss. In case you need an uneven number of strands we recommend to start with the Buried Thread start or Waste Knot
Step 1
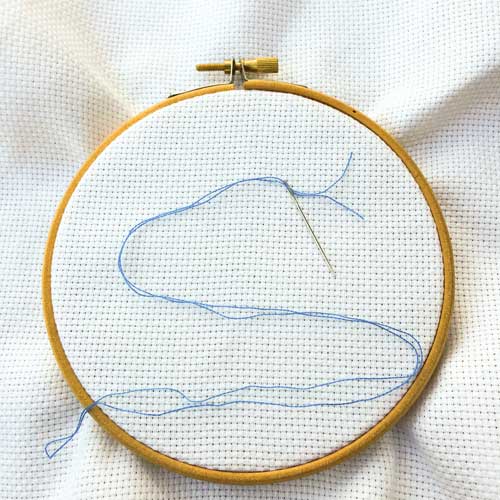
Take 1 meter (or 1 yard) lenght of half the number of strands your pattern indicates (so if your pattern indicates you need to use 2 strands you will take 1 strands, when you need 4 strands you will take 2, etc. ). Fold the floss in half, evenly. Align the two ends, then thread both ends through the eye of your needle.
Step 2
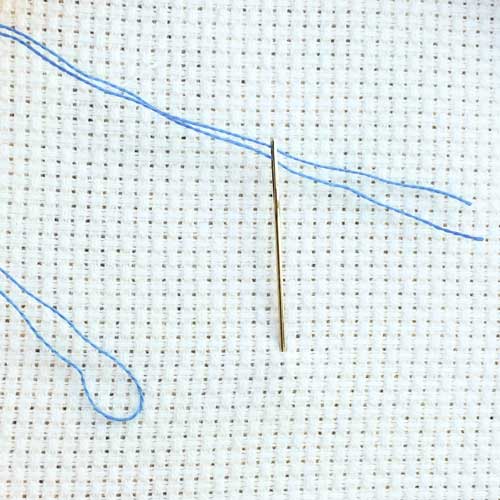
Pull the two ends through the eye about 7 cm (a few inches). The folded end is the long end.
Step 3
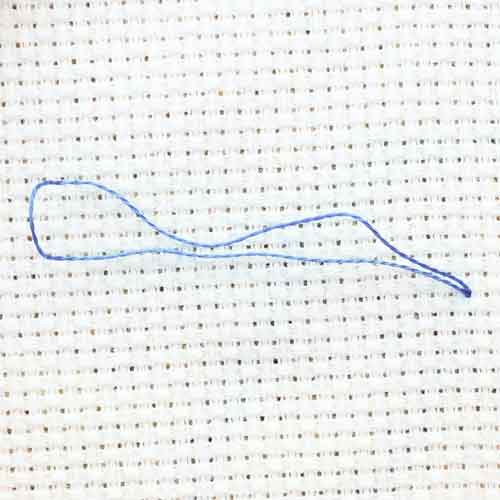
From the backside of your project, bring your needle to the front to make the first leg of your cross stitch. Leave 10 cm (~4 inch) of the folded floss end hanging in the back.
Step 4

Bring your needle to the backside of your fabric, completing your first leg. Don’t pull it taut yet.
Step 5
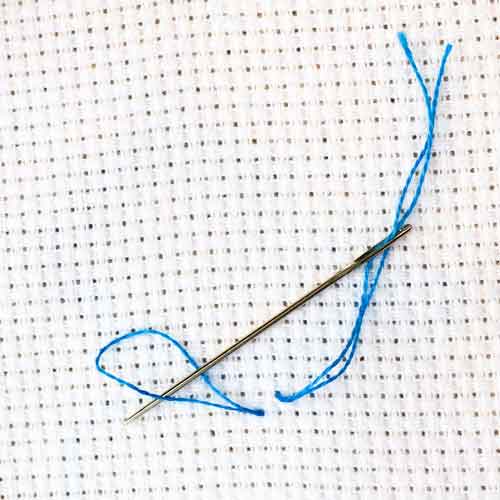
On the backside of your project, run your needle through the hanging loop.Pull floss taut. On the front, this completes the first leg of your cross stitch.
Step 6
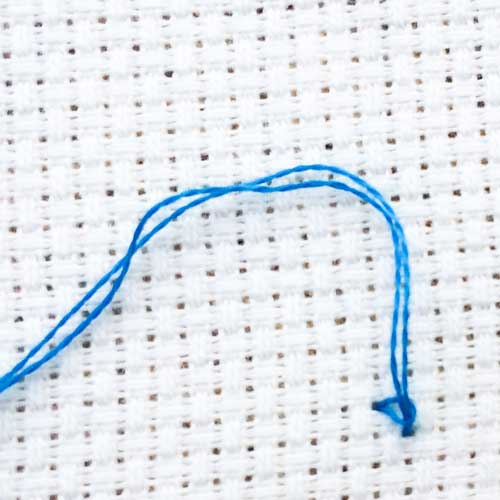
Pull the needle so that the loop on the backside is flat on the fabric (like on the picture). Bring your needle to the front of your fabric and stitch the second leg of your cross stitch.
