How to use a cardboard weaving loom
Carboard looms a great budget method to learn the basics of weaving. They are also great to teach children how to weave, and can be a fun entertainment idea for a kids party. In this blog we share how you can use a cardboard weaving loom.
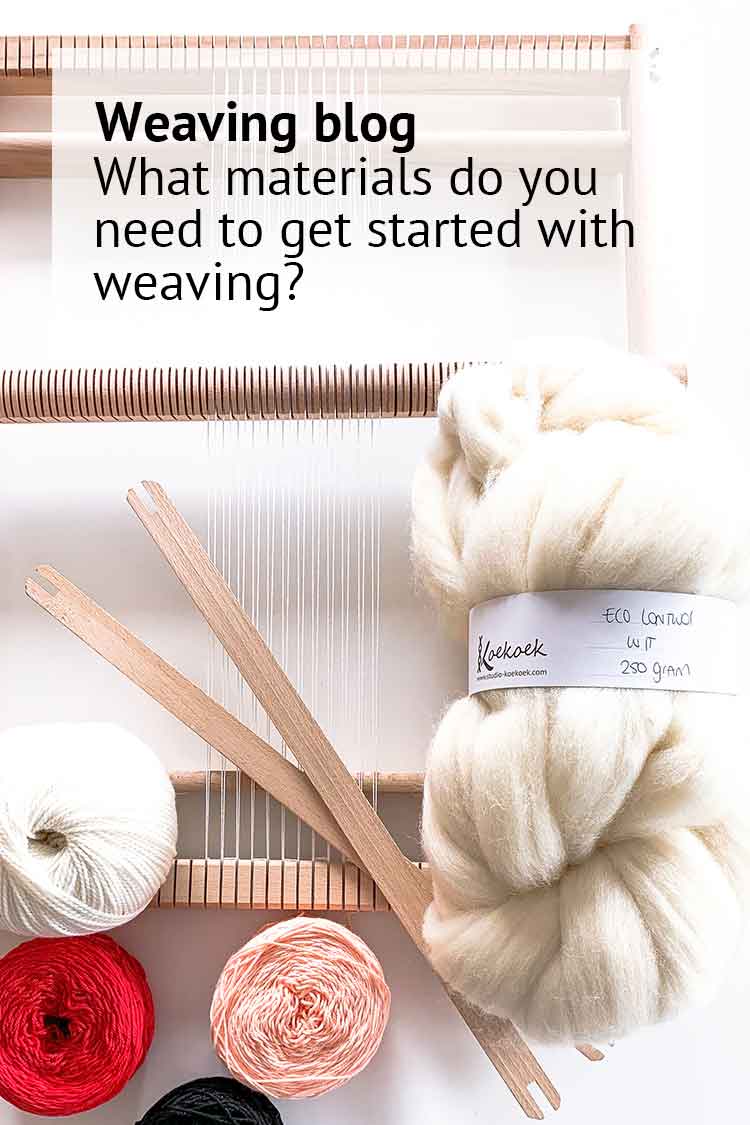
What materials do you need for weaving?
1. Cardboard weaving loom
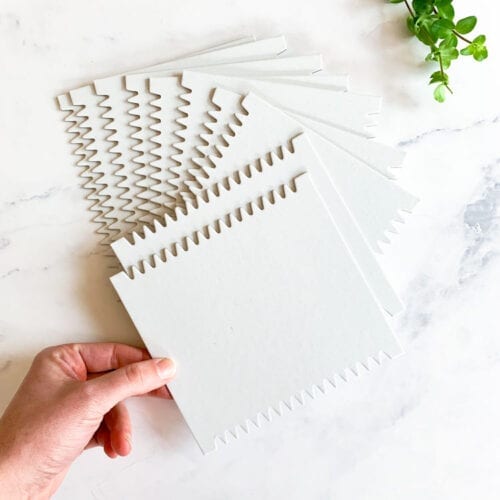
You can use our budget weaving looms, or make your own from a piece of sturdy cardboard paper.
2. Weaving needle
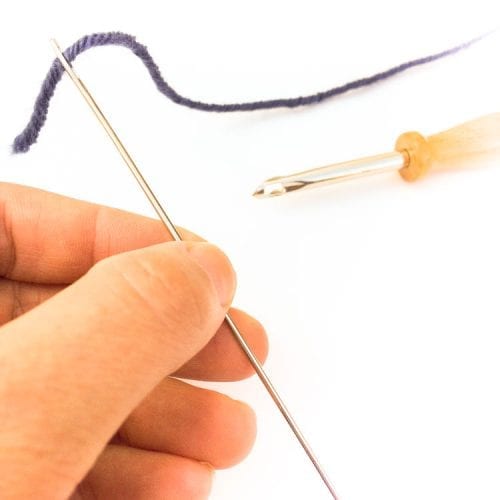
A sturdy long needle is a must have for every weaving project. A tapestry needle also comes handy when securing the ends of your threads.
3. Yarn
You can use a large varity of yarns for weaving. To learn the basics it is handy to start with a strong yarn. Choose for a yarn that contains multiple plys and does not break when you give it a strong pull. This can be a cotton thread or a wool like our Lanita collection. Once you master the basics you can expirement with different textures and types to get suprising effects. Perfect for destashing!
4. Scissors
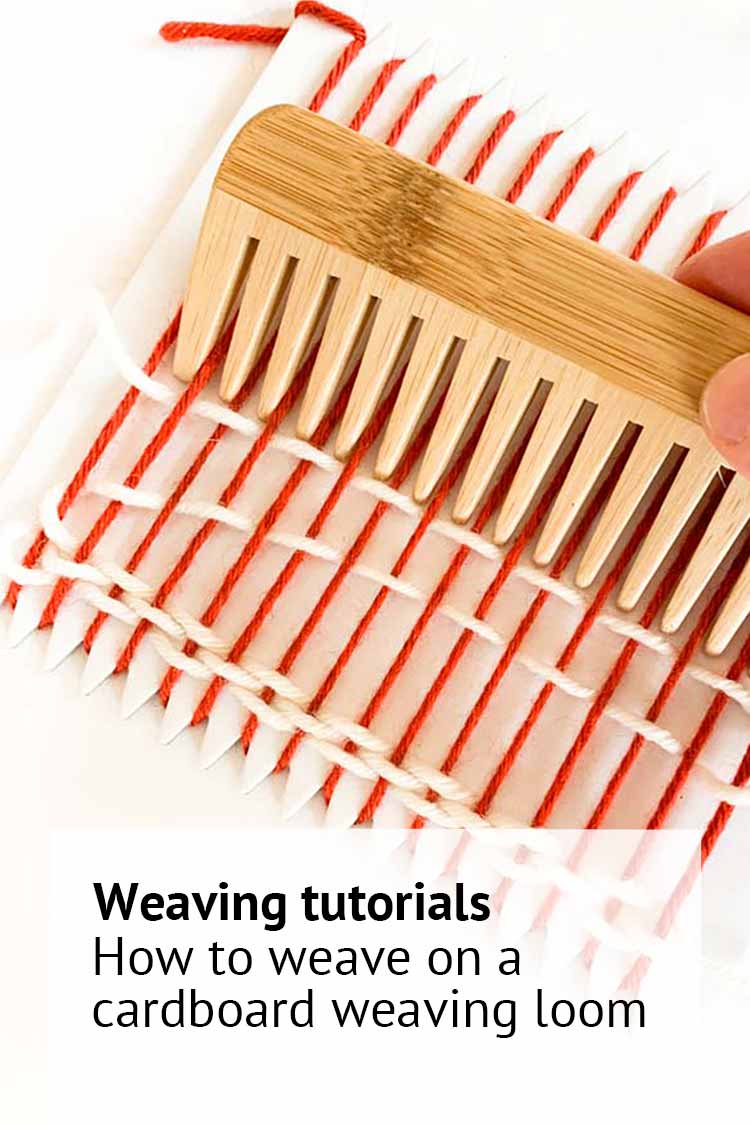
5. Weaving comb
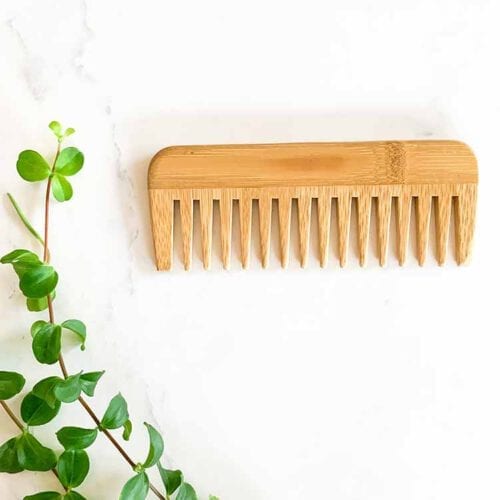
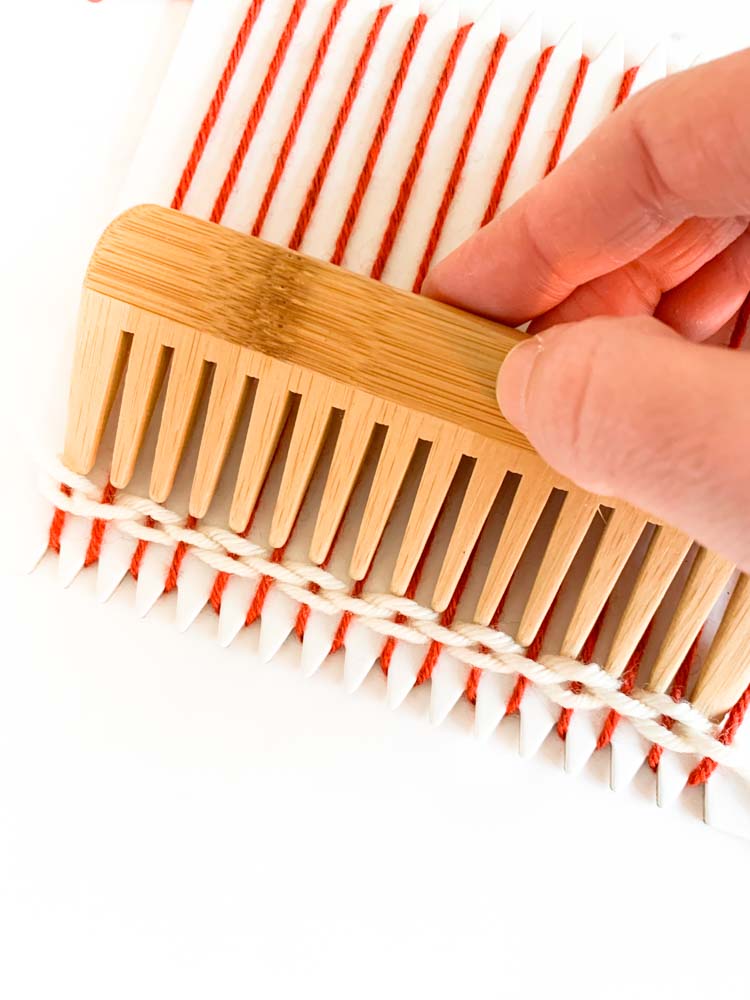
A weaving comb is handy to bring your threads down. If you want to keep it low budget, you can also use your hands.
How to warp your cardboard loom?
Before you start weaving you will have to warp your loom. The warp threads are the vertical threads of your weaving project. It’s best to do this with a thread with little or no stretch. Our cotton warp threads are a great choice for beginners.
Step 1
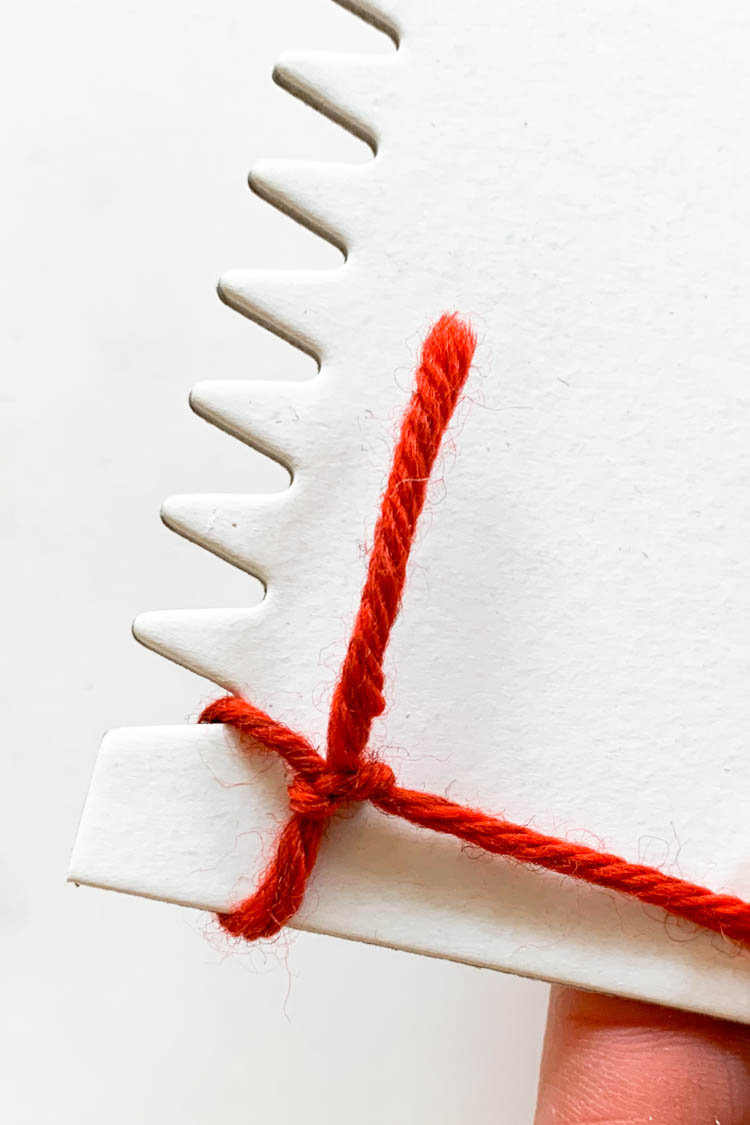
Start in one of the corners of your cardboard loom. wrap your thread around the corner and make a little knot. Ensure there is approx 10 cm (4 inch) excess loose thread. Once you finish weaving you can use that excess thread to weave in the ends.
Step 2
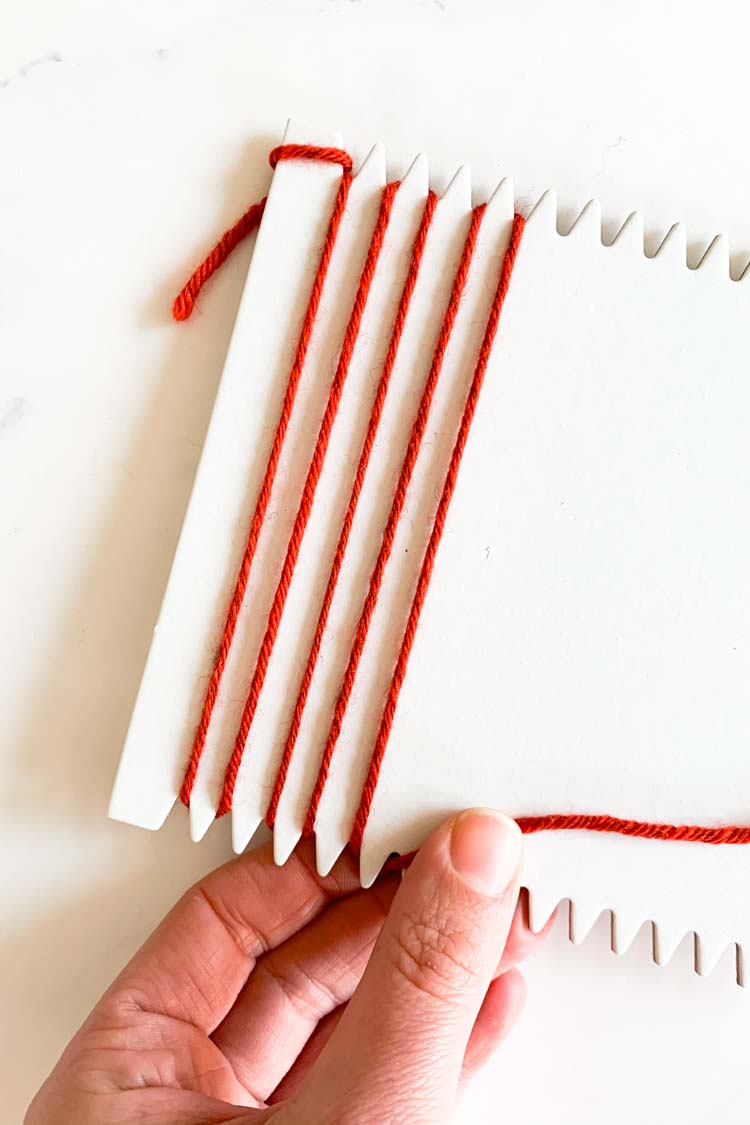
Bring your thread to the other side of the cardboard. wrap it around the pointy end and bring it back to the other side.
Step 3
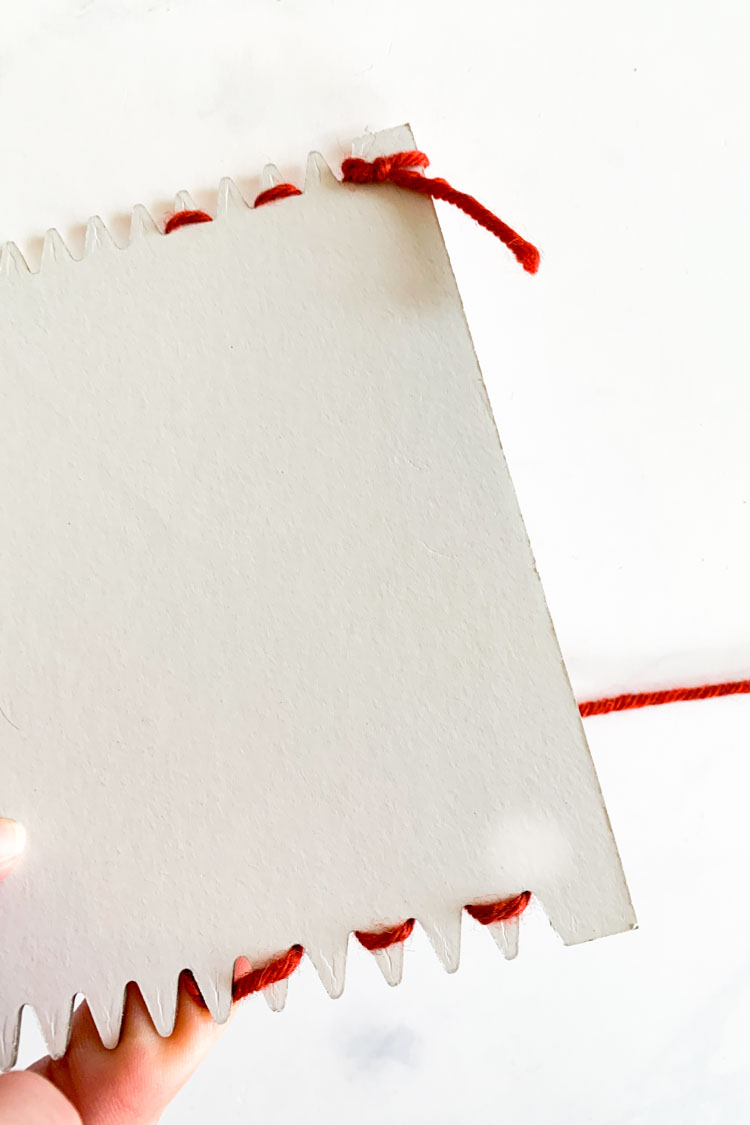
On the backside of your cardboard loom it should look like the above picture.
Step 4
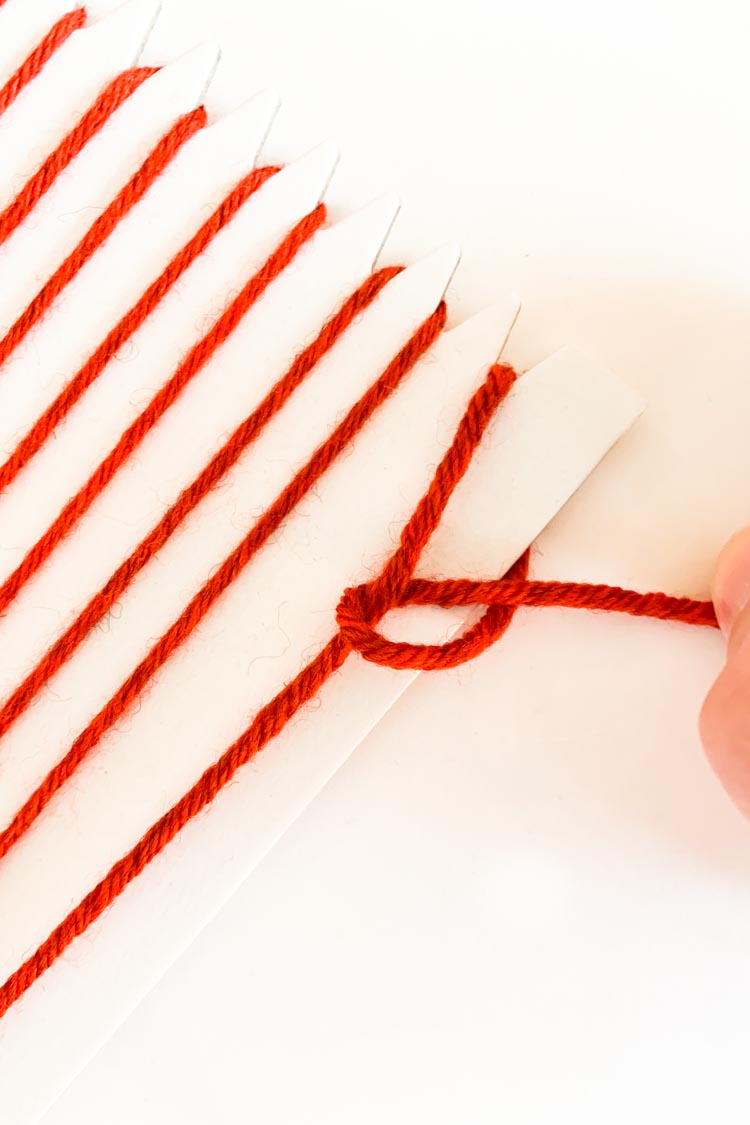
Once you have reached the last notch cut your yarn with approx 10 cm (4 inch) excess of yarn. Then knot your yarn in the corner of the loom, like you did at the starting point.
You are now ready to start weaving!
How to make a simple weave
Now you are ready to start with the fun part: use your weaving loom and start weaving! Below pictures explain the most basic weaving stitch you can make.
Step 1
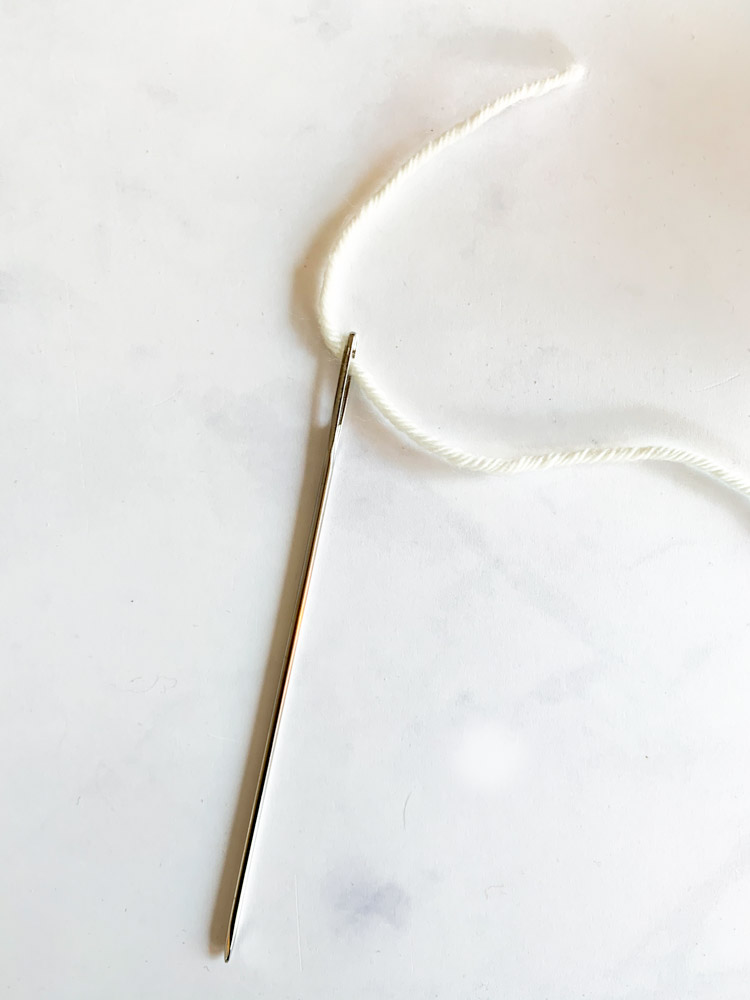
Thread a long weaving needle with a lenght of yarn (e.g. 1 meter).
Step 2
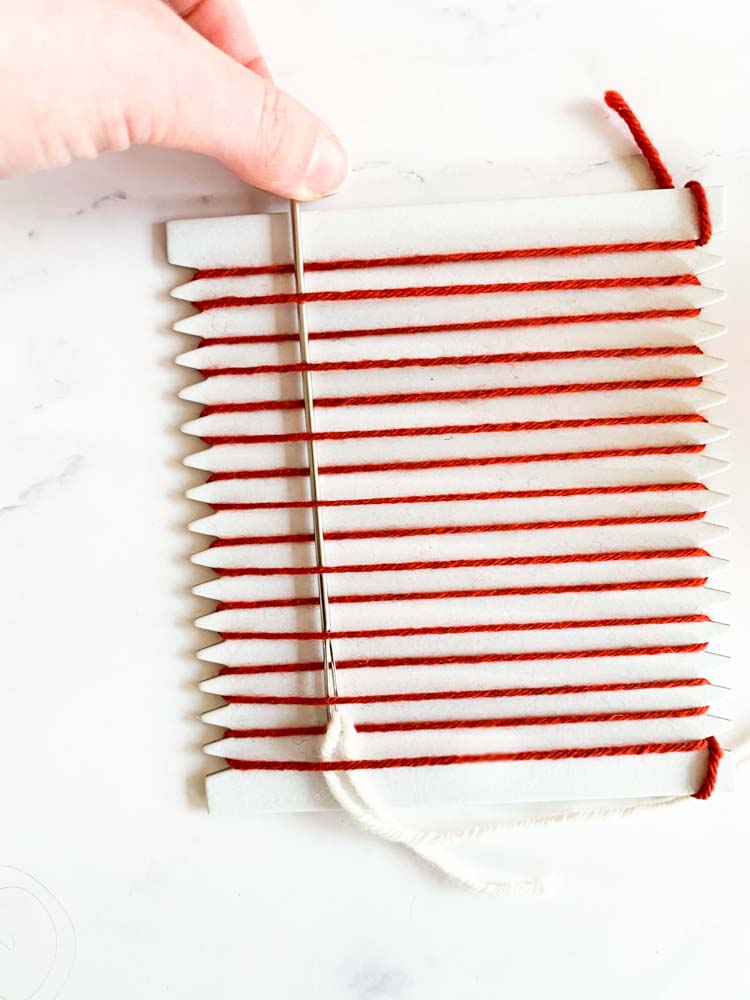
Insert your needle at one edge of your cardboard loom. Go with your needle up and down through the warp threads. So one time your needle is on top of he thread and one time under the warp thread, then on top, etc.
When you are at the end of a row you pull the thread. Ensure that you keep at least 10 cm of the end of your thread hanging. You can secure this later.
Step 3
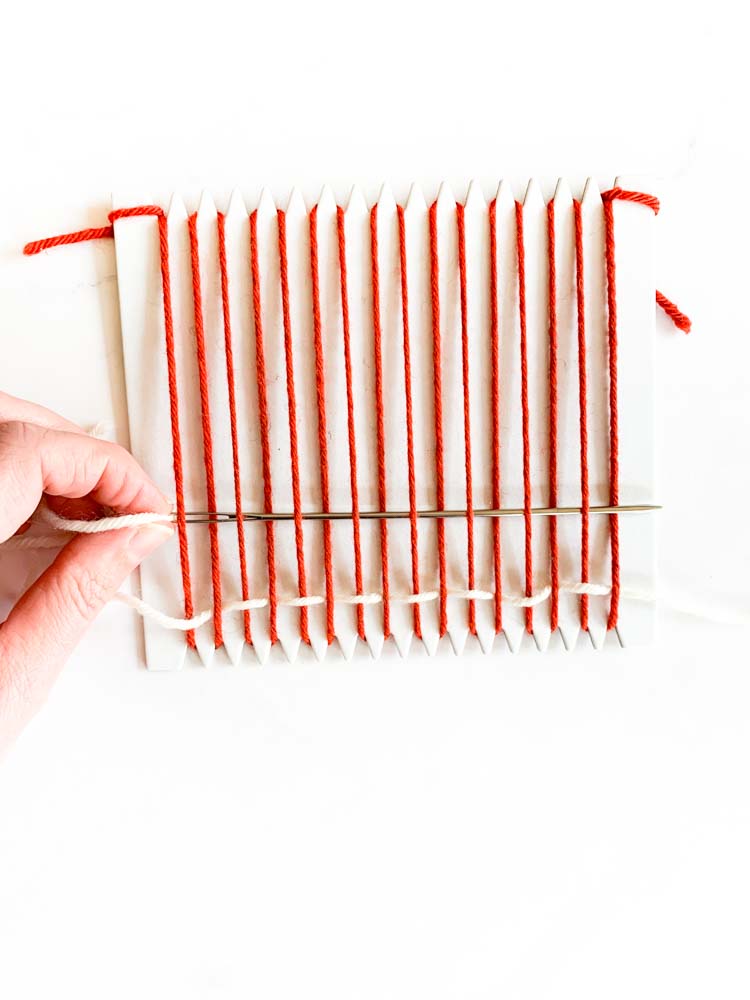
Make a U-turn and go back with your needle. Go up and down through the threads again. You will do exactly the opposite as in your first row. So in the second row you will go on top of the warp thread where in your first row you went under the thread. Simular you will go under the warp thread where in your first row you went on top.
Do not pull the threads too tight at the end of a row. This will cause the borders of your work to go inside. It’s better to leave a little excess thread.
Step 5
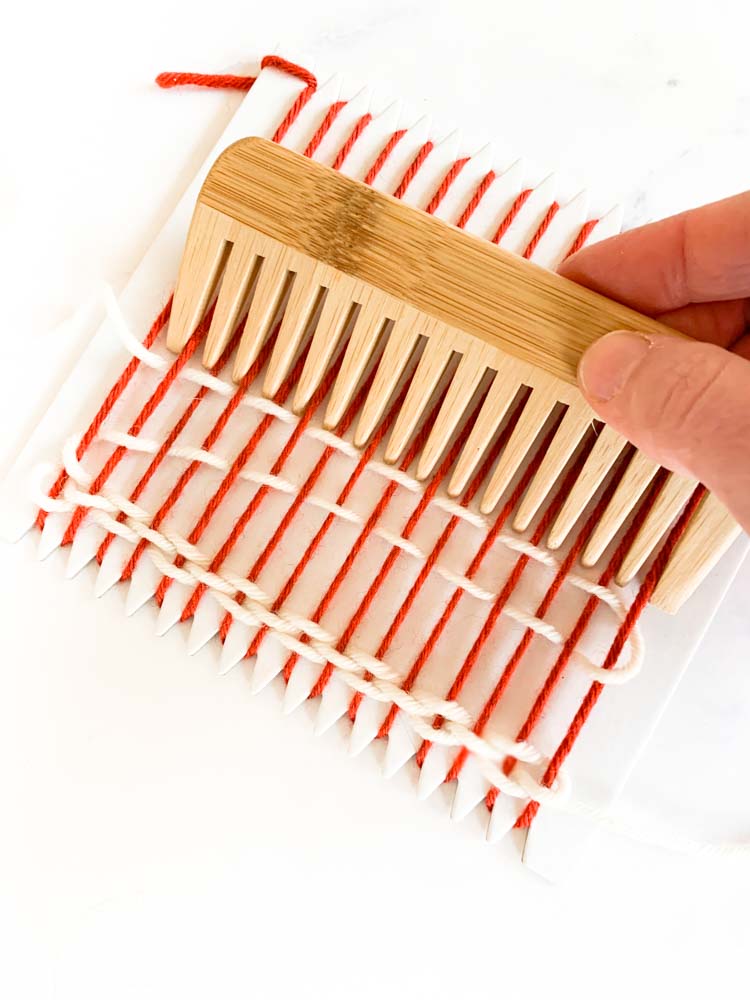
Continue adding rows (like in step 2-5) until you’re almost finshed with your thread.
Step 6
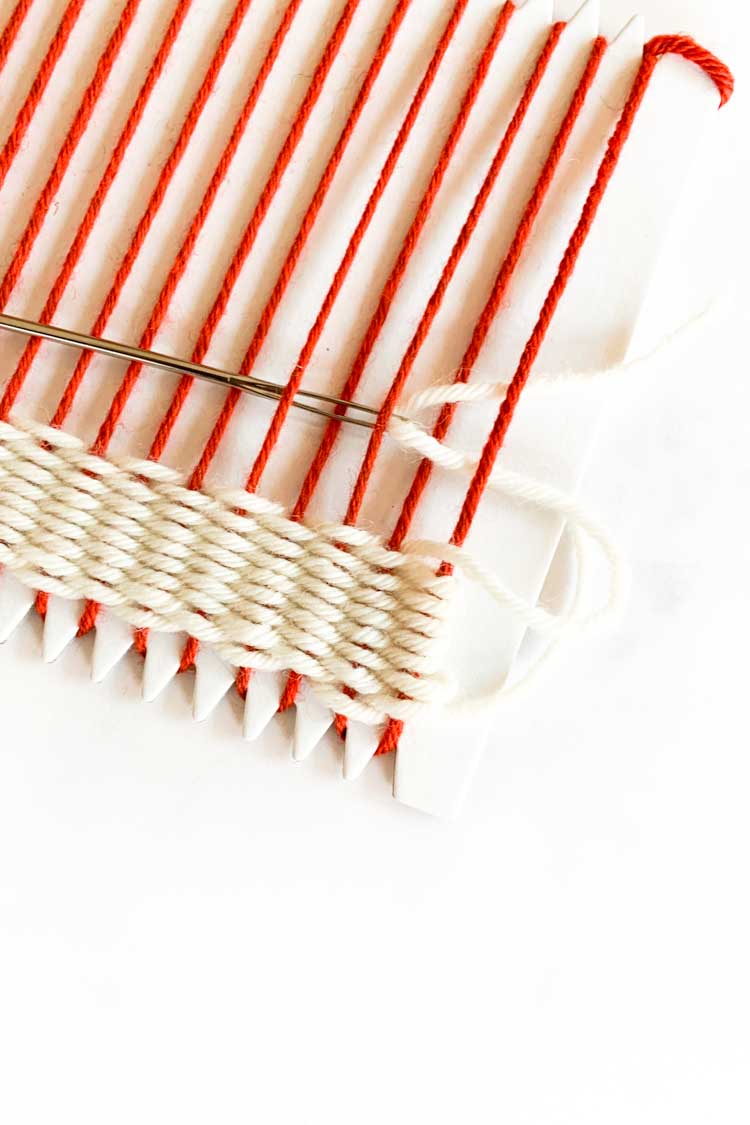
Secure the end of your thread by bringing it back in the row. Go up and down over 4 warp threads.
Step 7
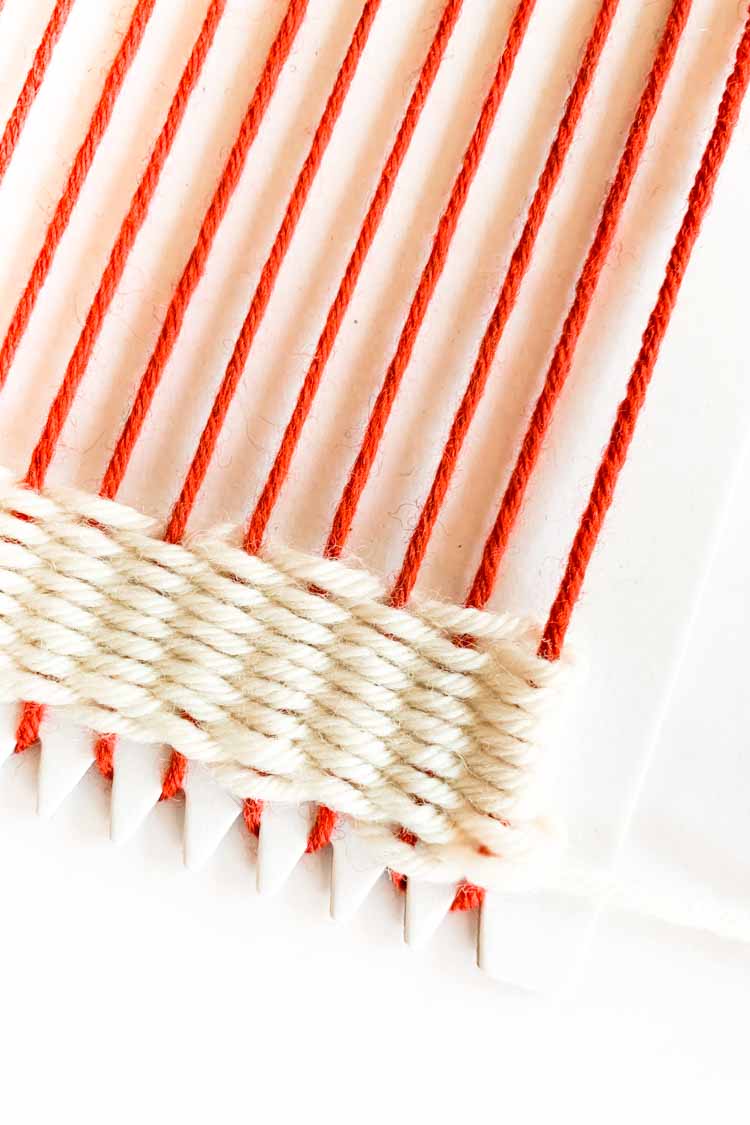
Use a scissors to cut the end of your thread close to your weaving. It will now look like the picture.
How to introduce a new color thread
Now you are ready to start with the fun part! Weaving! Below pictures explain the most basic weaving stitch you can make.
Step 1
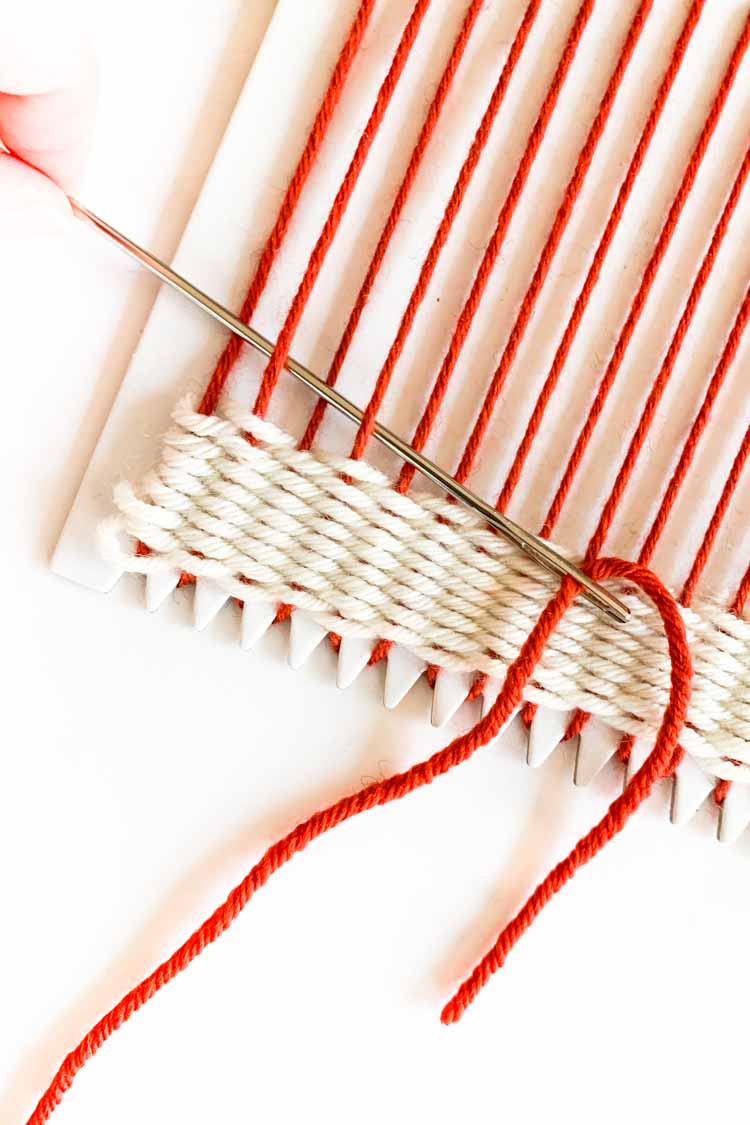
Thread a long weaving needle with a lenght of yarn (e.g. 1 meter). Enter your needle 4 warp threads away from the border. Go up and down the warp threads in the direction of the border.
Step 2
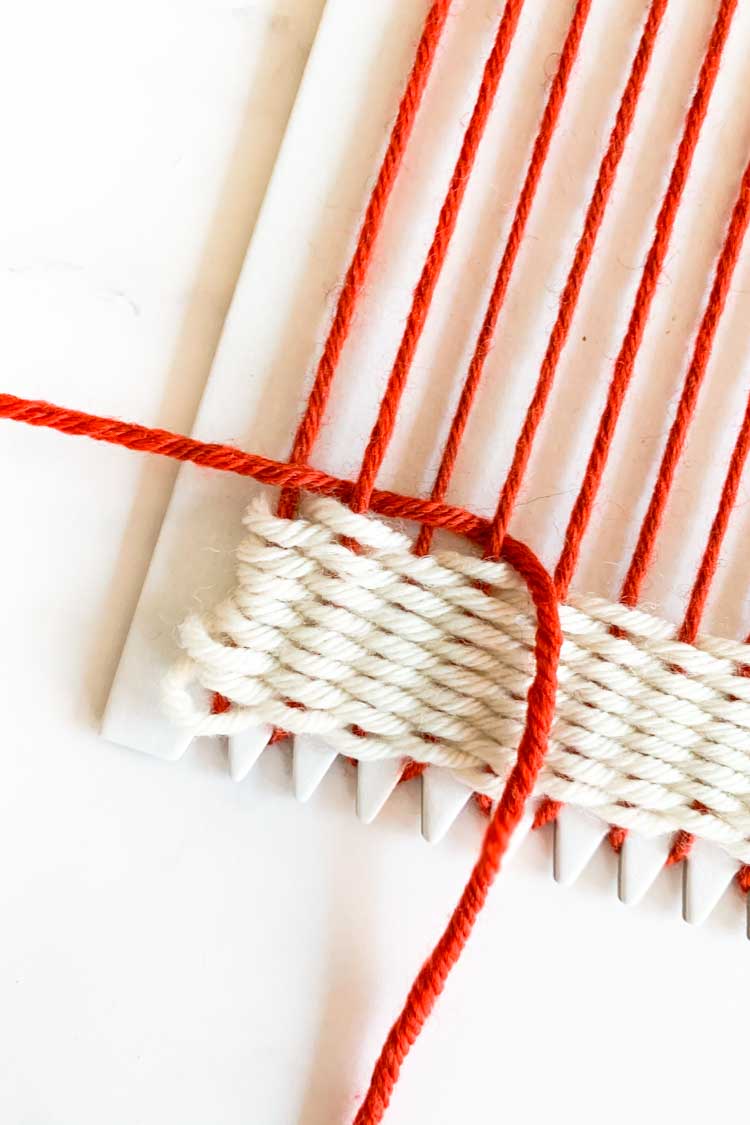
Pull your needle and yarn carefully through the warp threads.
Step 3
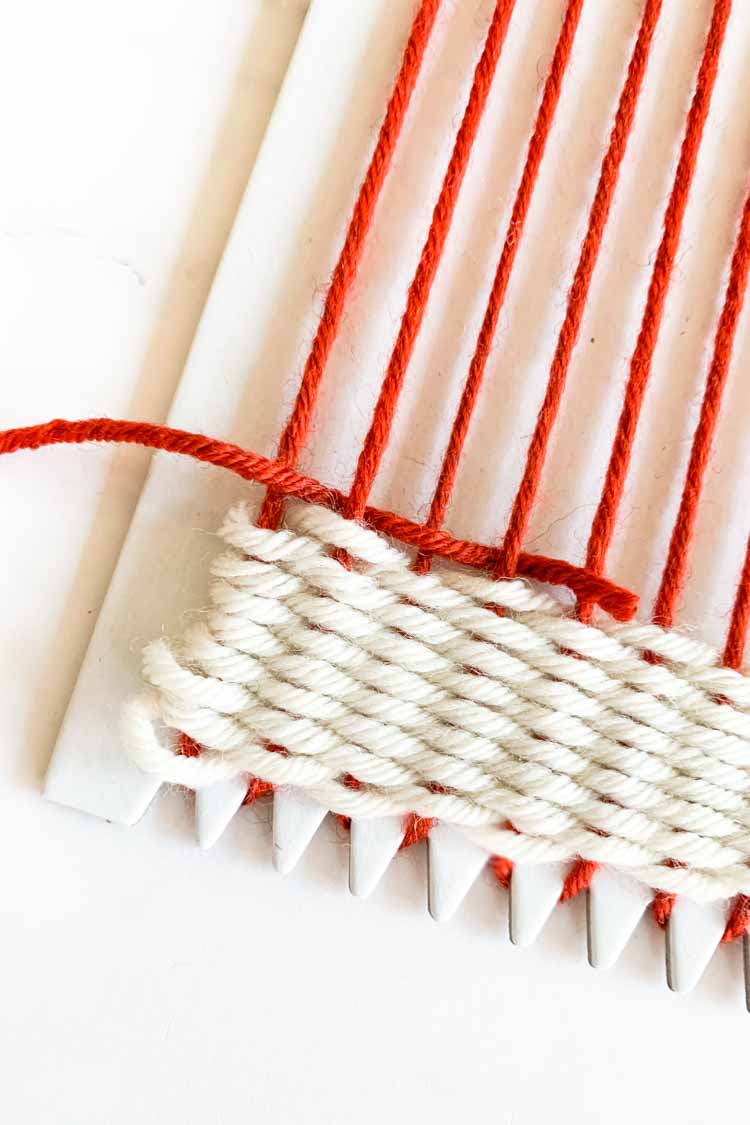
Keep pulling until the end of your yarn reaches your starting point (so 4 warp threads away from the border).
Step 4
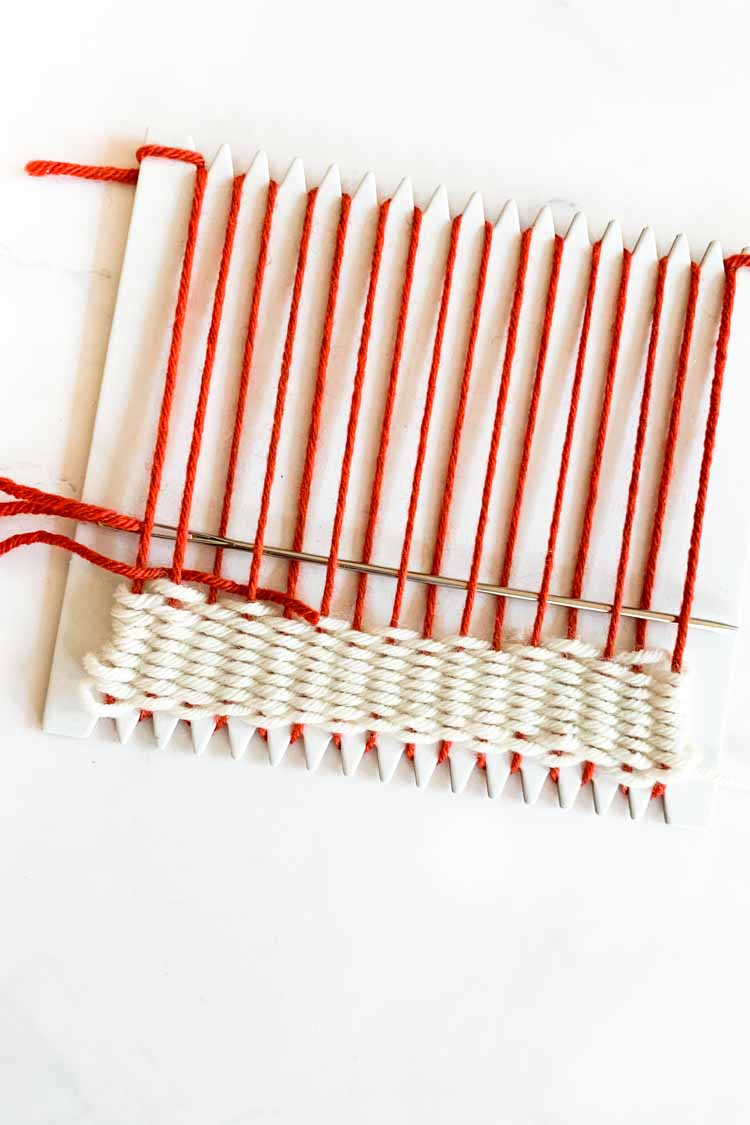
Now make a U-turn with your needle and go up and down to the other border of your work.
Step 5
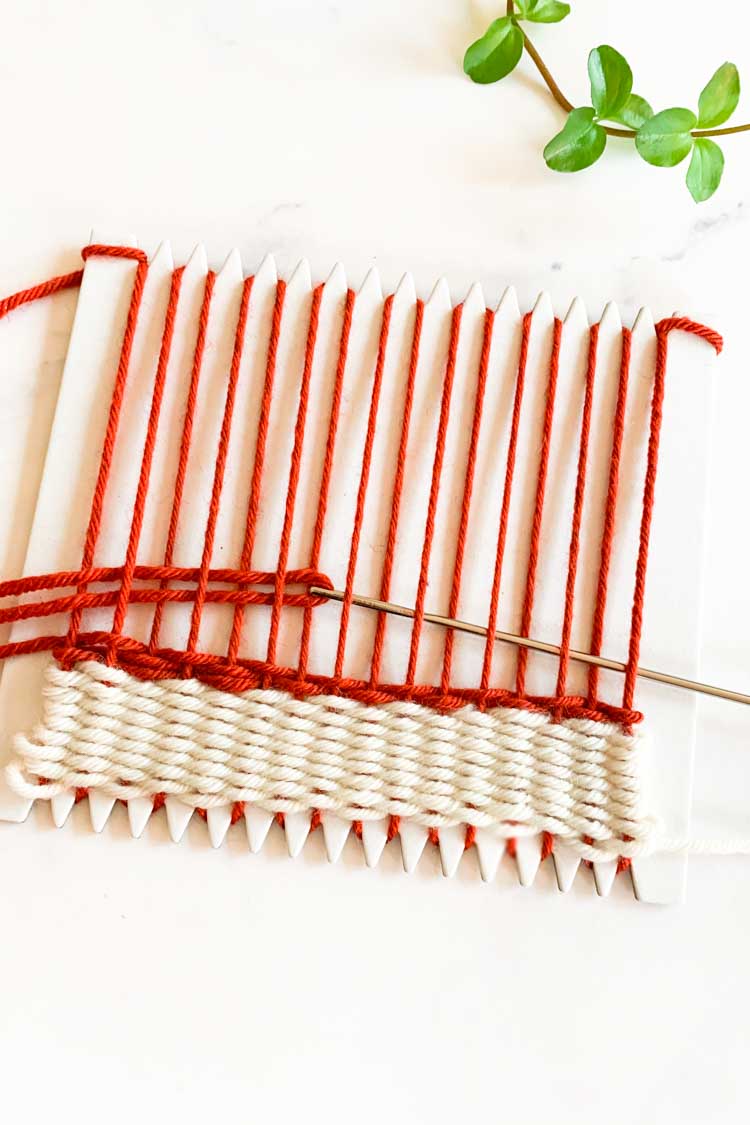
Continue making rows by going up and down through the warp threads.
How to take your weaving project from the cardboard loom
Once you finish weaving, it’s time to take it from your cardboard loom.
Step 1

Carefully take your project from the loom. Take the warp threads – one by one – from the notches on the border of your cardboard loom. Start on one side.
Step 2

Now take the warp threads from the other side of your loom. Be carefull with the starting point and end point of your warp threads
Step 3

Untie the knot at the endpoint of your warp thread. Thread your tapestry needle with the yarn.
Step 4

Insert the needle one row down in your weaving project and go diagonally down towards the center of your weaving project. Pull the needle out from the woven fabric. You will have a loose hanging piece of thread in the middle of your weaving project. Cut off short.
Follow the same steps to secure the starting point of your warp thread.
Step 5

Finally, secure any loose ends with a tapestry needle. Make a U-turn and take the yarn up and down through at least 4 warp threads. Cut the yarn close to your weaving project.
Step 6

Voilá, you finished your first weaving project!

Stay up to date with our latest tips

When subscribing you allow us to send e-mails to you. You can unsubscribe at any moment you like. Read our privacy policy here
