How to work with Waste Canvas and stitch on any fabric you like
Feel like cross stitching our patterns on cushion covers, t-shirts, blankets, or tea towels? Use waste canvas and you will soon stitch like a pro on any type of fabric. You can also use it for cross stitching on a quilt block for your next quilt project! Once you get started with waste canvas you’ll soon find soo many cool projects to start with!
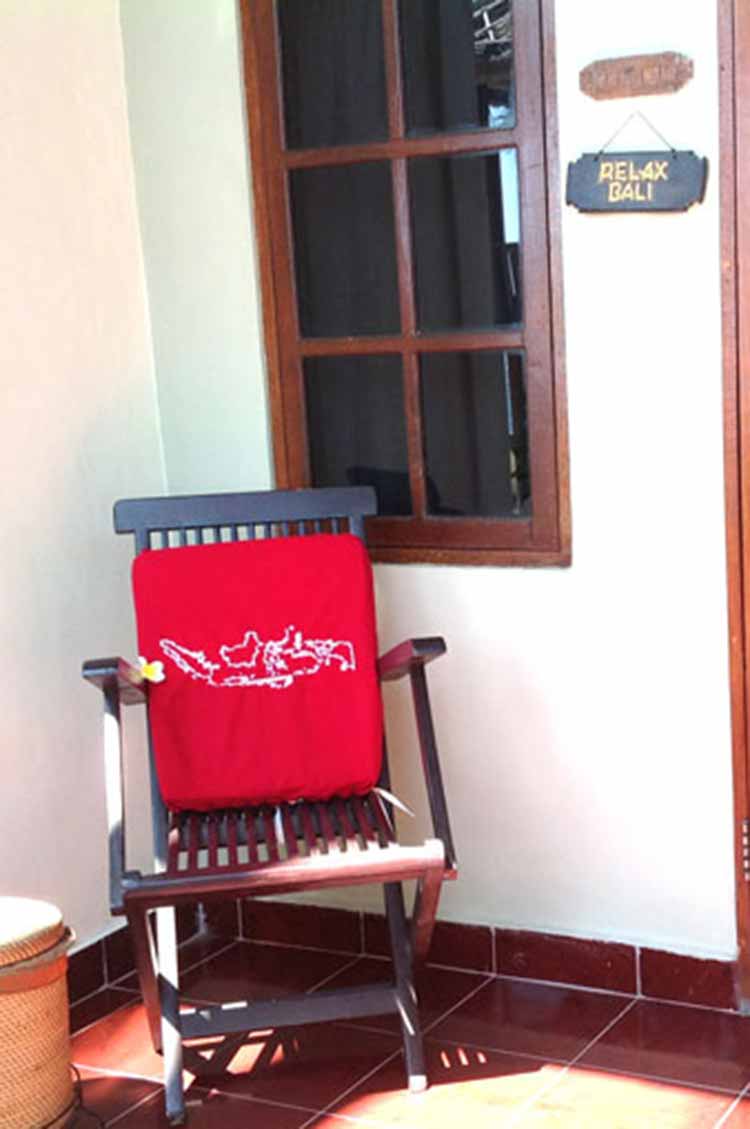
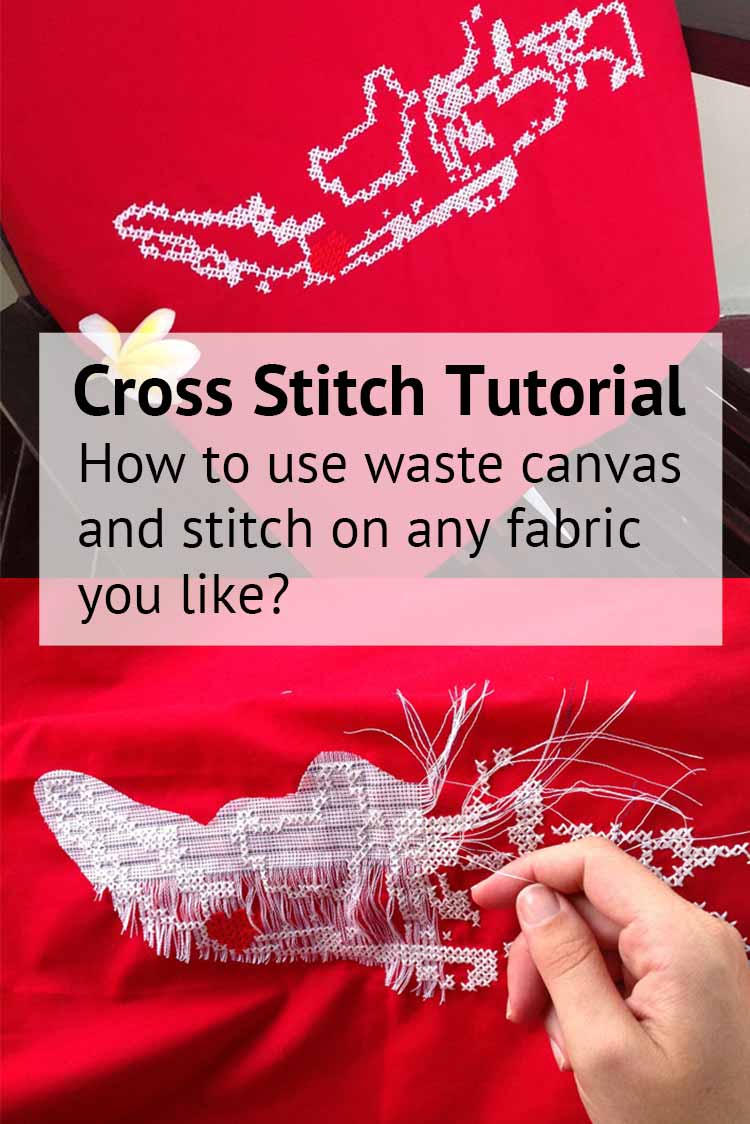
In this tutorial we share our experience stitching a cushion cover with our Indonesia map pattern
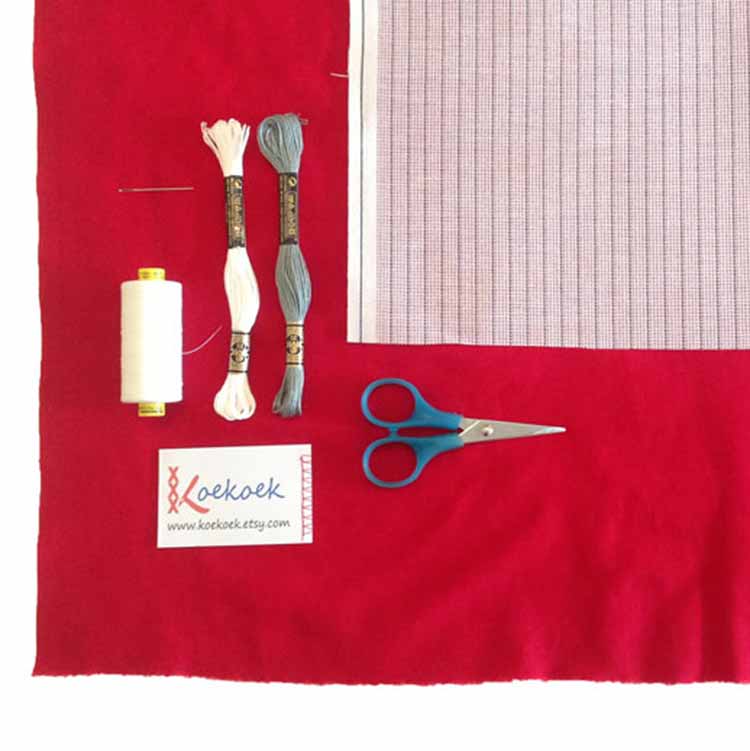
What materials do you need to use Waste Canvas?
On the shopping list:
- A cross stitch pattern, in the example we used a cross stitch map
- Fabric you would like to embroider on
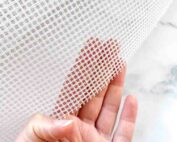
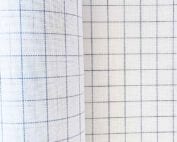
- A piece of waste canvas a bit larger than the size of your pattern
- Sewing thread, ideally in a contrasting color.
- Good quality embroidery floss as indicated on the pattern
- A needle with a sharp end
- Embroidery scissors and tweezer
- Pins
- Interfacing -> in case you decided to stitch on a fabric that has a bit of stretch (e.g. most t-shirts do) or on a thin fabric, then ensure you use interfacing on your fabric. Interfacing is a non-stretchy fabric which is used to stabilize stretchy fabric.
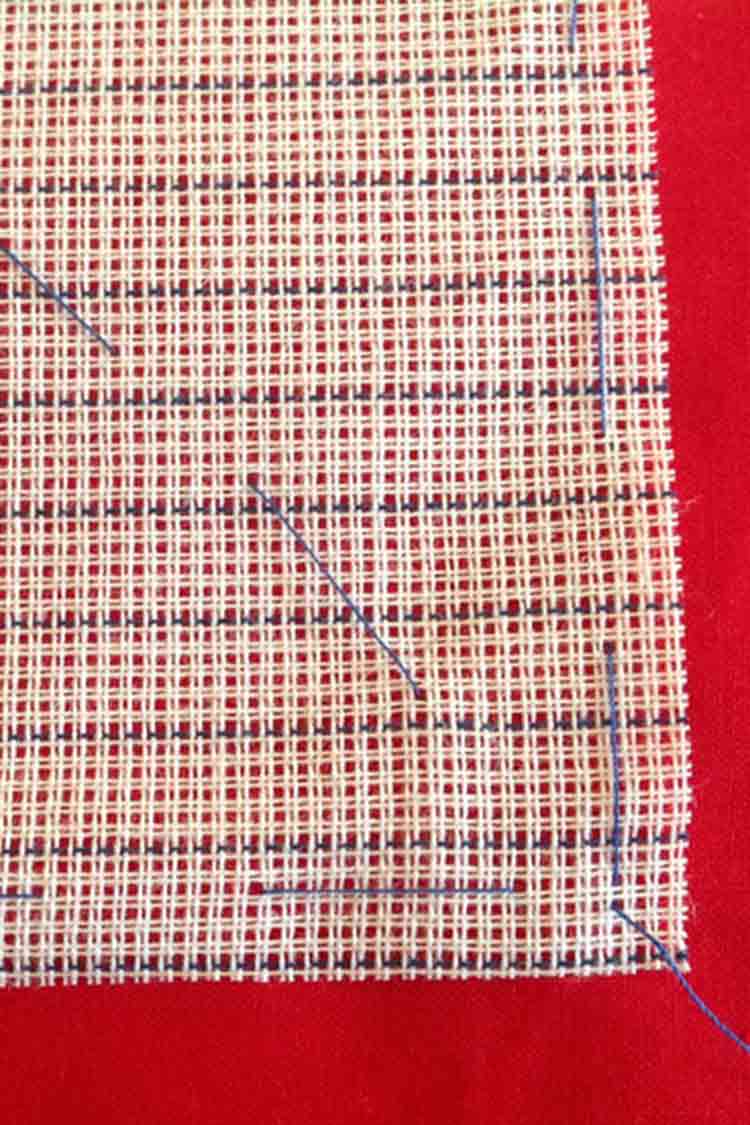
Step 1: Loosely stitch the waste canvas on your fabric
Before you start stitching, ensure that your fabric is nicely ironed and without wrinkles. Stitching over wrinkles would mean they stay in forever – and that’s not what we want. It will also help to wash your fabric before you start. It will be so disappointing if it shrinks after you wash it.
Cut your waste canvas slightly larger then the size of the pattern. The pattern will tell you how large it needs to be. When you use interfacing, cut it to the same size as your .
Lay the waste canvas on top of your fabric and the interfacing on the other side of the fabric, exactly on the spot where your would like to stitch.
Once you’re happy with your placement, pin the different layers together to keep it in place. Now temporarily baste all the layers together so they don’t slip while you stitch. Use a baste-stitch to connect the layers together using sewing thread in a contrasting color as shown on the picture.
It helps to use an embroidery hoop to keep the waste canvas nicely in order.
Step 2: Start cross stitching
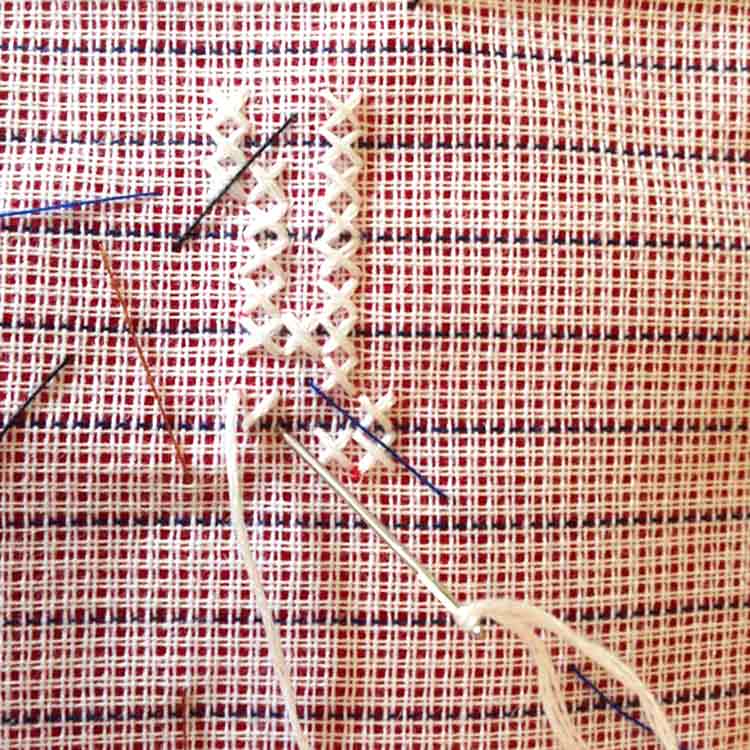
Cross stitch the design from the chart as usual. Just like you count the threads in your aida or evenweave, you will be using the holes in the waste canvas to make your cross stitches.
On waste canvas you stitch in the little holes where the threads cross, and not in the big ones.
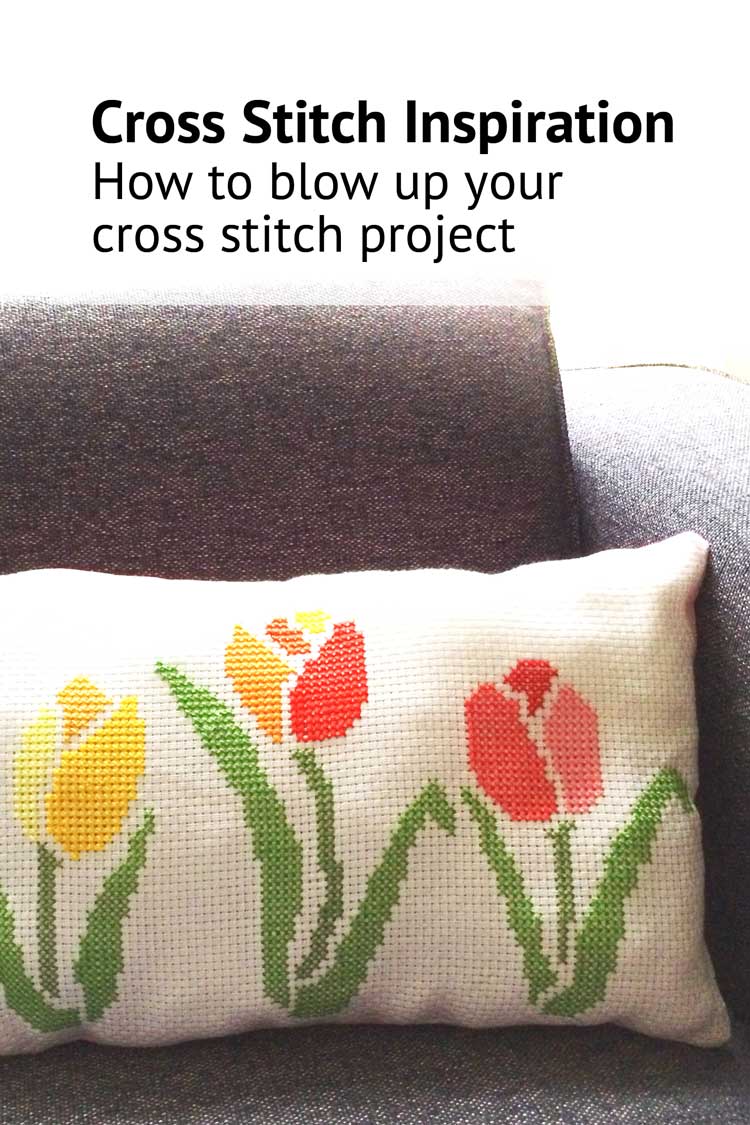
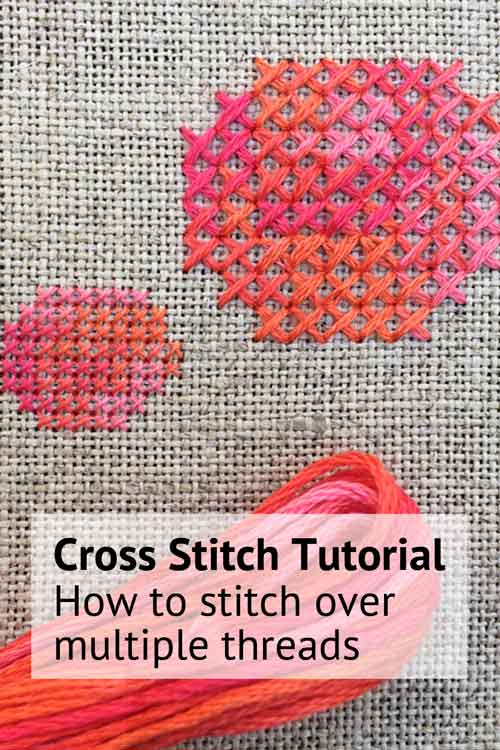
In the example you can see that we stitched over 2. Hence our final piece is twice as big as when we stitch in on Aida 14 count fabric. This way we blow up a cross stitch pattern to become suitable for a cushion.
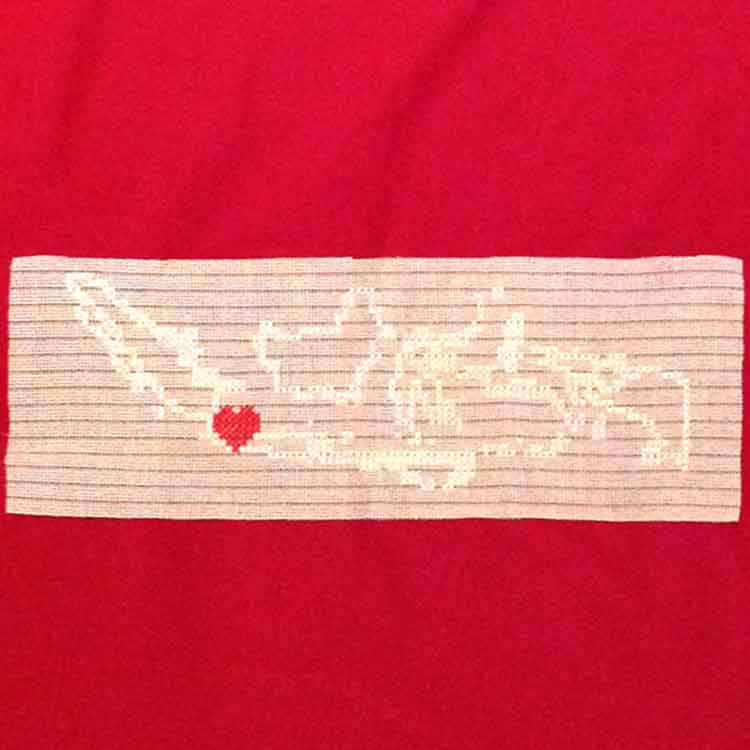
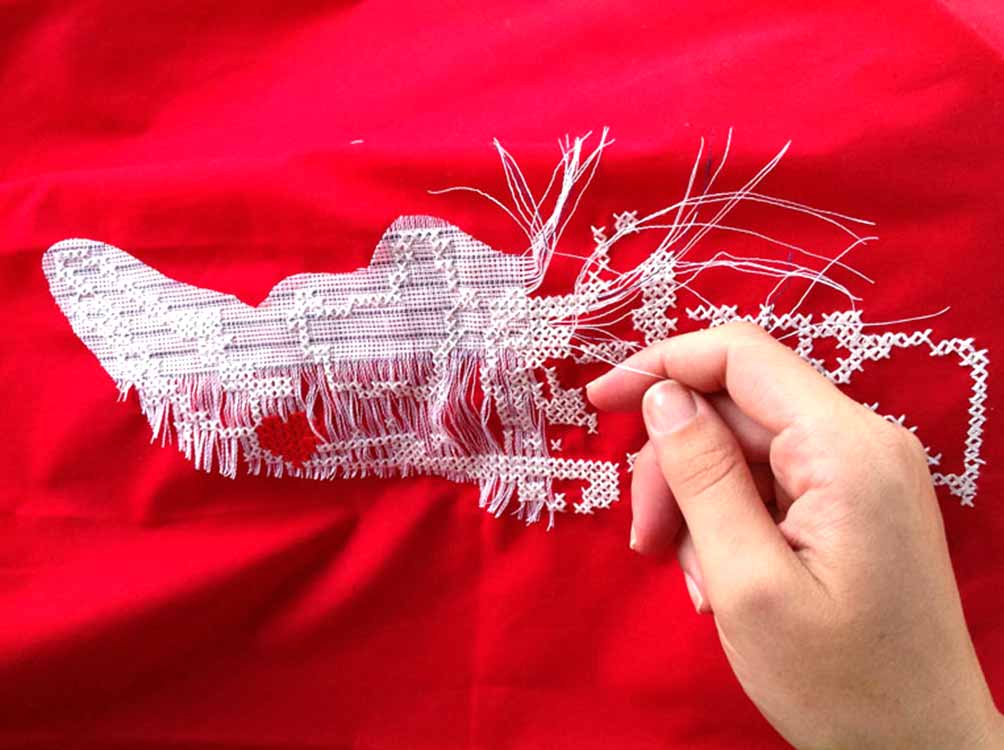
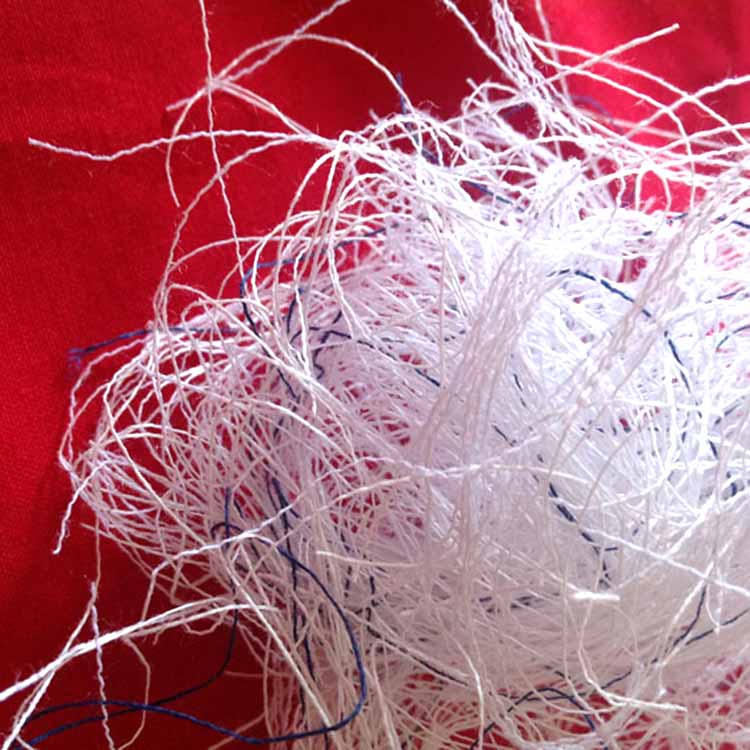
Step 3: Remove the waste canvas: fun!
Ready with cross stitching your pattern?
Remove your baste-stitch and get ready for some fun!
Take your tweezers and start removing the waste canvas thread by thread. Start at the outer threads and work towards the middle. The first ones might be a bit tricky, but it gets easier as you go.
